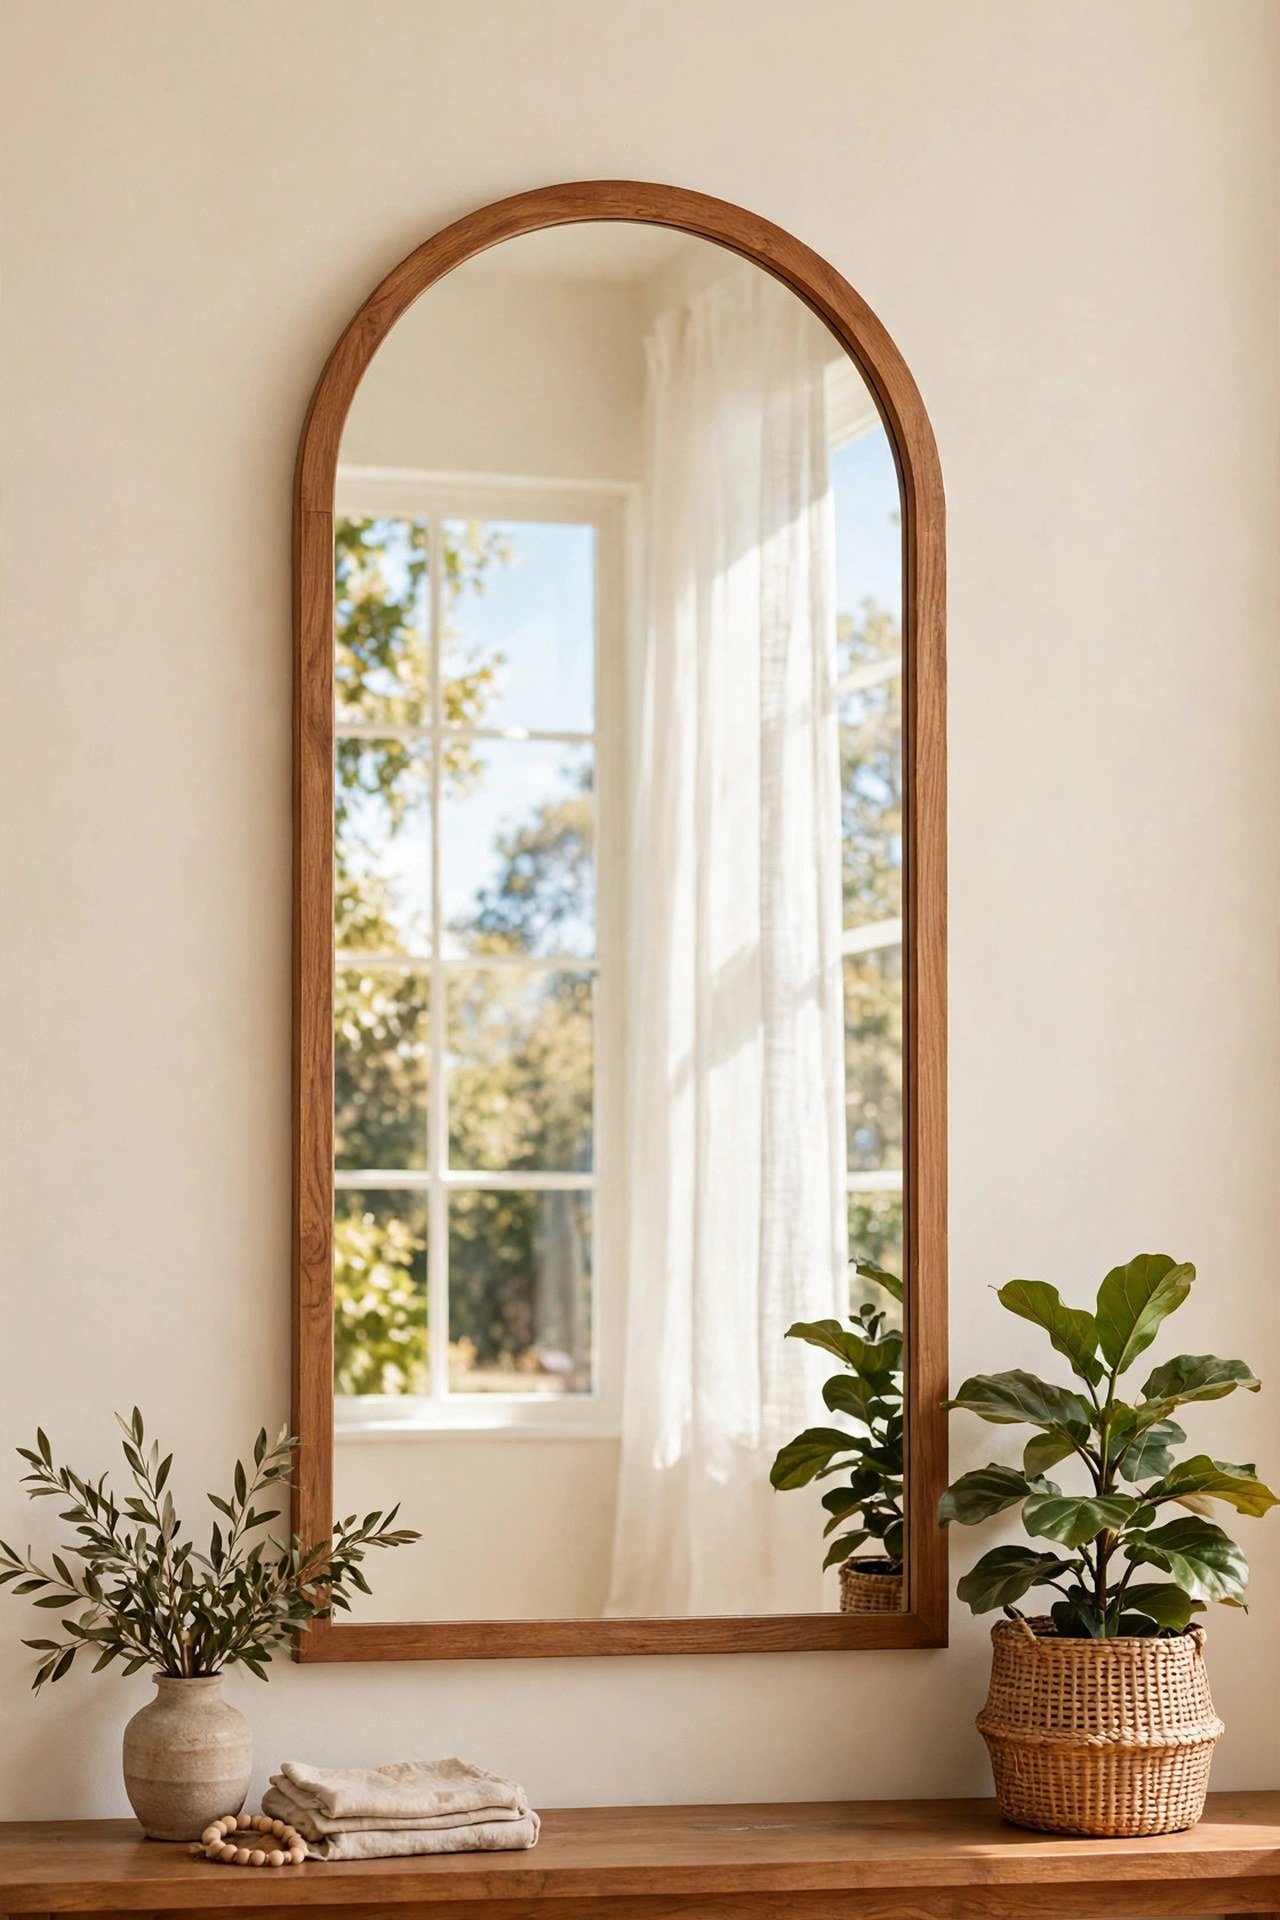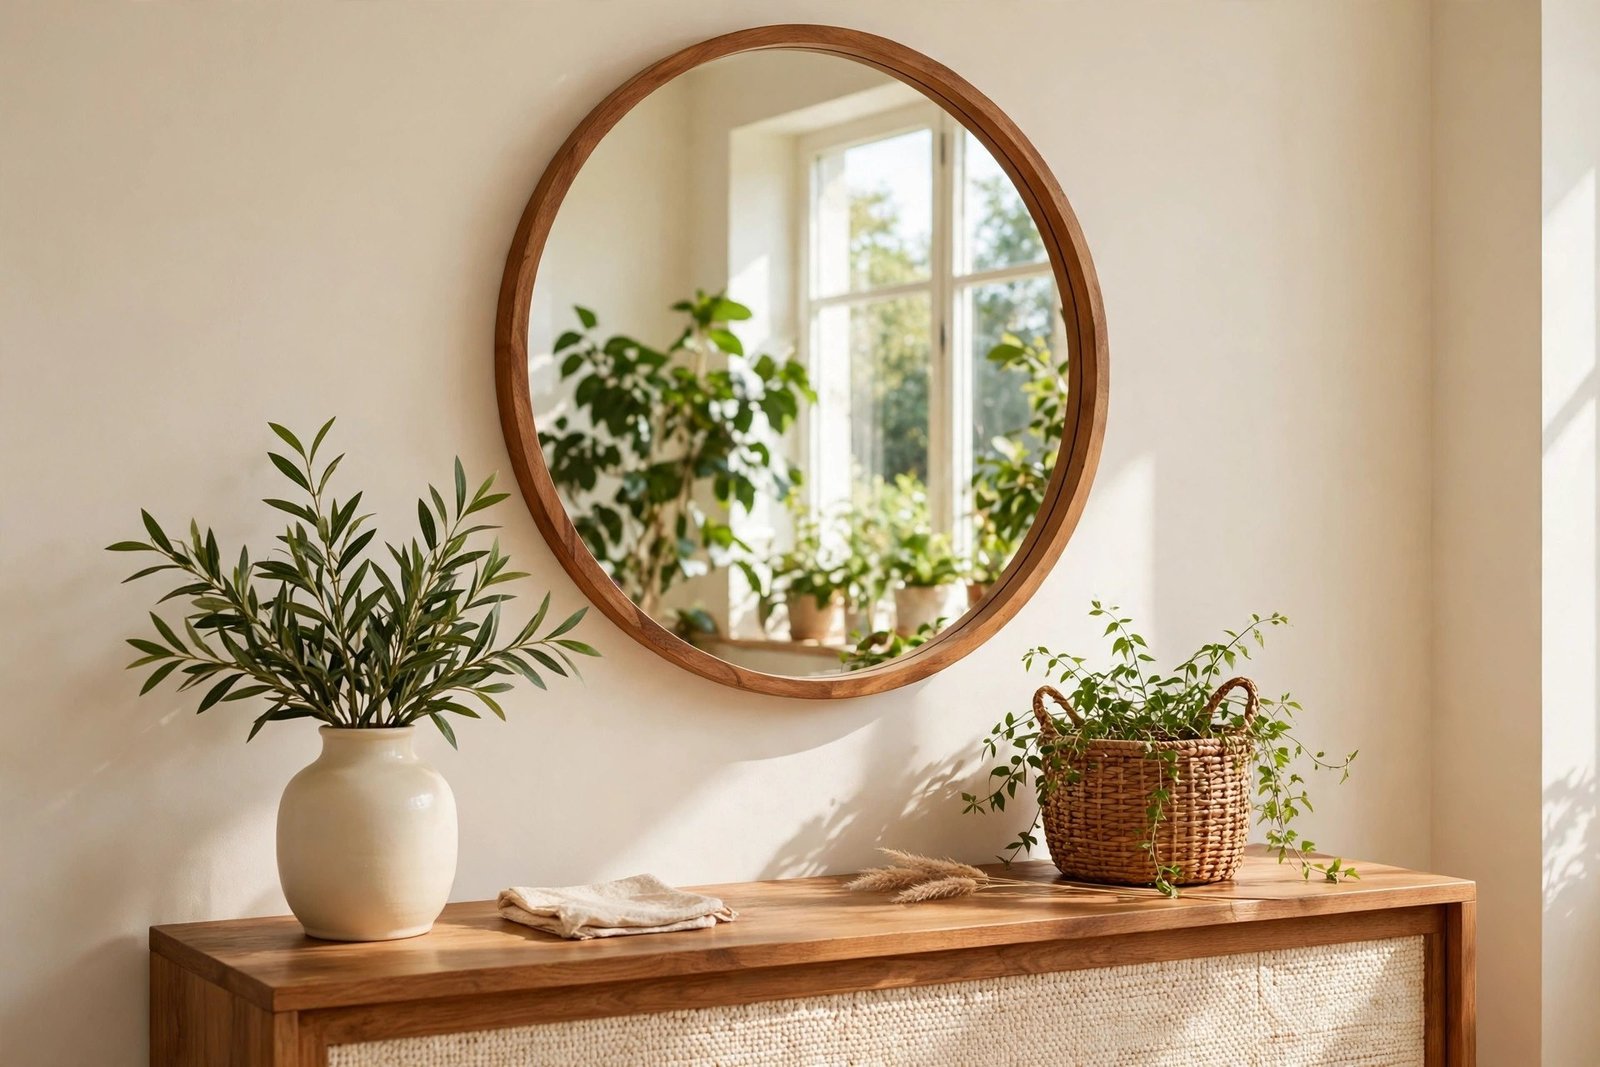
A plain frameless mirror does its job — it reflects light and shows you your face — but it rarely looks like decor. The edges are sharp and unfinished, the clips or bare border read “builder basic”, and a big sheet of glass on the wall can feel cold rather than elegant. Framed mirrors the same size, meanwhile, sell for two or three times the price.
The frame is the whole difference, and a frame is just four strips and a finish. This guide shows three ways to add one to a mirror you already own — glued wood trim, stick-on moulding, or a painted border — with the full step-by-step for the wood version, the one that looks most convincingly expensive. Total cost: about $10–$25 and one afternoon.
Quick Answer
To make a plain mirror look expensive, add a frame directly onto its face. The most convincing method is four strips of wood trim, cut to length, painted or stained before fitting, and glued around the mirror’s edge with mirror-safe adhesive so the frame overlaps the glass by about 1 cm. Stick-on moulding strips give the same outline with no cutting, and a painted border — a neat band of paint around the edge of the glass — costs almost nothing. Whichever you choose, a wider frame (5–8 cm) in a finish that matches something else in the room — wood tone, tap colour, or a furniture colour — is what reads as “expensive”.
Why a Frame Changes Everything
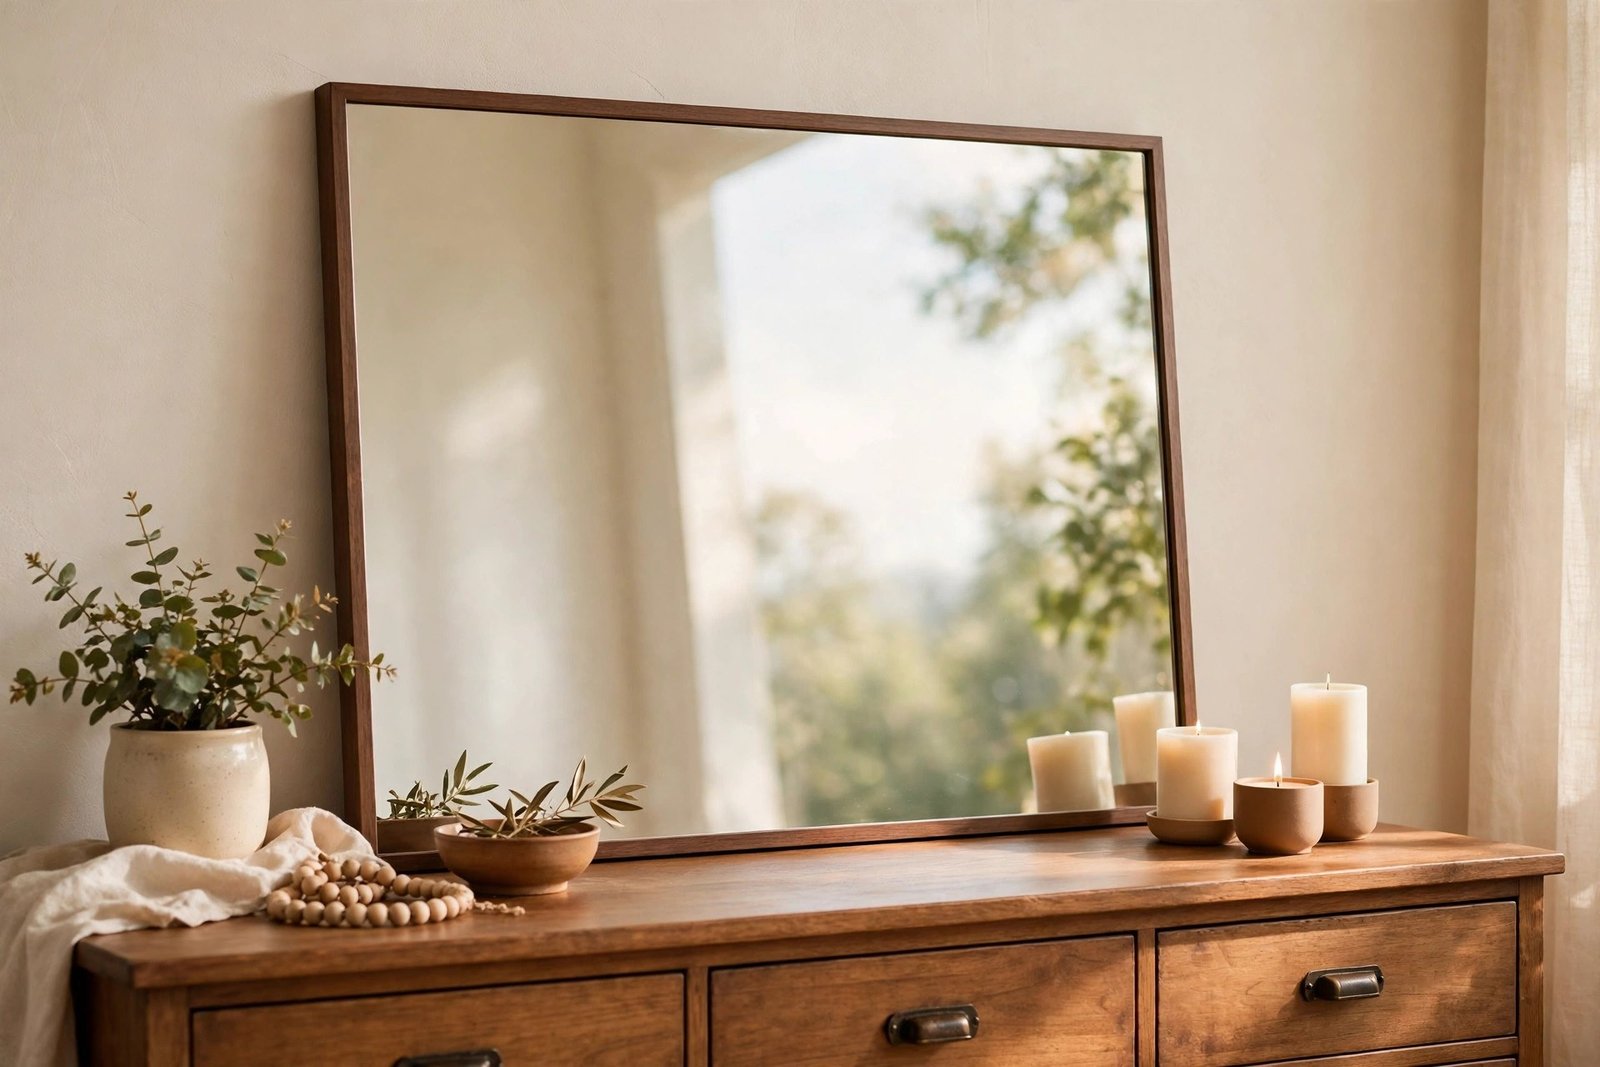
A frame gives the eye an edge to stop at. Without one, a mirror is a hole in the wall that happens to reflect; with one, it becomes an object — a picture whose artwork is the room itself. This matters most in the rooms where mirrors work hardest: in a small room that is dark and boxy, a large mirror is a light tool, and framing it turns a raw sheet of glass into the room’s main decorative piece at the same time. Frames also hide the two things that make plain mirrors look cheap: chipped or blackened edges, and plastic mounting clips.
Three Ways to Frame a Mirror
1. Wood trim strips (the step-by-step below)
Four lengths of flat wood trim or moulding, 5–8 cm wide, glued to the mirror’s face. The most durable and most convincing option — real material with real depth and shadow lines. Cost: $10–$20 for trim, plus adhesive. Best for bathroom mirrors glued to the wall and for large leaning mirrors.
2. Stick-on moulding
Flexible or rigid self-adhesive trim, sold in rolls or strips, sticks straight onto the glass around the edge. No saw, no mitres beyond simple angled cuts with scissors or a utility knife. It is thinner and less grand than wood, but neat, quick, and fully reversible — a good renter option. Cost: $8–$15.
3. A painted border
Tape off a border 5–10 cm wide around the edge of the mirror and paint it — matte black for a modern outline, a metallic finish for a gilt effect, or the wall colour’s deeper shade for a soft frame. The “frame” is flat, but at a glance the mirror gains a designed edge for the price of a sample pot. Cost: $3–$8. Best on mirrors in good condition where you want definition, not depth.
Materials and Costs (Wood Trim Method)
- Wood trim or flat moulding, enough for the mirror’s perimeter — $8–$18
- Mirror-safe adhesive (check the tube says safe for mirrors) — $4–$7
- Paint or wood stain for the trim, sample or small tin — $4–$8
- Painter’s tape — $3–$5
- Fine sandpaper, 220-grit — $2–$3
- Tape measure, pencil, saw and mitre box (or ask the store to cut lengths) — borrow or $8–$12 to buy
- Wood filler for corner gaps — $3–$5
Total: about $15–$30, less if you already own paint — leftover paint from painting old furniture is perfect here, and matching the mirror frame to a painted piece makes both look planned.
Step by Step: The Wood Trim Frame
Time: about 2 hours, plus adhesive curing. Handle the mirror’s edges carefully — tape them with painter’s tape while you work, and lift the mirror with two hands from underneath, never by one corner.
- Measure the mirror. Measure the height and width of the glass. Your frame will sit on the face of the mirror, overlapping the glass by about 1 cm on every side, so the frame’s outer edge covers the mirror’s edge and any clips.
- Cut the trim. Cut two strips to the mirror’s width plus twice the trim width, and two to its height, with 45-degree mitres at the ends so the corners meet neatly. No mitre box? Straight butt joints — vertical strips overlapping the ends of horizontal ones — look fine in a simple flat trim, especially once painted.
- Dry-fit on the mirror. Lay all four pieces on the glass, taping them lightly in place. Check the corners meet, the overlap is even, and the frame looks square. Adjust now, not after gluing.
- Sand and paint the trim first. Sand the pieces lightly, then paint or stain them on all visible sides and let them dry completely. Painting before fitting keeps paint off the glass and gives a far cleaner line. Two thin coats, as with furniture, beat one thick one.
- Clean the glass edge. Wipe the mirror’s border with a damp cloth and let it dry. Glue sticks to clean glass, not to toothpaste splashes and dust.
- Glue the longest pieces. Run a thin, wavy line of mirror-safe adhesive along the back of one long strip — thin, so it does not squeeze out onto the visible glass. Press it into position, check the overlap, and tape it down with painter’s tape to hold it while it sets. Repeat with the opposite side.
- Add the short pieces and corners. Glue the remaining two strips the same way. If a mitre leaves a hairline gap, press in a smear of wood filler, wipe the excess, and touch it with paint once dry.
- Let it cure. Leave the tape on and do not hang or move the mirror (if it is a wall-glued bathroom mirror, do not lean on it) for the curing time on the adhesive tube — usually 24 hours. Then remove the tape and clean the glass.
Choosing a Finish That Reads “Expensive”
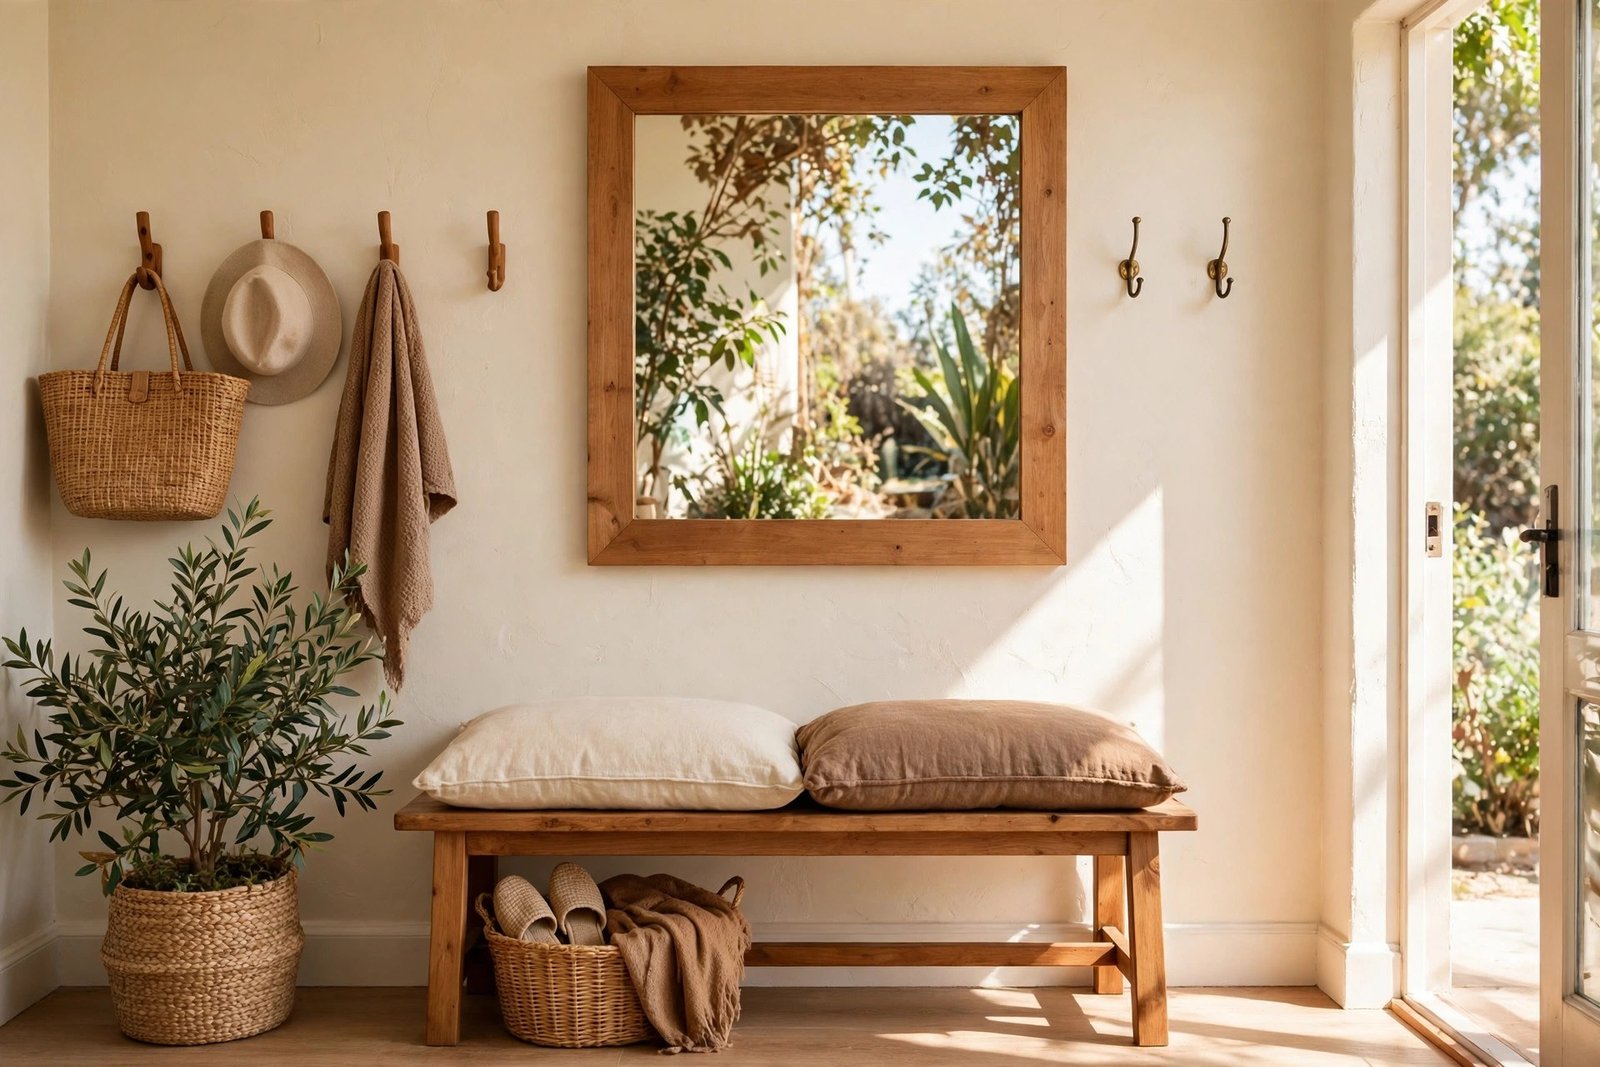
Expensive-looking frames share two traits: width and company. A frame of 5–8 cm has presence; a 2 cm strip looks like an apology. And a finish that repeats something nearby — the tap and handle finish in a bathroom, the wood tone of the floor or furniture, the colour of a painted dresser — looks chosen rather than random. Matte black suits modern rooms, warm wood suits almost everything, and metallic paint applied thinly and evenly gives a convincing aged-gilt effect for very little money. Avoid high-gloss anything: gloss shows every wobble in your glue line.
More mirror, paint, and fabric projects are gathered with the rest of the DIY decor and simple crafts guides.
Mistakes to Avoid
- Using ordinary construction adhesive. Some adhesives eat the silver backing off mirrors and leave black blotches. The tube must say mirror-safe.
- Painting the trim after gluing it on. One slip puts paint on the glass and ruins the clean line. Paint first, fit second.
- A frame that is too narrow. Skinny trim reads as edging, not a frame. Go 5 cm wide or more on any mirror bigger than a hand mirror.
- Skipping the dry-fit. Corners measured wrong are discovered permanently once the glue sets. Tape everything in place and look first.
- Too much adhesive. Squeeze-out on the glass is hard to remove without scratching. A thin line, pressed once, is enough — the frame is decorative, not structural.
- Hanging the mirror before the adhesive cures. A frame that slides 3 mm overnight dries crooked forever. Respect the full curing time.
Frequently Asked Questions
Can I frame a bathroom mirror that is glued to the wall?
Yes — this is actually the easiest case, because the mirror stays put while you work. The trim glues to the face of the glass, overlapping the edges and covering the clips. Just make sure the adhesive is mirror-safe, keep the bathroom ventilated while it cures, and choose a finish that tolerates humidity, such as satin paint rather than bare soft wood.
My mirror’s edges are blackened and damaged. Will a frame hide that?
Mostly, yes. Edge blackening (desilvering) starts at the border, exactly where the frame sits. Choose a wide trim with enough overlap to cover the damaged band — measure the damage first and pick the trim width to exceed it. Deep damage creeping well into the mirror will still show, but the usual centimetre of edge wear disappears completely.
Mitred corners or butt joints — which looks better?
Mitres look more professional and are worth it with decorative moulding, where the profile must continue around the corner. With plain flat trim, well-fitted butt joints painted one colour look clean and modern, and are much easier for a first project. Either way, filler plus paint makes small gaps invisible.
Is the painted-border method really convincing?
From normal viewing distance, yes — the eye registers a defined edge and a colour change, which is most of what a frame does. It lacks depth and shadow up close, so use it where the mirror is decorative rather than the room’s centrepiece, or as a free trial: if you love the look, upgrade to wood trim later over the same border line.