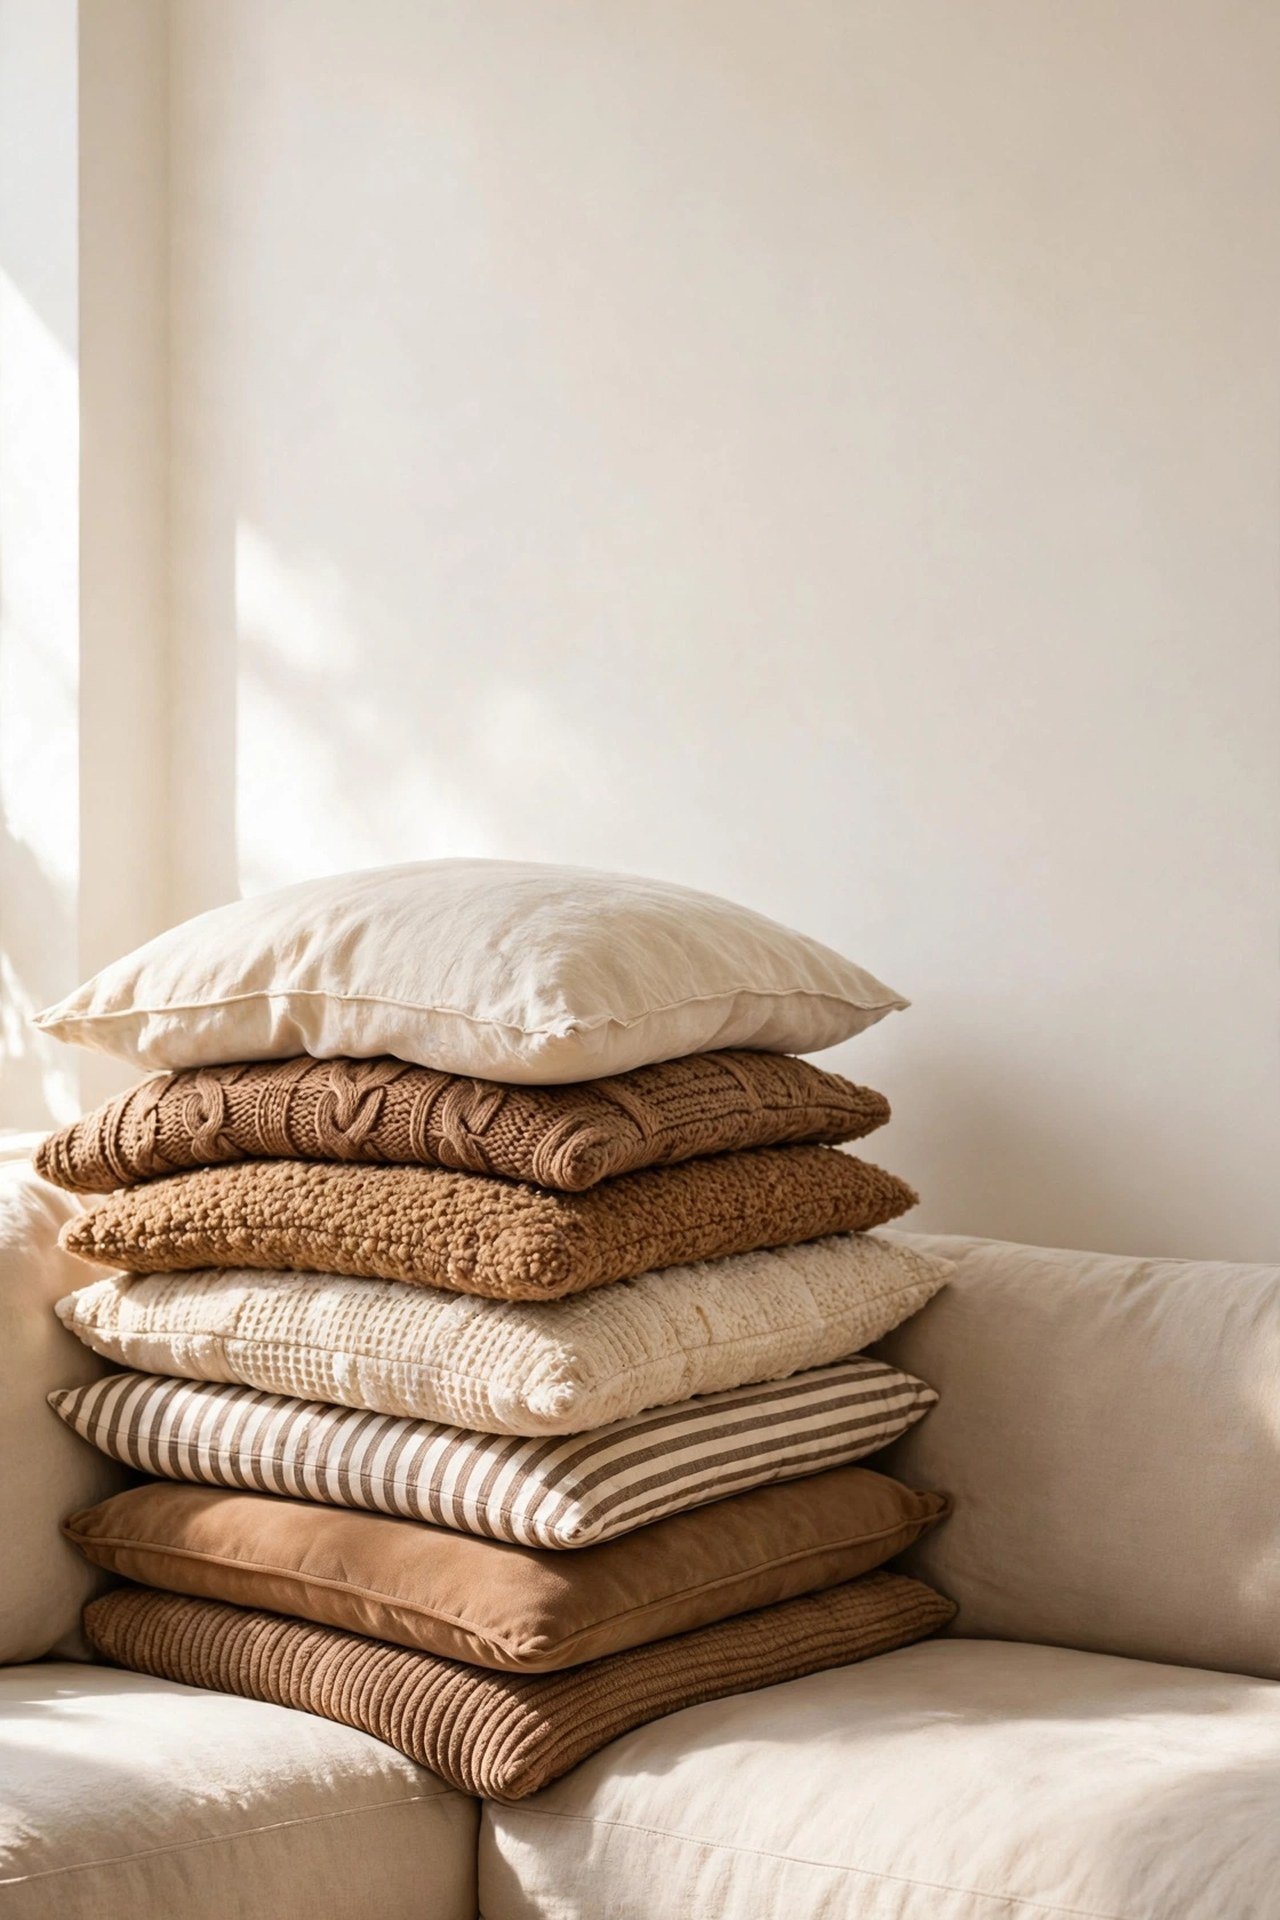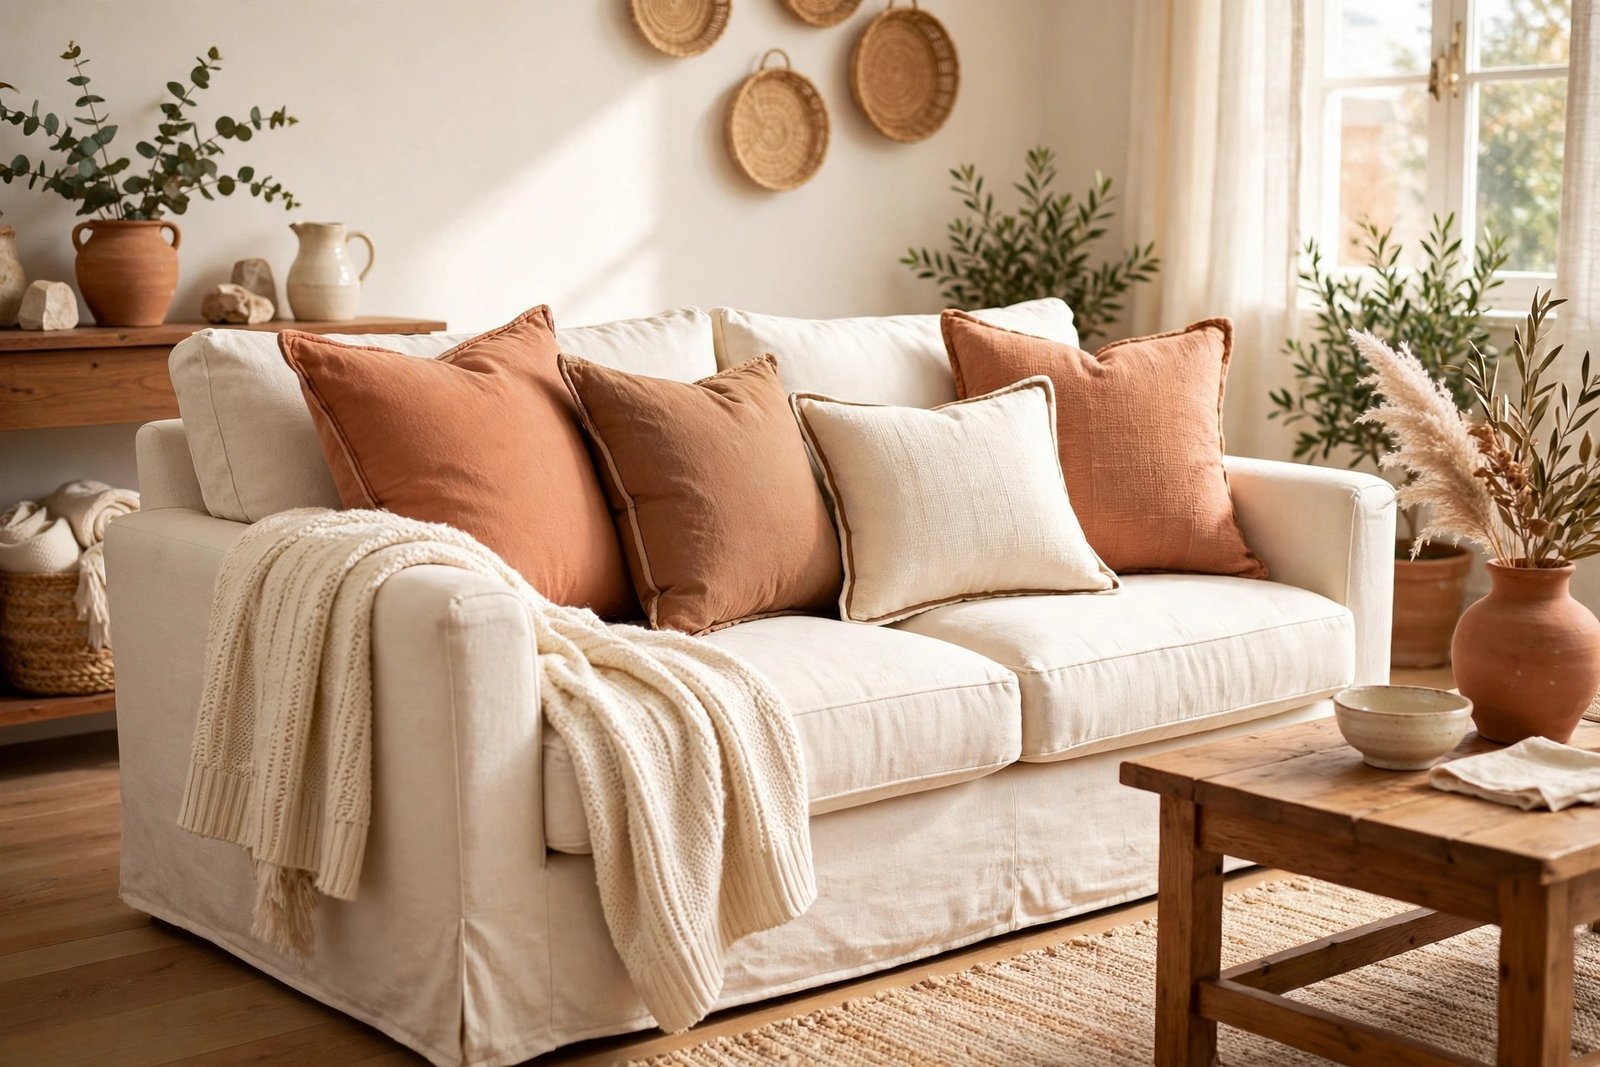
A sofa can look tired for one surprisingly small reason: the cushions. When covers sag, crease and sit flat against the sofa back, the whole seat looks deflated — even when the sofa itself is perfectly fine. And plain covers in a faded, nothing colour make a room feel like it is waiting for its real furniture to arrive.
The fix is rarely new cushions. Flat is usually a filling problem, and boring is usually a surface problem — and both can be sorted in an afternoon without sewing a single seam. This guide works through the order that matters: wash and revive the cover, fix the flatness inside it, then add the no-sew surface changes — trim, dye and simple fabric tricks — that make a plain cover look chosen rather than default.
Quick Answer
To refresh flat, boring cushion covers, start with a wash and a proper iron — dust and creasing make covers look older and flatter than they are. Then fix the shape: plump the existing insert, or swap in an insert one size larger than the cover so it fills the corners and stands up. Finally, change the surface without sewing: iron-on or fabric-glue trim along the edge, fabric dye in a deeper shade of the same family, or a wrapped and knotted fabric panel over the front. A fuller fill plus one surface detail is what turns a dull cover into a styled one.
Step Zero: Wash, Dry and Iron
Do this before judging any cover. Cushion covers collect dust, skin oils and a permanent slouch from being sat against, and all three make fabric look faded and lifeless. Unzip or unbutton the cover, check the care label, and wash on a gentle cycle. Dry flat or on a line so the shape holds, then iron on the correct heat setting for the fabric — and keep a hot iron moving, never resting in one spot, so it smooths rather than scorches. Crisp seams and smooth faces instantly make the same cover look a season newer. This is the same free reset that revives curtains in the guide to refreshing tired curtains with no-sew fixes, and the two jobs pair well in one laundry-and-ironing session.
The Real Problem: What Is Inside the Cover
A cover cannot look plump over a tired insert. Polyester-filled inserts flatten in the middle with use, and foam pads can crack and crumble at the edges. Before any decorating, try reviving what you have: shake the insert out vigorously, plump it by hand — pushing filling into the corners and karate-chopping the centre back into shape — and, if the label allows, tumble-dry it briefly on low heat with a clean tennis ball or two to break up clumps.
If the insert still collapses within a day, replace the insert, not the cover. The decorator’s rule is to buy an insert one size up from the cover: a 50 cm insert inside a 45 cm cover fills the corners, keeps a gentle crown on the face, and stops the empty, creased triangles that make covers look cheap. Inserts cost far less than new cushions, and this single swap fixes most “flat” complaints on its own.
The No-Sew Surface Refreshes
Add trim along the edge
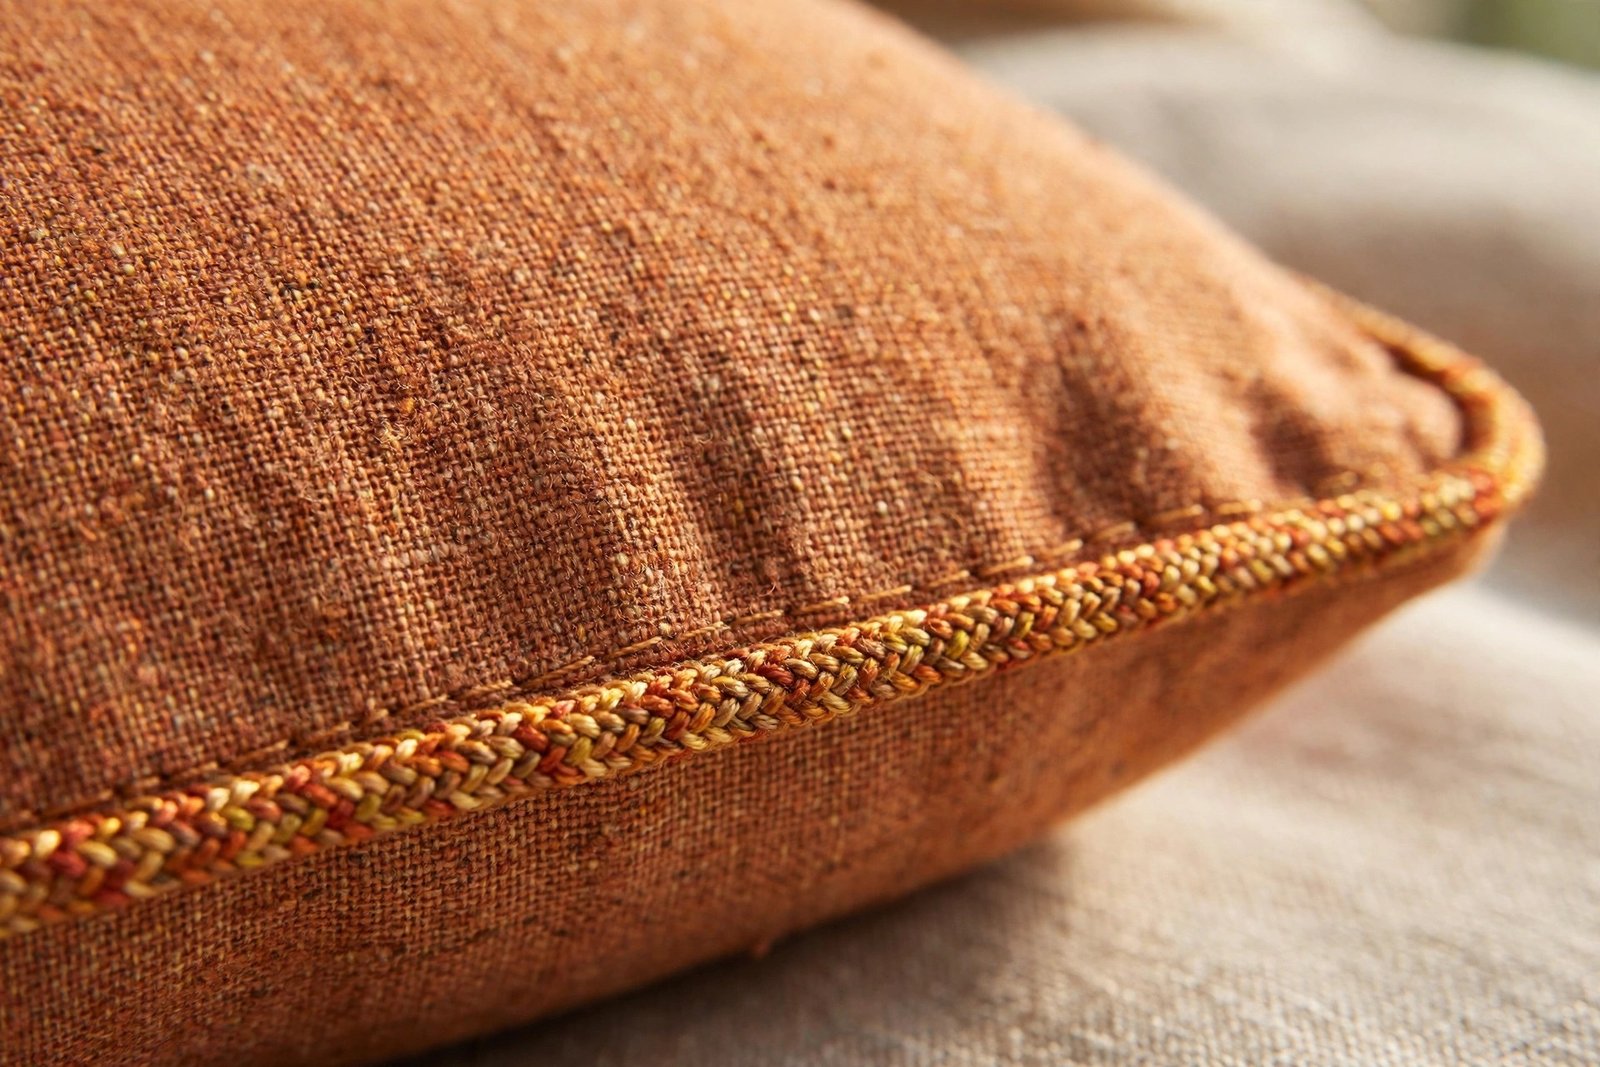
A band of trim around the edge or down the front seam makes a plain cover look tailored. Pompom trim, woven braid, ribbon or a simple strip of contrasting fabric, fixed with fabric glue or iron-on hemming tape, costs a few dollars and survives gentle washing if applied well. Choose one trim, in one colour from the room’s palette, and keep it neat — wavy glue lines are what separate “handmade” from “homemade”.
Dye for a deeper shade
Faded covers come back to life in dye. Stay in the same colour family and go one or two shades deeper: pale blue becomes a rich mid-blue, washed-out beige becomes warm camel. Natural fibres — cotton, linen, canvas — take dye evenly; synthetic covers take it weakly, so check the fabric content first and test a hidden corner. Dyeing a set of covers the same shade also solves a mixed set: covers bought at different times in almost-matching colours become one deliberate family.
The wrap-and-knot cover
For a fast change of pattern or colour, wrap the cushion in a large square of fabric — a scarf, a pillowcase opened flat, a fabric remnant — pulled smooth across the front and knotted or tucked firmly at the back. Done tightly in a good fabric, it reads as an envelope-style cover; it is also the perfect way to test a bold colour or pattern before committing to dye. Seasonal fabric swaps (a plaid in winter, a stripe in summer) cost nothing once you own two or three squares.
Layer one textured cushion per seat
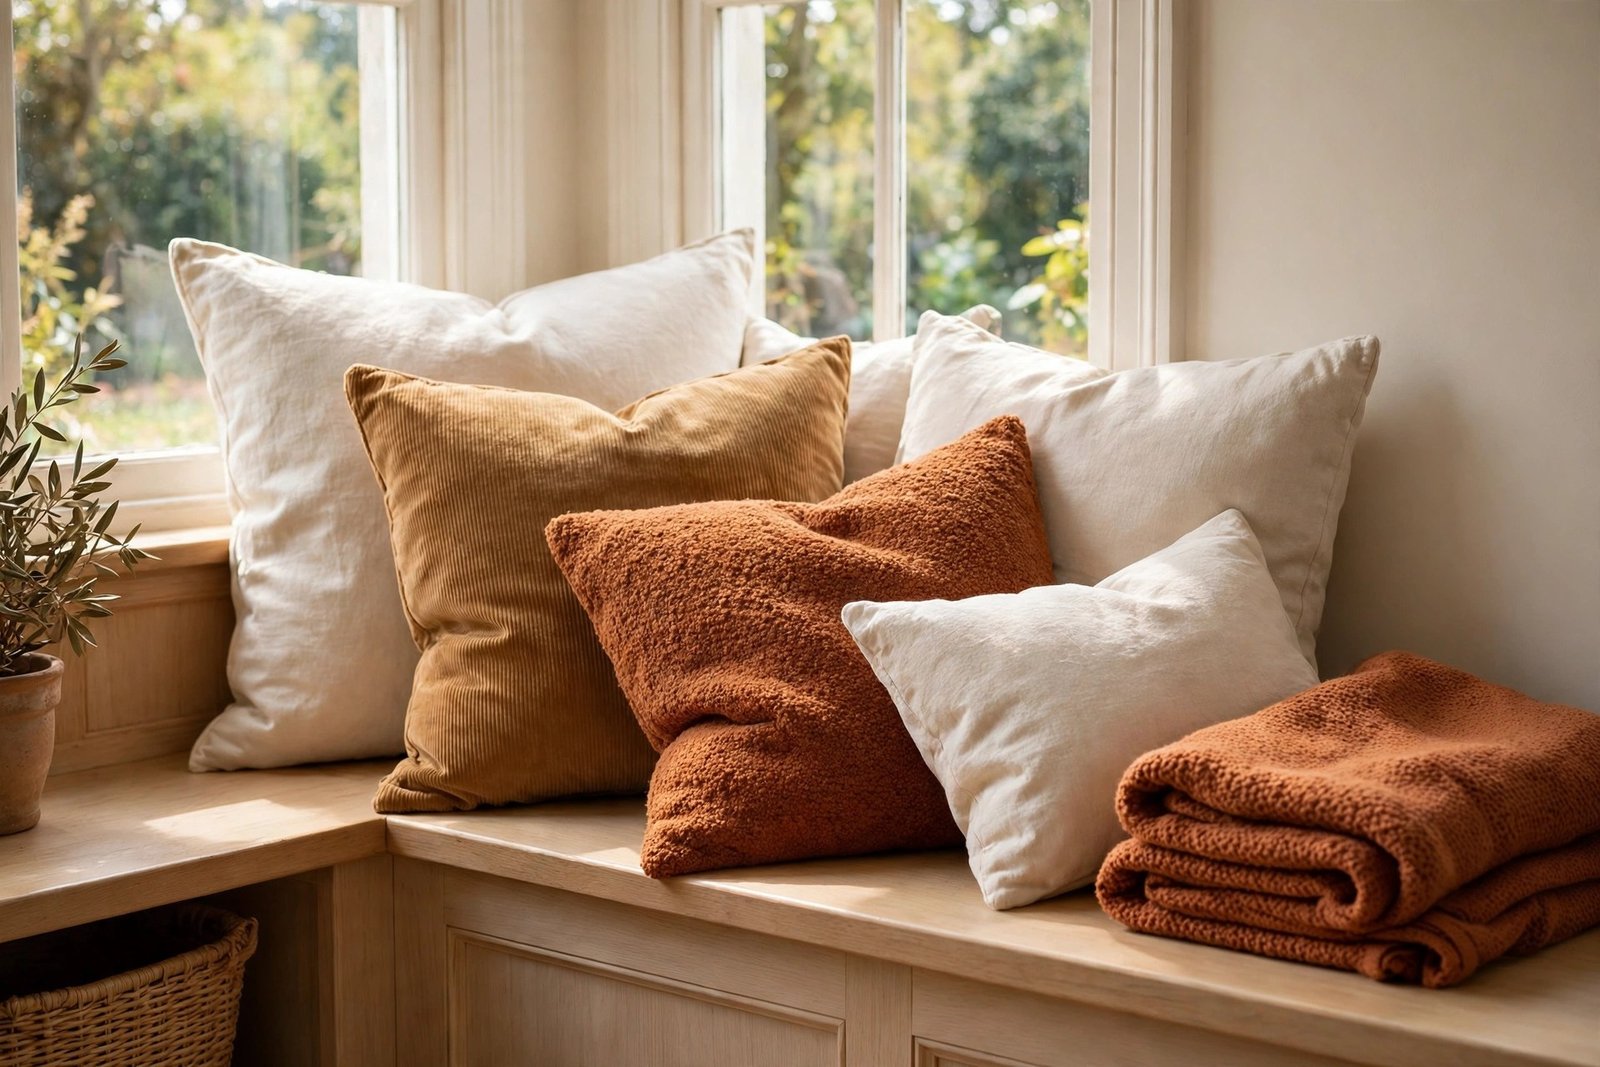
If your covers are all the same smooth fabric, one textured cushion among them — a woven, knitted or fringed cover, or one of your own covers upgraded with trim — gives the group depth. Texture photographs well and reads as comfort. The rest of the set can stay plain; contrast is the point.
Step by Step: The Full Cushion Refresh
Time: about 90 minutes for four cushions, plus washing and drying time. Difficulty: beginner. Cost: $0–$15, more only if inserts need replacing.
- Strip and wash (10 minutes plus the wash). Remove every cover, shake out the inserts, and wash the covers gently. While they wash, plump each insert by hand, pushing filling into the corners.
- Dry and iron (20 minutes). Dry covers flat, then iron them smooth, seams crisp. Check each insert: if hand-plumping does not hold its shape for an hour, mark it for a one-size-up replacement.
- Choose one surface change per cover set (5 minutes). Trim, dye, or a wrap — one treatment across the set keeps it looking like a collection. Mixed treatments are fine only if the colours stay in one family.
- Apply the treatment (30 minutes). Glue or iron trim in straight lines, dye following the packet exactly, or wrap and knot fabric squares smoothly. Let glue and dye set fully.
- Restuff generously (10 minutes). Put each cover back on its plumped or larger insert, work the filling into the corners with your fingers, and zip closed.
- Style the group (10 minutes). Arrange cushions upright, chop the top centre lightly with the side of your hand for that styled crease, and mix sizes — largest at the back, smallest in front. Step back and remove one if the seat looks stuffed rather than inviting.
Styling Rules That Keep Cushions Looking Fresh
Two or three cushions per sofa seat is plenty; five thin ones look worse than two plump ones. Keep colours in the room’s family and let one cushion carry the pattern while the others stay plain. And store off-season wraps and spare covers inside a styled container rather than in a visible pile — the jars, boxes and baskets turned into decor in this series include lidded boxes that hide spare textiles neatly. More refresh projects are gathered in the DIY decor and simple crafts collection.
Materials and Costs
- Gentle detergent for the wash — $0–$3
- Replacement insert, one size up (only if needed) — $6–$12 each
- Iron-on hemming tape or fabric glue — $3–$5
- Trim: pompom, braid or ribbon, enough for a set — $4–$8
- Fabric dye, one box (optional) — $5–$8
- Large fabric squares or scarves for wrapping (optional) — $0–$10
- Iron and ironing board — usually already at home
The wash-and-plump reset costs nothing, and for most covers that plus a one-size-up insert — around $8 — does 90 percent of the work.
Mistakes to Avoid
- Decorating a dirty cover. Trim glued over dust and dye over stains both set the grime in. Wash first, always — the refresh often ends at the wash.
- Buying the same-size insert. An insert the exact size of the cover relaxes into flat corners within weeks. One size up is the rule for a plump, lasting fill.
- Too many treatments at once. Dye plus trim plus wrap on one cover looks fussy. One surface change, done neatly, reads as design.
- Gluing trim freehand in curves. Wobbly lines cheapen the result. Mark a straight guide line in chalk or tape first, and work in short sections.
- Dyeing synthetics and hoping. Polyester covers barely take standard dye and come out patchy. Check the label, or choose trim or a wrap instead.
- Overfilling the sofa. Cushions that leave nowhere to sit are styling that forgot the point. Two or three per seat, plump enough to hold their shape.
Frequently Asked Questions
Why do my cushions go flat again a week after plumping?
Because the insert itself has given up. Hand-plumping redistributes filling, but worn polyester clumps and old foam crumbles, and both collapse quickly under daily use. If a plumped cushion is flat again within days, replace the insert — one size larger than the cover — rather than fighting the old one.
Can I dye cushion covers in the washing machine?
Yes, with machine dye made for the job, following the packet exactly and running an empty rinse cycle afterwards to clear residue. Natural fibres dye most evenly. Remove the covers from their inserts first, obviously, and never dye anything you cannot afford to lose — test an old cover from the set before committing all of them.
What is the “karate chop” crease, and does it suit every cushion?
It is the soft vertical dip stylists press into the top centre of a plump cushion with the side of the hand. It suits square, well-filled cushions in soft fabrics and signals “styled, not stored”. Skip it on very firm foam cushions and on small or round cushions, where it just looks dented.
How many cushions should a sofa actually have?
For most sofas, two or three per side in mixed sizes — say one 50 cm and one 40 cm pair, plus one smaller accent. Odd groupings (three or five total) arrange most naturally. If guests have to move cushions onto the floor to sit down, there are too many.