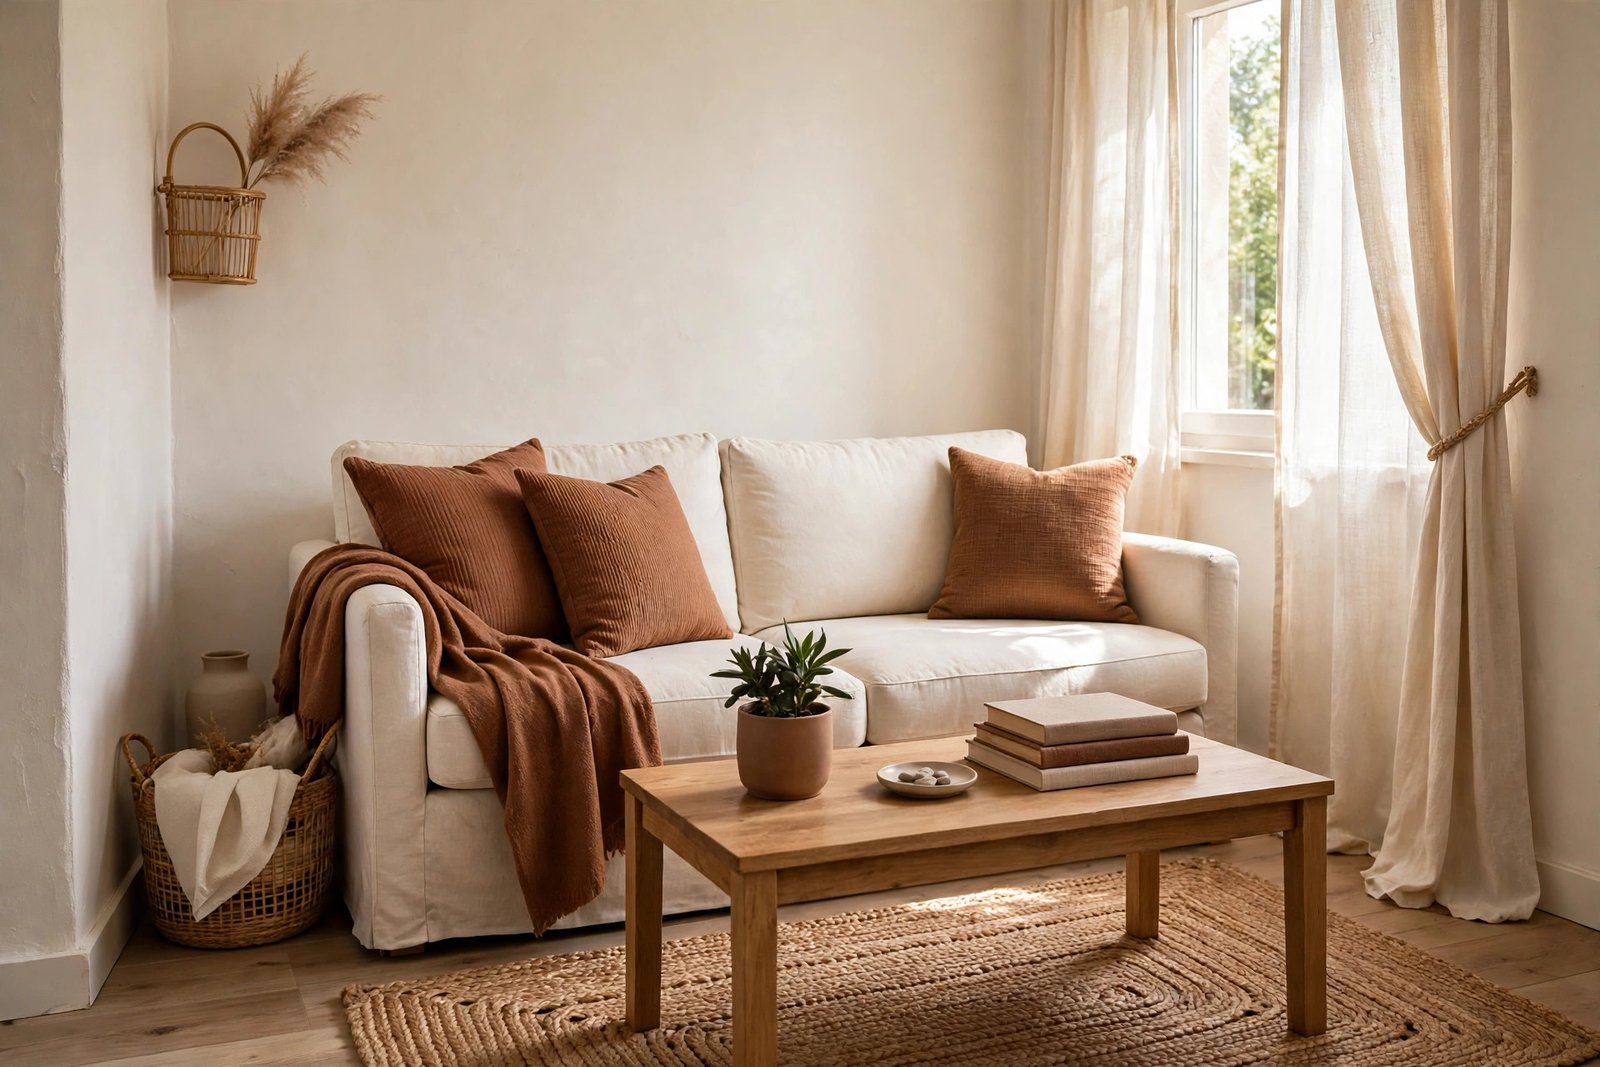
A living room can feel tired for months before you can name the reason. The sofa is fine, the floor is fine, nothing is actually broken — yet the room looks flat, a little dark, and not much like the welcoming space you see in your head. The good news is that this kind of problem rarely needs new furniture or a full redecoration. It usually needs a short list of small, visible changes, done in the right order.
With $100, you cannot change everything, and trying to spread the money across ten tiny items is exactly how a budget makeover fails. This guide works differently. It ranks the changes by how much difference each dollar makes, so you spend first on what the eye notices first: light, the largest soft surfaces, and the wall your eyes land on when you walk in. Work through the steps in order, stop when the money runs out, and the room will already look different.
Quick Answer
For a living room makeover on a $100 budget, change things in this order: first, clean, declutter the surfaces, and rearrange the furniture you own — that part is free. Second, fix the lighting with warm bulbs and by moving lamps to dark corners (about $15–$25). Third, change the biggest soft surfaces: cushion covers and a throw in one simple colour family (about $30–$40). Fourth, add one large piece of wall decor or a mirror instead of several small items (about $20–$30). Keep $10 aside for small finishing items like a plant, a tray, or picture frames. That order gives the biggest visible difference for the money.
Step 0: The Free Work That Makes Everything Else Look Better
Do not buy anything until the room is clean and edited. Dust on shelves, marks on the wall behind the sofa, and a coffee table covered in everyday clutter will make even new items look dull. Wash cushion covers and throws you already own, clean the windows inside, and wipe down the skirting boards and light switches. It is unglamorous work, but light reflects better in a clean room, and colours read truer.
Then remove about a third of the small decor items from the surfaces. Put them in a box in another room for a week. Most living rooms do not suffer from too little decor; they suffer from too many small, unrelated pieces competing with each other. What stays should be the largest, simplest items. If you miss something after a week, bring it back with intention. The rest can be stored, donated, or used in another room.
Rearrange Before You Shop
Pull the sofa a few centimetres away from the wall if space allows, angle a chair toward the conversation area instead of lining every seat up against the walls, and clear a straight walking path through the room. If two pieces can swap places — the armchair from the bedroom, the side table from the hall — try the swap for a day before judging it. A new layout costs nothing and often fixes the real problem, which is balance, not a lack of new things. Our guide to making a tired room look fresh without buying new furniture goes deeper into these free layout changes.
Step 1: Fix the Light First (About $15–$25)
Lighting changes how every colour in the room looks, which is why it comes before decor. Many living rooms rely on one harsh ceiling light with a cold, blue-white bulb. Swapping the main bulbs for warm white ones (look for 2700K–3000K on the box) usually costs only a few dollars each and instantly makes wood, fabric, and skin tones look softer in the evening.
Next, look at the darkest corner of the room. A single lamp placed there — even a simple second-hand lamp with a clean shade — removes the “cave” feeling that makes a room look smaller. If you already own a lamp that lives in a little-used room, move it instead of buying one. Avoid coloured bulbs and very yellow vintage-style bulbs for the main light; they distort the colours of everything else you are about to choose.
Step 2: Change the Biggest Soft Surfaces (About $30–$40)
After the furniture itself, the largest blocks of colour in a living room are the cushion covers, the throw on the sofa, and the curtains. Changing one of these changes the room more than five small ornaments. Cushion covers are usually the cheapest place to start: a set of covers in one calm colour family — for example warm white, sage, and a muted stripe — can cost $20–$30 and makes an old sofa look deliberate instead of faded.
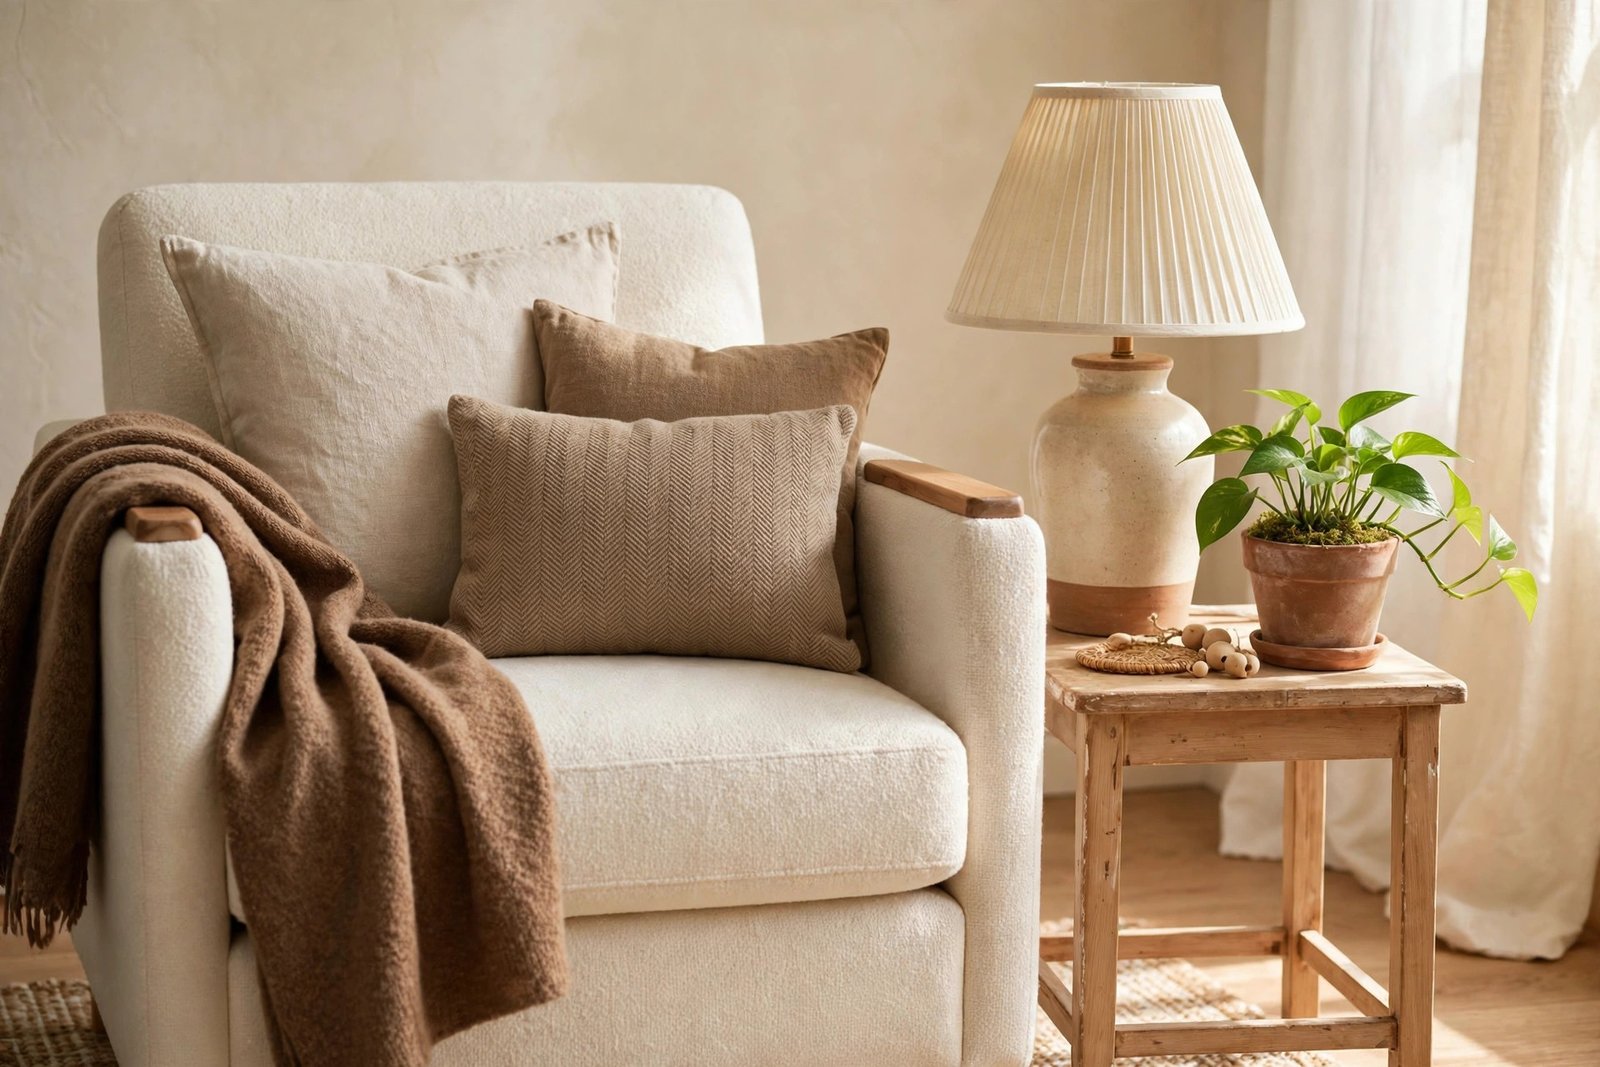
Choose covers that zip off so they can be washed, and pick one simple palette rather than a different pattern for every cushion. If the sofa itself is a strong colour, keep the cushions quieter than the sofa. If the sofa is plain grey or beige, the cushions can carry the colour. A single folded throw in a related tone, roughly $10–$15, finishes the sofa area. Do not buy both new curtains and new cushions on this budget unless the curtains are visibly ruining the room; one soft surface done well beats two done thinly.
Step 3: One Big Wall Moment, Not Five Small Ones (About $20–$30)
Stand in the doorway and note the first wall you see. That wall needs one clear focal point. A single large framed print, a simple mirror, or a tight group of three matching frames will read as a design decision. Five small, mismatched frames scattered across the wall read as an accident.
On a budget, the mirror is often the best buy: it adds light, it suits almost every style, and simple framed mirrors in charity shops, discount stores, and second-hand listings are often $15–$30. Hang the centre of the piece at about eye level — roughly 145–150 cm (57–59 inches) from the floor to the centre — instead of high up near the ceiling, which is the most common hanging mistake. If you rent, or you simply do not want new holes, our rental-friendly living room makeover covers damage-free ways to hang and style the same focal wall.
If You Already Have Frames
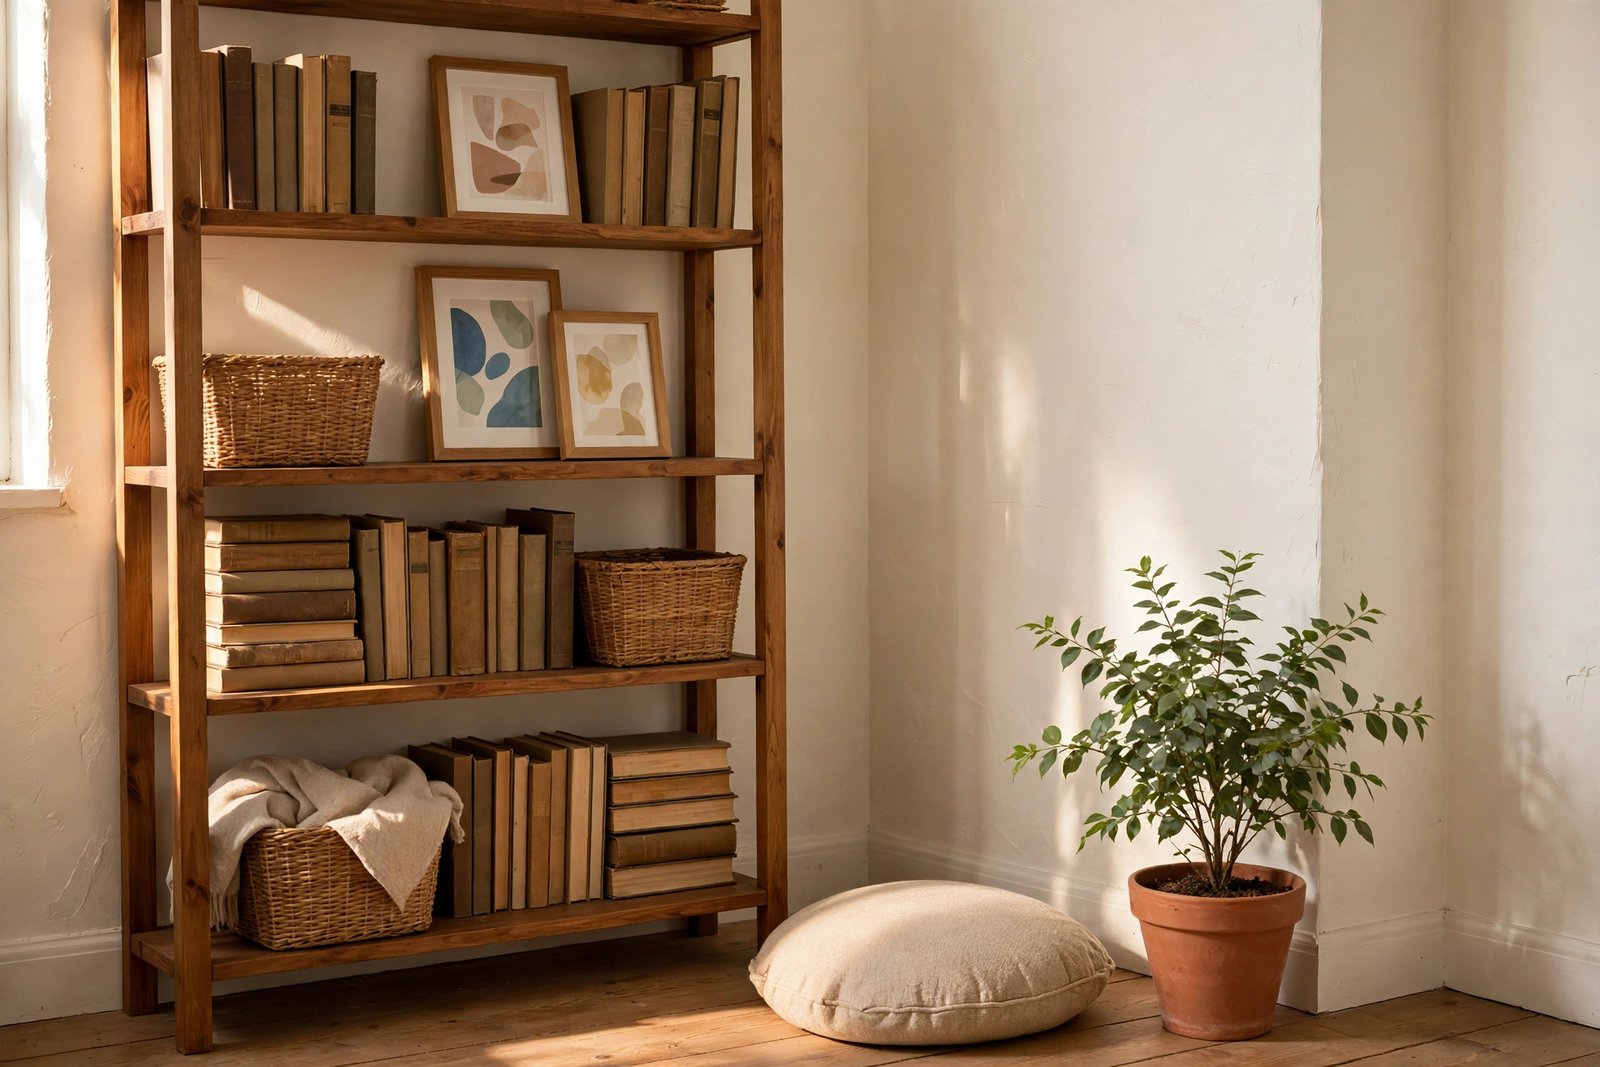
Before buying wall decor, gather every frame you own into one pile. Reframe your best photos or prints in the largest frames, group them tightly with 5–8 cm gaps, and retire the smallest frames to a shelf. Matching the frame colour — even by painting odd frames the same simple black, white, or wood tone with leftover paint — makes a mixed collection look like a set.
Step 4: Spend the Last $10 on One Finishing Touch
With roughly $10 left, buy exactly one finishing item, not three. The strongest options are a healthy green plant in a plain pot (plants add life that no cushion can), a simple tray that gathers the remote controls and a candle into one tidy spot on the coffee table, or new handles or a small storage basket if one ugly item has been bothering you daily. Walk the room once more and ask what your eye trips over. Fix that one thing.
A Sample $100 Breakdown
- Warm white bulbs for the main light and one lamp: $15
- Second-hand lamp for the dark corner (or $0 if you move one): $10
- Set of cushion covers in one colour family: $28
- One throw in a related tone: $12
- Simple framed mirror or one large framed print: $25
- One plant, tray, or finishing item: $10
- Total: $100 — and less if the lamp move is free
Prices vary by country and shop, so treat this as a priority list rather than an exact receipt. If something costs more where you live, protect the order: light first, soft surfaces second, wall third, extras last. You can also browse the rest of our budget room makeovers for more low-cost room plans once this one is done.
Mistakes to Avoid
- Buying decor before cleaning and editing. New items on dusty, crowded surfaces change almost nothing.
- Splitting $100 across ten small ornaments. Small items add clutter faster than they add style; large, simple changes carry the room.
- Choosing colours under the old harsh bulb. Fix the light first, or every fabric colour you pick will look wrong in the evening.
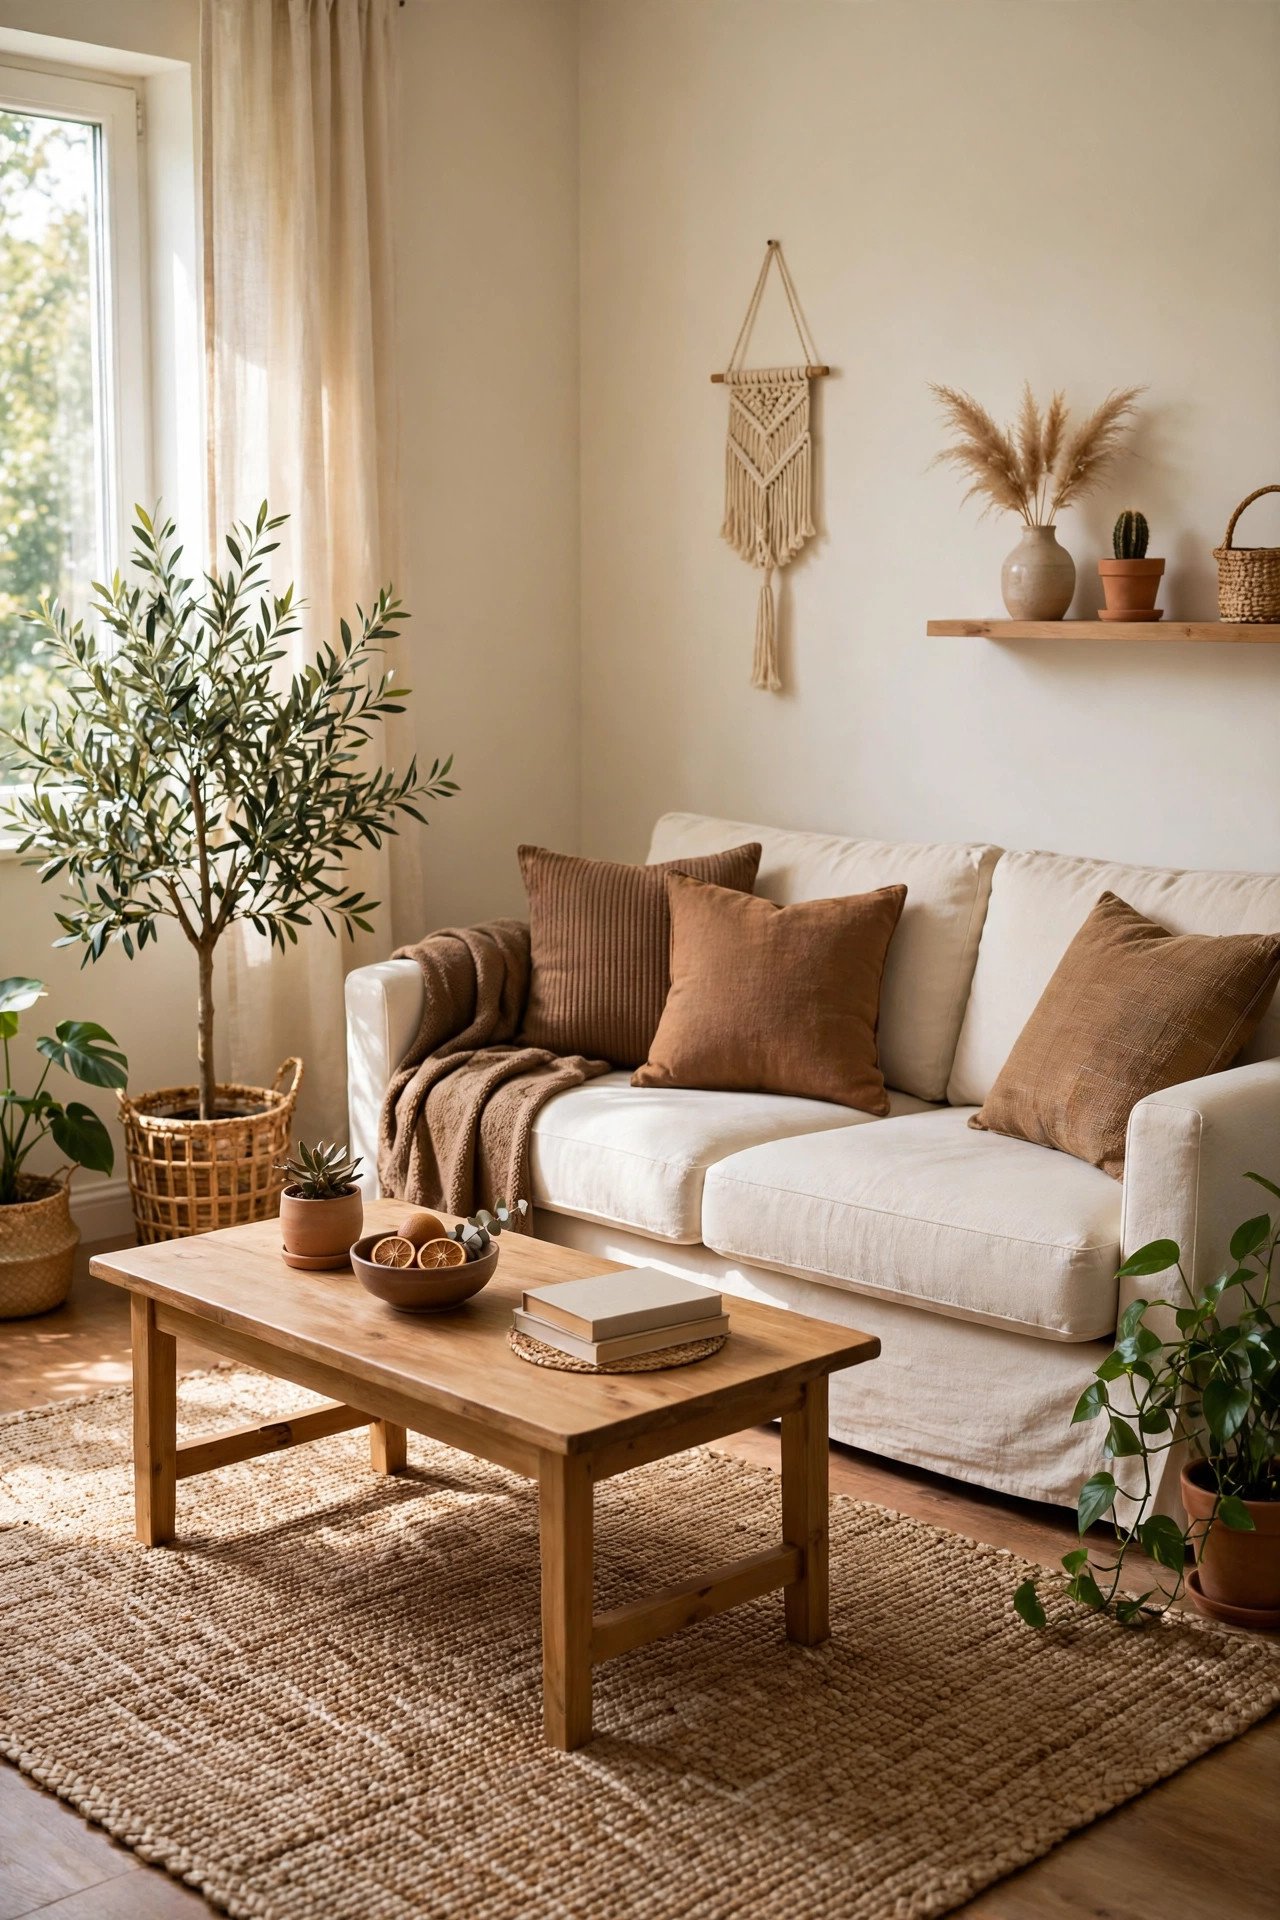
- Copying a photo exactly. A picture online was styled in a different room with different light; borrow its colour palette, not its shopping list.
- Hanging wall art too high and too scattered. One grouped focal point at eye level looks calmer and more expensive than many small frames.
- Spending the whole budget in one shop on the first day. Do the free work, live with the room for a day, then buy — you will drop at least one item from your list.
Frequently Asked Questions
What should I buy first with $100 for a living room?
Warm light bulbs and a lamp for the darkest corner, then cushion covers. Light changes how the whole room looks, and the sofa area is the largest soft surface, so those two steps give the most visible difference per dollar.
Is $100 really enough to change a living room?
Yes, if the furniture and floor are in decent condition and you do the free work first: deep cleaning, editing the surfaces, and rearranging the layout. $100 will not fix worn-out flooring or a sagging sofa, but it can make the same room look cleaner, warmer, and more planned.
Should I paint a wall instead of buying decor?
Painting one wall is a strong budget move if you are allowed to paint and the wall is in good condition — a can of paint can cost less than a mirror. Choose it instead of Step 3, not as well as everything else, and test the colour on a large sheet of paper first, in both daylight and evening light.
How do I choose colours when everything I own is mismatched?
Pick two main colours that already exist in the room — for example the sofa colour and the wood tone — then add one accent colour through the cushions and throw only. Repeat the accent at least twice so it looks planned, and remove or store items in colours that fight with the palette.
A $100 makeover works when it is a priority list, not a shopping spree. Clean and rearrange for free, fix the light, calm the largest soft surfaces, give the main wall one clear focus, and stop. The room will look like you meant it — and you will still know exactly what to save for next.
4 thoughts on “Living Room Makeover on a $100 Budget: What to Change First for the Biggest Difference”