One small budget and a whole apartment of tired rooms is a frustrating combination. The natural instinct is to spread the money fairly — a little paint here, a cushion there, something small for the bathroom — and the natural result is that no room actually changes. Every room gets 20 percent better, which in practice means every room still looks unfinished, and the motivation to continue quietly dies.
The better approach is sequencing: finish one room properly, then the next, in an order decided by three simple things — where you spend your waking hours, what gets seen first, and which rooms are cheapest to finish. This guide gives you that ranking method, the order most apartments should follow, and a sample plan for stretching one budget across several months instead of spending it in one disappointing weekend.
Quick Answer
With a small budget and a whole apartment to fix, make over the living room first, because it holds most of your waking hours and everything guests see. Do the bedroom second — it is the cheapest room to transform and you feel the change every single night. Squeeze the entryway in at any point, because it costs almost nothing. Leave the kitchen and bathroom until last, and do them in stages: their surfaces cost the most per change, so they reward patience and saving up. Keep one colour palette for the whole apartment so leftover paint, fabric, and accessories transfer from room to room instead of being bought again. A typical split of a $300 budget: about $110–$130 on the living room, $50–$60 on the bedroom, $20–$30 on the entryway and hall, and the rest held back as the first stage of the kitchen or bathroom.
Why Spreading the Budget Thin Always Fails
A room reads as “done” only when its main surfaces agree with each other: paint, light, and the largest textiles. Half-fixing four rooms leaves every room with at least one loud, unfinished signal — fresh cushions against yellowed walls, new paint under a cold bulb. The eye finds the unfinished signal every time, so the money feels wasted even though it was spent.
One finished room works the opposite way. It proves the method works, it gives you one space that feels good to be in while the rest waits, and it teaches you your real costs and your real taste before you repeat the process. Sequencing is not patience for its own sake; it is how a small budget produces visible results at every stage instead of at none.
The Ranking Test: Three Questions for Every Room
Before deciding your own order, score each room quickly against three questions.
Where do you spend your waking hours? For most people this is the living room, by a wide margin. Hours matter most in the ranking because a makeover pays you back every hour you sit in the room — a prettier room you use twenty minutes a day is a poor first investment.
What is seen first? The entryway and whatever is visible from it set the mood for the whole home, for you as much as for guests. Visibility matters, but note that the entryway is also the cheapest “room” in any home to fix, which is why it breaks the rules below.
Which rooms are cheapest to finish? Bedrooms are mostly textiles and paint, so they finish cheaply. Kitchens and bathrooms are mostly fixed surfaces — cabinets, tiles, grout, fixtures — so the same money buys far less visible change there. Cheap-to-finish rooms done early build momentum; expensive rooms done first eat the budget and stall everything.
Room 1: The Living Room, First and Fullest
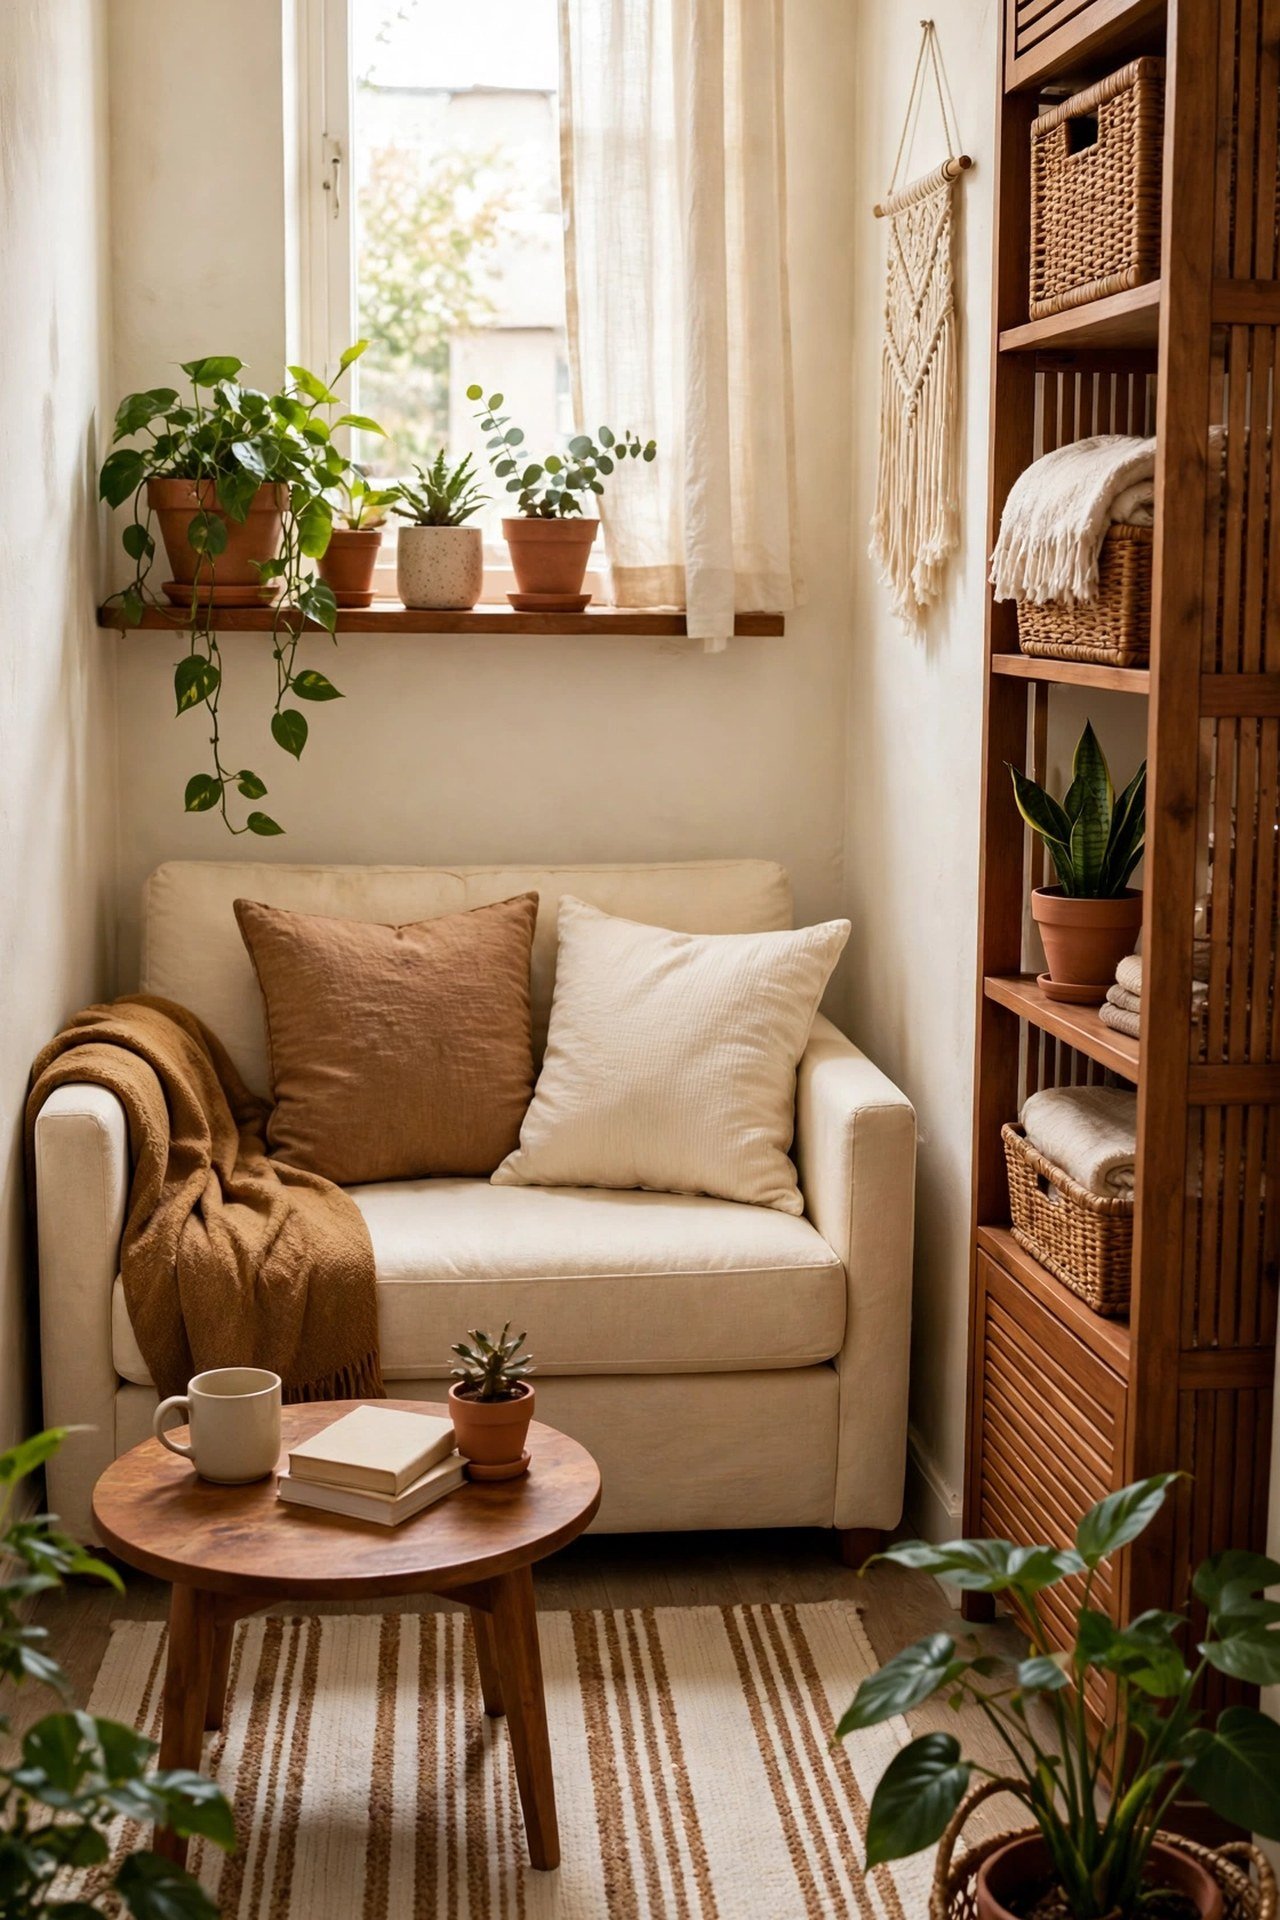
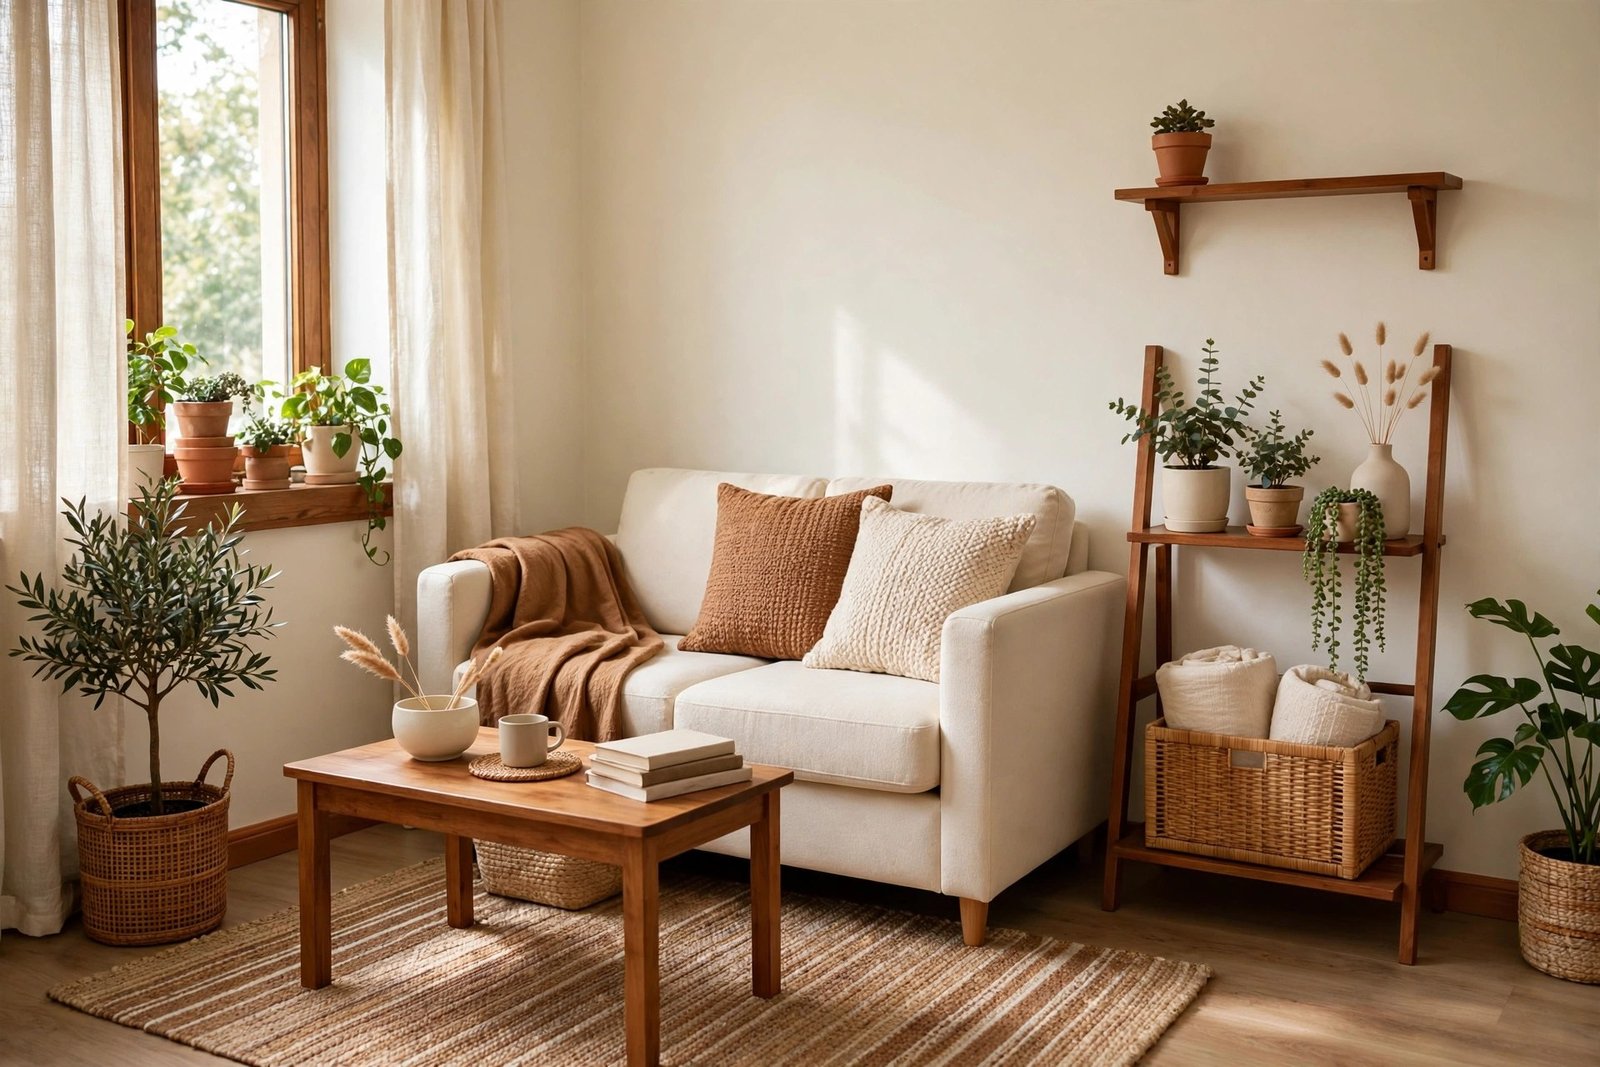
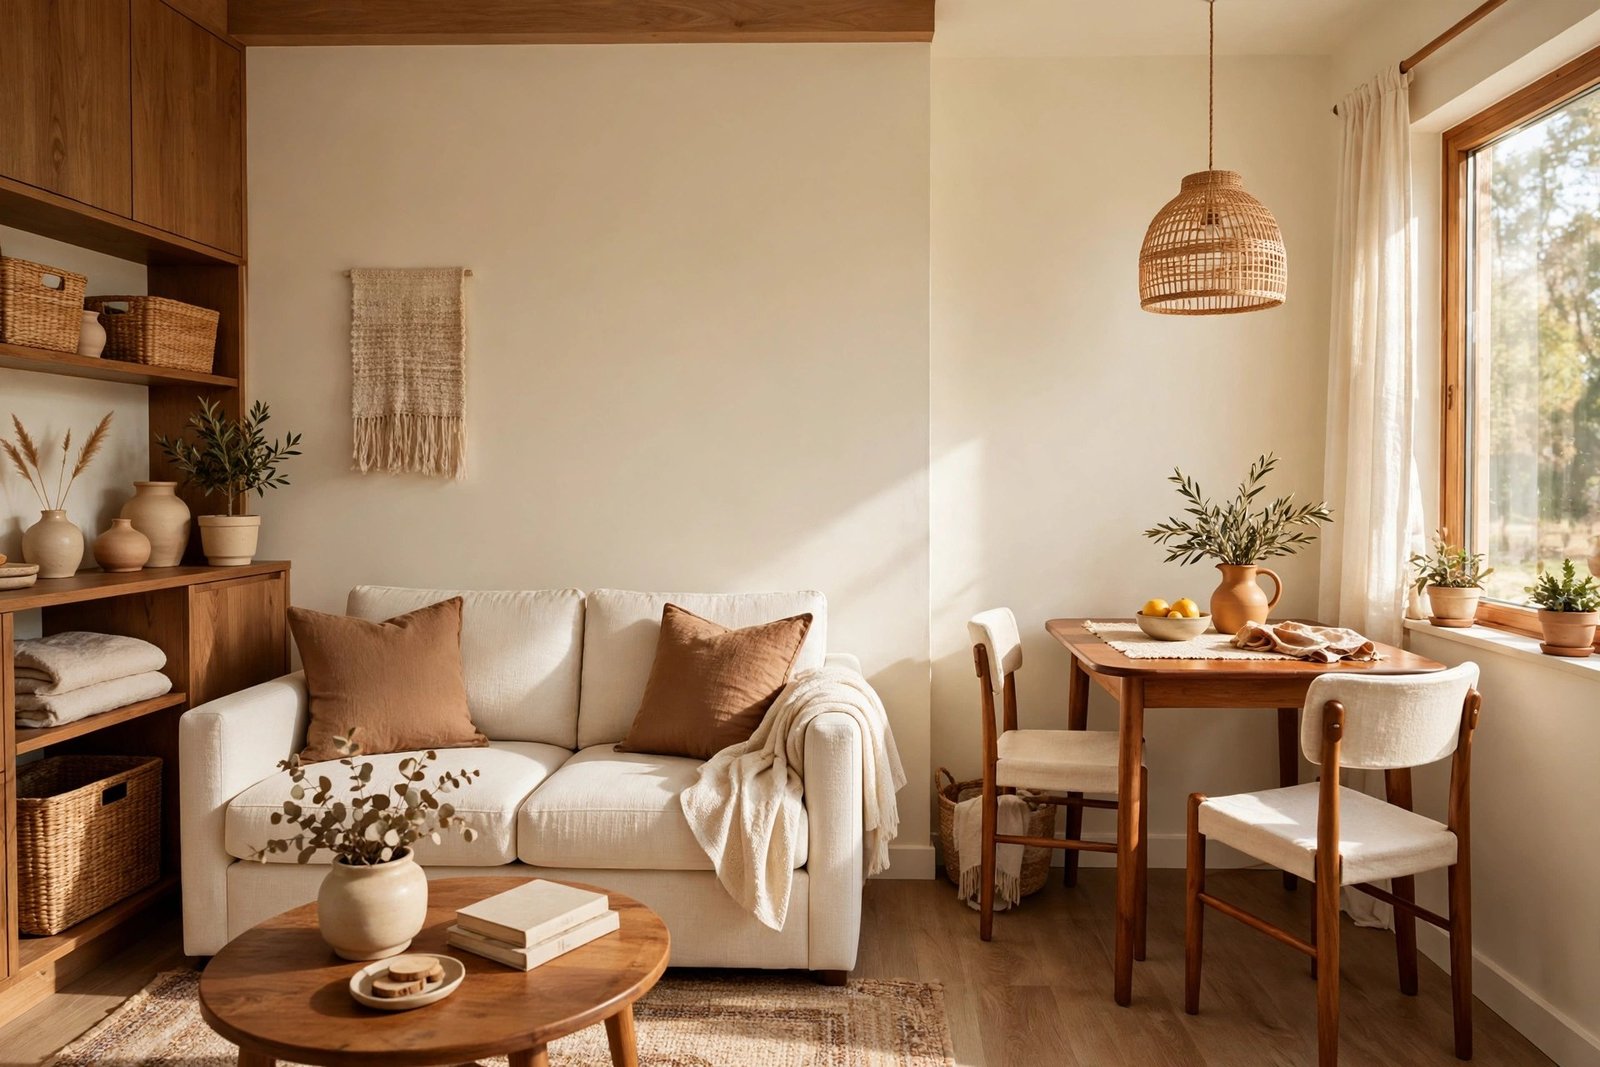
The living room wins on hours and on visibility, so it gets the first and largest share. The method is the same spend-in-order approach used in the living room makeover on a $100 budget: the largest surfaces first, the finishing items last, and nothing bought that the paint and light have not already justified. Give this room a complete job, not a sampler — paint, lighting, curtains and cushions in one pass — because it is the room that will carry your motivation through the slower rooms that follow.
Choose the apartment’s colour palette here, in this room, and write it down: the wall neutral, two main textile colours, one accent. Every later room inherits this palette. That single decision is what makes leftovers transferable and the finished apartment feel like one home rather than four separate projects.
Room 2: The Bedroom — Cheapest Change, Felt Every Night
The bedroom comes second because it is the best value in the whole apartment: it is mostly one big textile (the bed) plus walls, and small money transforms it. The bedroom makeover under $50 shows the full method — fresh plain bedding, warm bedside light instead of the ceiling bulb, curtains or a blind that matches the palette. You will feel this room’s makeover twice a day, morning and night, which is a return no other room can match for the price.
The Entryway: the Exception That Costs Almost Nothing
Strictly by hours, the entryway ranks last — nobody sits in it. But it is the first thing seen, and its makeover is mostly decisions rather than purchases: a fixed home for shoes, coats, keys and post, a clear floor, one mirror. Because it can be done for $0–$30 at any moment, treat it as a filler job — the satisfying weekend project you do between bigger rooms whenever energy is higher than money.
Rooms 3 and 4: Kitchen and Bathroom, Last and in Stages
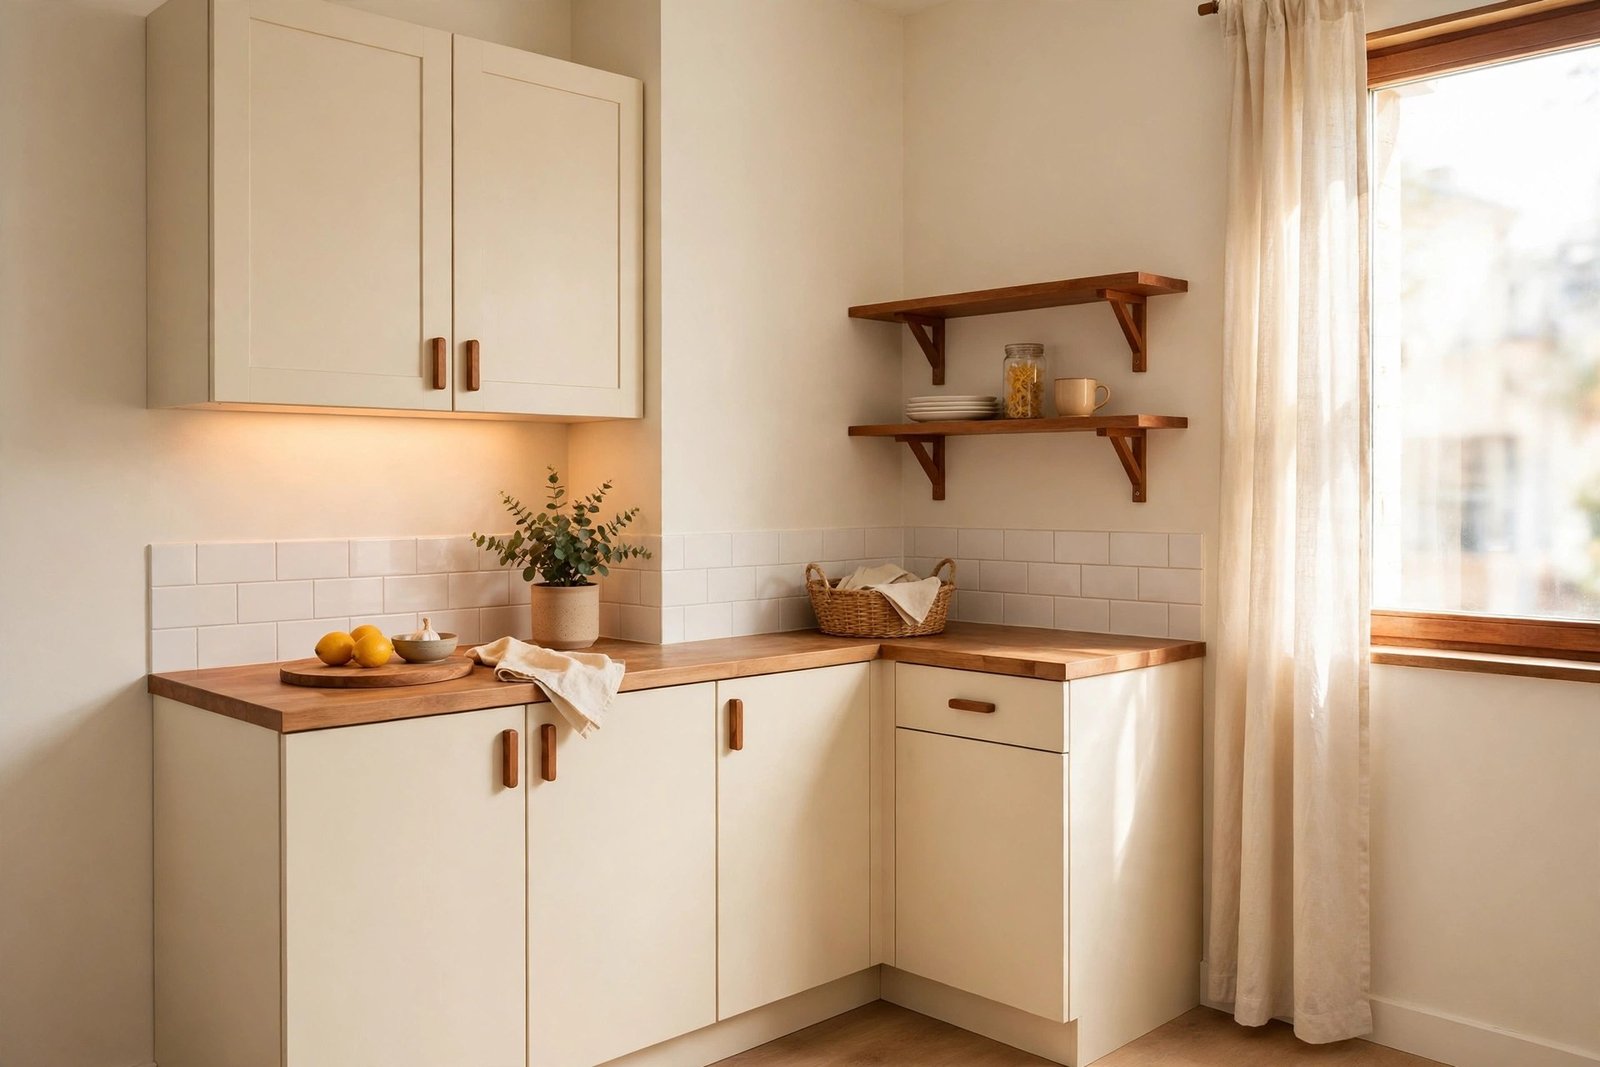
Kitchens and bathrooms come last not because they matter least, but because their change costs the most. Tiles, cabinets, taps and grout are fixed surfaces; there is no cushion-cover equivalent that transforms them for $15. Doing them first on a small budget produces a half-done kitchen and nothing anywhere else.
Instead, stage them. Stage one for the kitchen is paint and handles; stage two is lighting; stage three is the small finishing items. Stage one for the bathroom is grout and sealant; stage two is light; stage three is textiles and calm storage. Each stage is a complete, satisfying job on its own, funded by a month or two of the money you are no longer spending on rooms that are already finished.
A Sample Sequence for One $300 Budget
- Month 1 — Living room, $110–$130: paint, warm bulbs and a lamp, curtains and cushion covers in the new palette.
- Month 2 — Bedroom, $50–$60: plain bedding set, bedside lamp or warm bulbs, curtain refresh.
- Any weekend — Entryway, $0–$30: hooks, one basket, key bowl, mirror, clear floor.
- Months 3–4 — Kitchen or bathroom stage one, $60–$90 saved up: the single biggest surface job in whichever room bothers you more.
- Kept back throughout, about $20: a small reserve for the thing that breaks, stains, or turns out to be missing — every project has one.
All the room guides mentioned here, with their own step-by-step orders and budgets, are gathered under budget room makeovers so you can plan your own sequence room by room.
Mistakes to Avoid
- Starting with the hardest room. The kitchen first sounds brave and usually ends the whole project: the budget vanishes into surfaces, nothing else changes, and the apartment still feels untouched.
- Buying decor for rooms you have not reached yet. A bargain cushion for the bedroom, bought during the living-room month, locks in colours before the palette reaches that room — and quietly spends its budget early.
- Choosing a new palette in every room. Four palettes means no leftovers transfer, nothing matches, and the apartment feels like four strangers sharing a corridor. One palette, varied gently, is cheaper and calmer.
- Doing the spare room or guest corner first. The least-used room gives the least daily return. It goes last, and by then it can be furnished largely from the other rooms’ leftovers.
- Spending the whole budget in the first weekend. Real rooms reveal real costs as you go. Holding a reserve and staging the expensive rooms keeps the plan alive past month one.
- Skipping the entryway because it is small. It is the cheapest mood change in the home. Leaving it messy while the living room improves is leaving the first impression behind.
Frequently Asked Questions
I work from home. Does the order change?
Slightly. Your work corner becomes one of your highest-hour spaces, so treat it as part of room one: if it sits in the living room, the living-room makeover already covers it; if it sits in the bedroom, pull the bedroom level with the living room in your ranking and split the first two months between them.
What if guests are coming soon and one room embarrasses me?
Then borrow from the plan, honestly: do the guest-visible room’s cheapest complete version now — usually paint plus textiles, skipping the extras — and return to the normal order afterwards. What does not work is decorating only for the visit and then stopping; note what you skipped and schedule it.
Should I save up and do everything at once instead?
Only if you are confident you will actually save the full amount. For most households, sequencing wins because each finished room rewards you immediately and costs teach you the real prices. A finished living room this month is worth more than a perfect plan for next year that quietly gets spent on something else.
How do I keep the rooms matching if I buy things months apart?
Write the palette down — wall colour name, the two textile colours, the accent — and keep a small sample: a paint dab and fabric scraps on one card in your bag. Buy nothing for the apartment that is not on that card. This one habit prevents almost every “it looked right in the shop” mismatch.