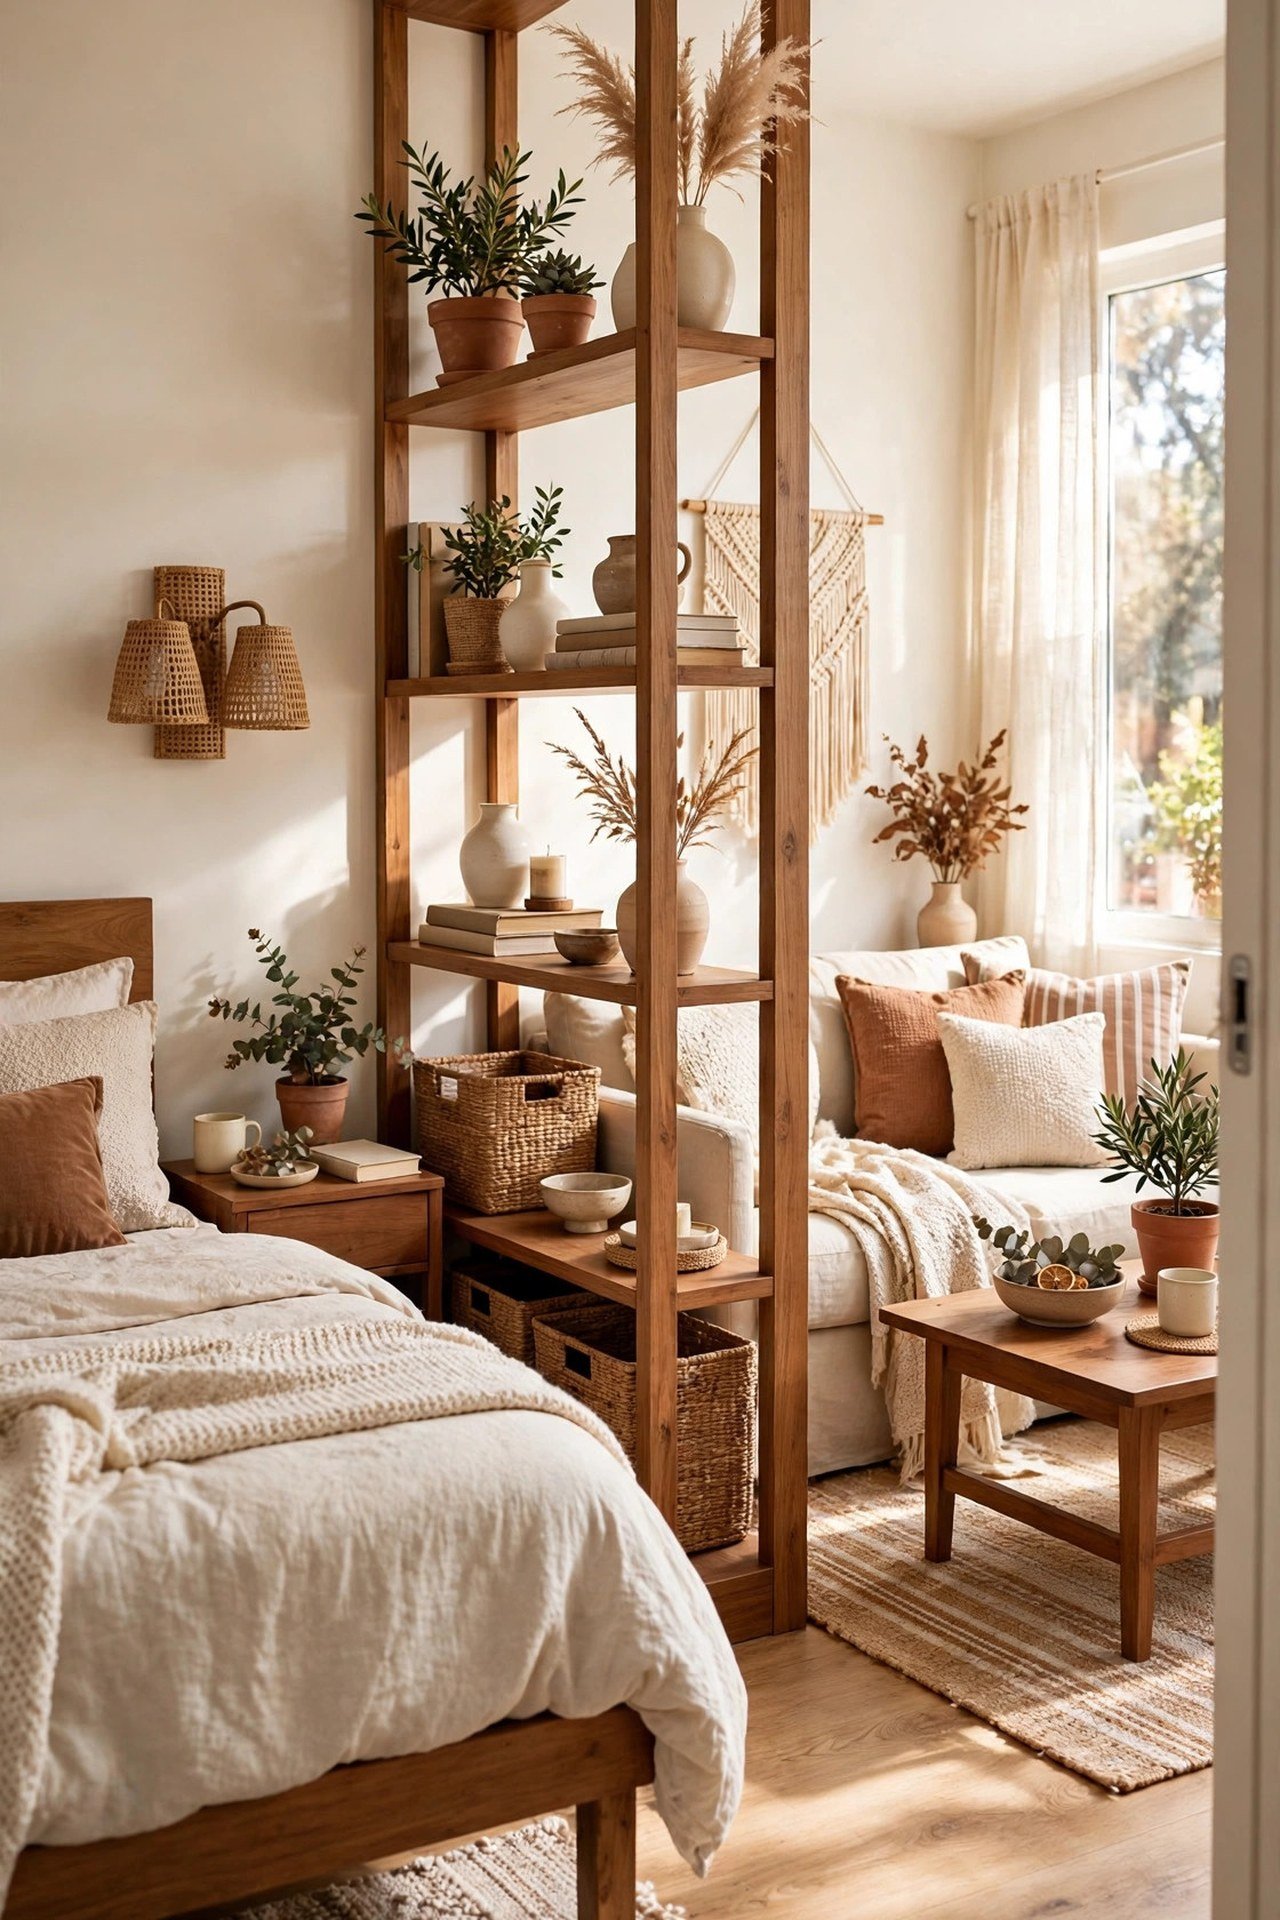
A studio apartment has one big problem that has nothing to do with its size: everything is visible from everywhere. The bed is in the living room. The desk is in the bedroom. You work two metres from where you sleep, and the whole space feels like one undifferentiated room that is never quite a home, because nowhere in it has a clear job.
The fix is zoning — and zoning is not done with walls or with buying storage furniture. Zones are visual signals. Your brain reads edges, pools of light, and blocks of colour, and sorts a space into “places” accordingly. A rug’s edge, a curtain line, a different lamp: these are the tools. This guide builds three clear zones — sleep, work, and living — in one open room using decor alone, most of it swapped in from what you already own.
Quick Answer
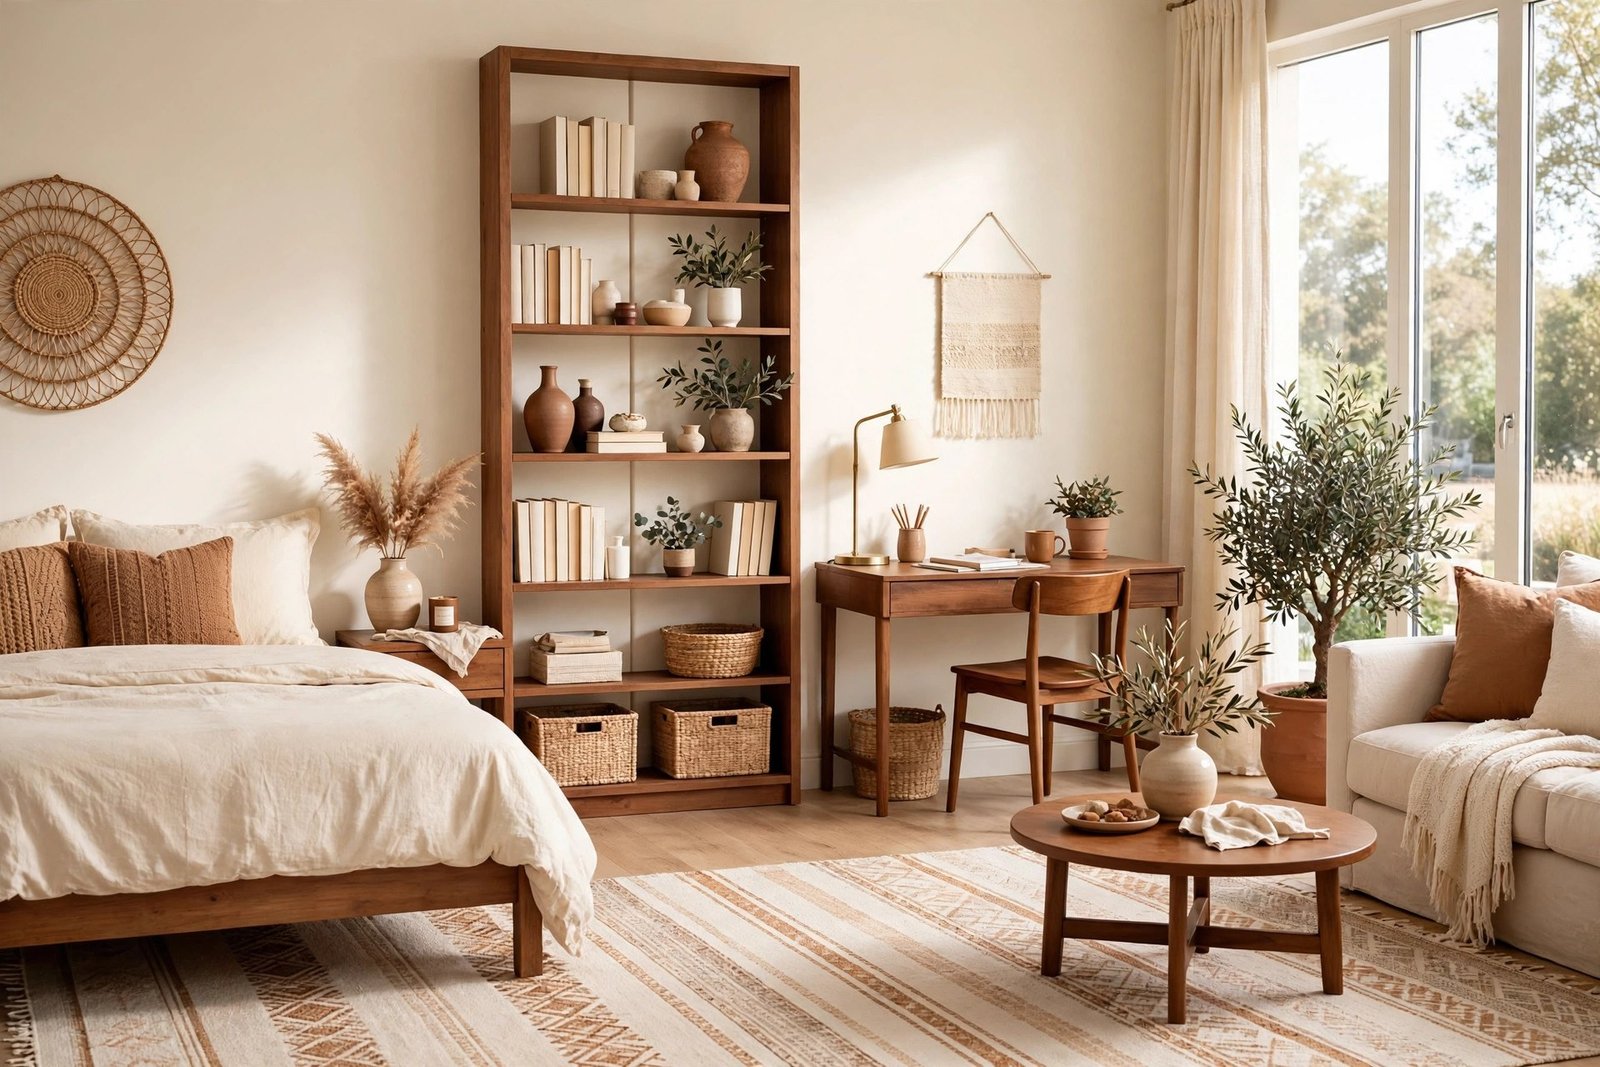
To divide a studio apartment into sleep, work, and living zones with decor, give each zone four signals. First, a floor edge: a rug under the living seating, a smaller rug or mat beside the bed, and a defined mat under the desk, with bare walking lanes between them. Second, a boundary: an open-backed shelf, a curtain on a wire or tension rod, or a tall plant marking the edge of the sleep zone — something the eye reads as a line but light can pass through. Third, its own light: a warm lamp for the bed zone, a focused task lamp for work, softer light for living, so at night the zones become separate pools of light. Fourth, a colour thread: calm colours repeated in the bed textiles, one clear accent for the work area, and the living area mixing the two — all over one shared neutral background so the room still feels like one calm home. Total cost can be $0 with swaps, or roughly $50–$80 staged over time.
How Zones Actually Work: Signals, Not Walls
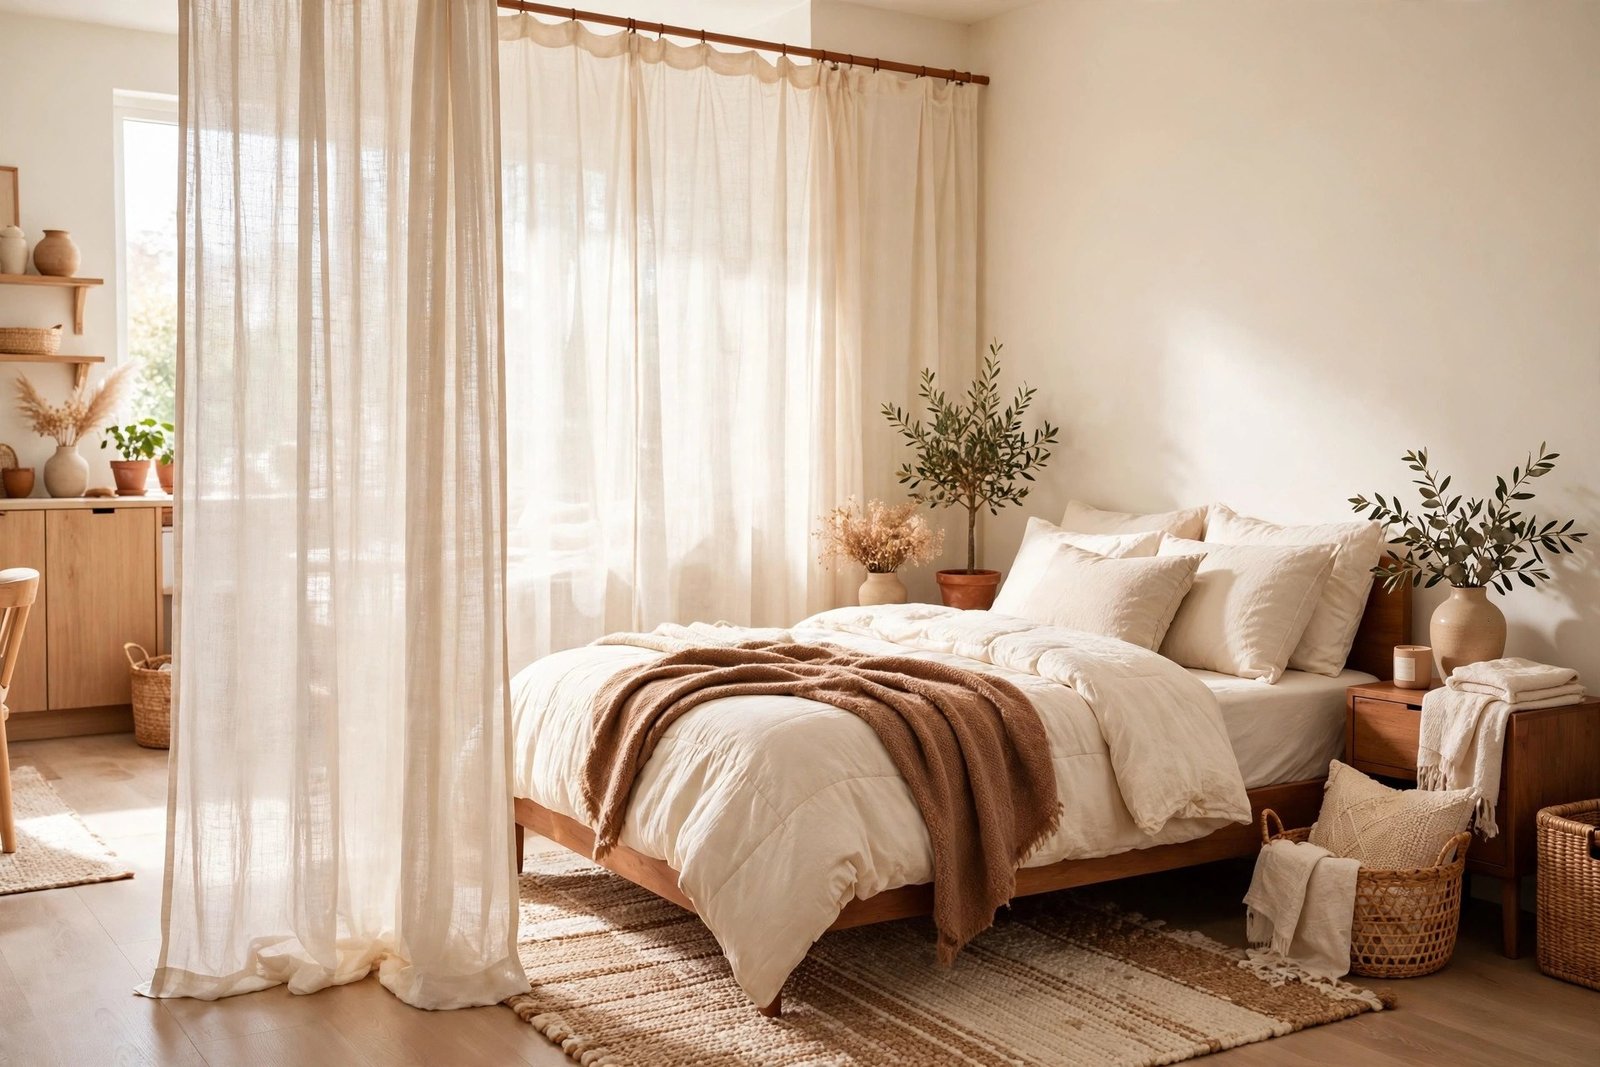
Walk into any well-arranged open-plan room and you can point to where one area ends and another begins, even though nothing solid separates them. That is because your brain constantly reads four kinds of signal: floor edges, vertical lines, light, and colour. A rug says “this patch of floor belongs together”. A shelf or curtain says “something changes beyond this line”. A pool of lamplight says “this is a place”. A repeated colour says “these things are one group”.
Understanding this changes what you buy. You do not need room dividers in the furniture sense; you need stronger signals at the boundaries you want. Weak signals are why many studios feel zoneless even after rearranging — the furniture is in groups, but the rugs, lights, and colours blur together into one long message. The steps below strengthen one signal at a time.
Step 1: Draw the Map on the Floor With Rugs
Floors are the cheapest zoning surface you own. Start with the living zone, which usually holds the largest rug: place it under the sofa and coffee table area, front legs of seating on it, exactly as you would in a small living room that needs to feel bigger — in a studio, that rug’s edges are also a boundary, announcing where living stops.
Give the sleep zone its own smaller rug or a washable mat beside the bed, so your feet land on “bedroom” every morning. The work zone needs the least: a small rug or desk mat under the chair is enough to mark it. Between the rugs, leave the bare floor as walking lanes. Those lanes matter as much as the rugs — they are the corridors of your one-room home, and keeping them clear is what makes the zones read as separate places rather than one patterned carpet.
Step 2: Mark One Real Boundary — Lightly
Rugs handle the floor; one vertical boundary handles the rest. Put it at the sleep zone, because the bed most needs to feel separated — a bed you can see from the desk all day makes rest feel postponed. Choose a divider that light and air can pass through: an open-backed shelving unit styled with books, baskets, and a plant; a curtain on a wire or tension rod across the sleep corner; or a folding screen. Each is a decor item, not a building project, and each can move when the layout changes.
Style the divider as decor, not as a wall. Objects on open shelves should be arranged in small groups with gaps, in the room’s colours, so the shelf reads as furniture rather than a barrier you are hiding behind. A curtain should be light in colour and weight — drawn when you want the bed out of sight, open when you want the space. The work and living zones rarely need a vertical divider between them; a change of rug and light is enough for two waking activities.
Step 3: Give Every Zone Its Own Light
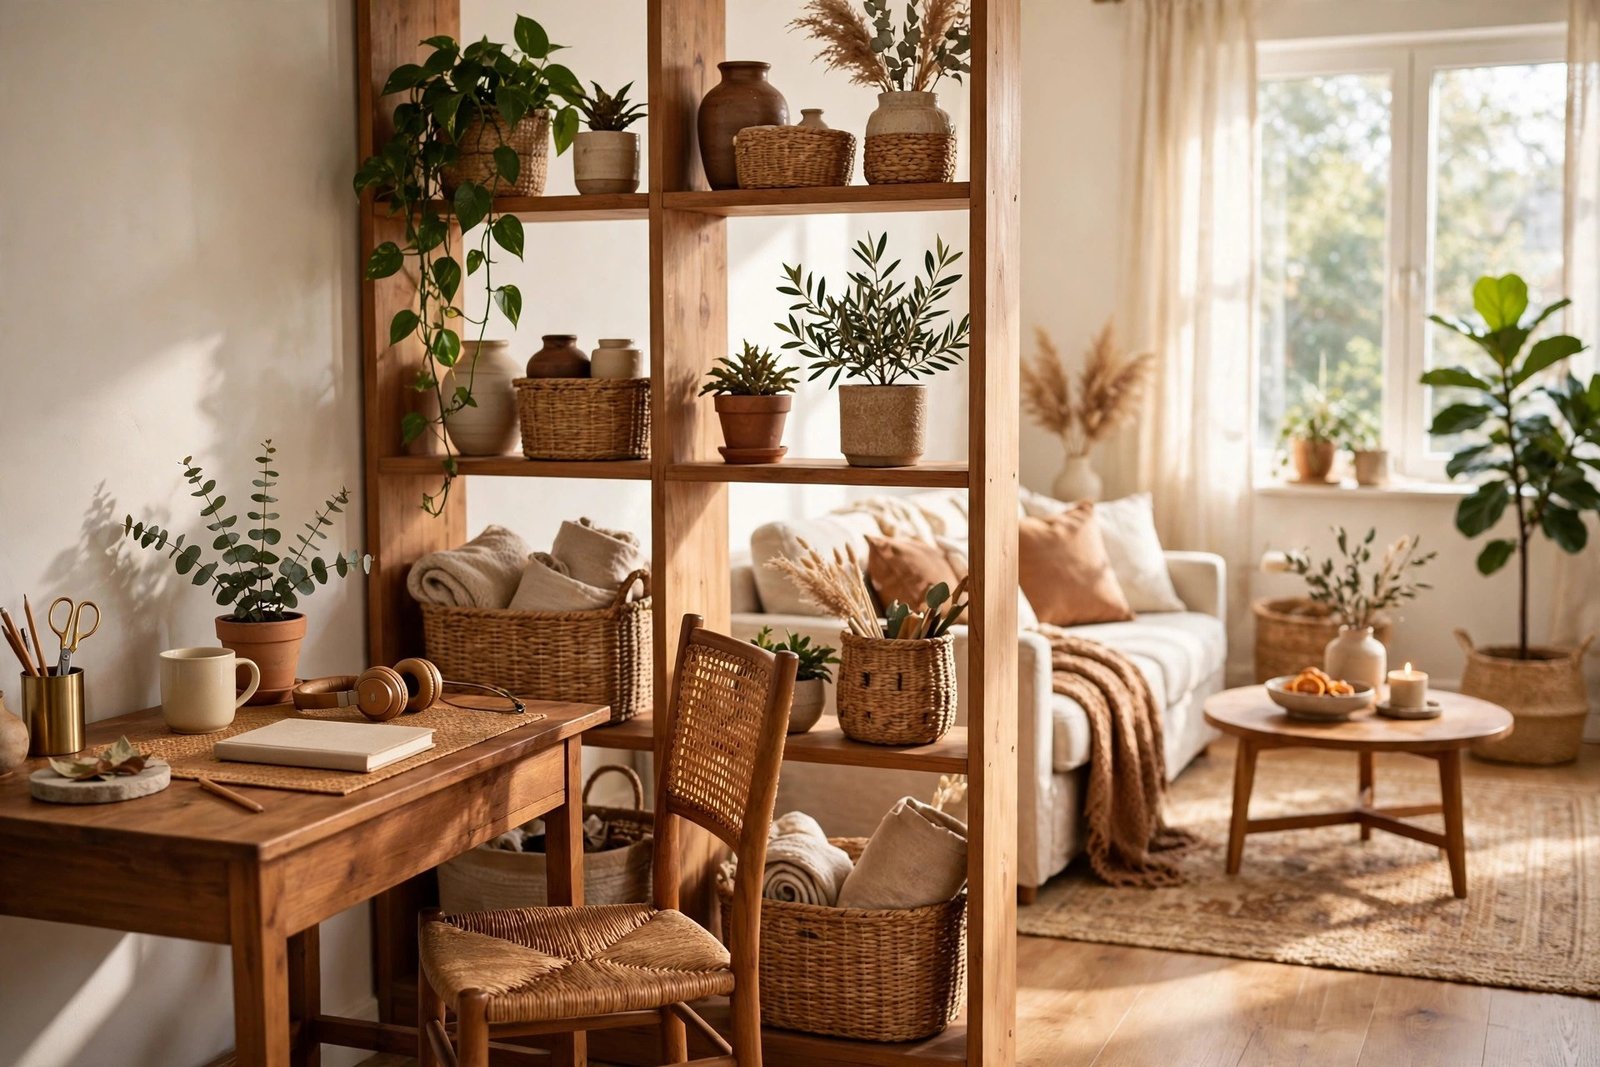
Lighting is the zoning tool that works hardest after dark, when a studio most needs to feel like it has rooms. One ceiling light lights everything equally and zones nothing. Three lamps create three places.
In the sleep zone, use a warm, low lamp at bedside height — the softest light in the room. In the work zone, use a focused task lamp aimed at the desk: brighter and directional, so the pool of light on the desk says “office” even at night. In the living zone, use a lamp at seated height near the sofa, warm like the bedside lamp but a little stronger. In the evening, turn the ceiling light off and the studio becomes three gentle pools of light with soft darkness between them — and the darkness does the work of walls.
Style the sleep area’s textiles the same way: as in a bedroom makeover under $50, plain bedding in one calm colour family makes the zone feel like a real bedroom rather than a bed parked in a room.
Step 4: Colour-Code the Zones, Gently
Colour is the signal that ties each zone together and separates it from the next. Keep the shared background — walls, floor, the largest furniture — in one neutral family across the whole studio. Then give each zone one repeated colour thread: for sleep, a calm colour (soft blue, sage, or warm grey) in the bedding, the bedside rug, and one cushion; for work, one clear accent (mustard, rust, deep green) in the desk mat, a cushion on the chair, and one small item on the desk; for living, a mix that borrows from both, so it feels like the meeting place of the room.
The rule is repetition inside a zone, difference between zones. Two or three appearances of a colour make the brain group those items; a colour used once is just an object. Keep the differences gentle — three unrelated strong schemes will chop the room into fragments, while three threads over one neutral background reads as one designed home with three moods.
Step 5: Give Each Zone a “Main Wall”
Finally, anchor each zone on the wall behind it. Hang one main picture or a pair above the sofa, something calmer above the bed, and one bold print above the desk. Artworks act like signs: they tell anyone entering — including you, half awake — which place they are looking at. Keep each zone’s piece in its colour thread and at eye level for that zone’s activity: seated height for living, lower for sleep, working height for the desk.
A Sample Budget for Zoning a Studio
- Rugs: $0–$40 — rearrange what you own first; buy only the missing small rug for the bed or desk zone.
- Boundary: $0–$25 — a curtain and wire or tension rod, or a shelf you already own moved into place.
- Lighting: $0–$20 — move lamps from elsewhere first; buy warm bulbs and at most one missing lamp.
- Colour threads: $10–$20 — two cushion covers or a throw in the zone colours.
More small-space decorating methods are collected under small-space decor ideas that work.
Mistakes to Avoid
- Building a solid wall of furniture. A wardrobe or solid bookcase across the room blocks light and air and makes both sides feel like cupboards. Choose open or fabric boundaries instead.
- Zoning the furniture but not the light or colour. Groups of furniture under one ceiling bulb still read as one room. Zones only exist when rugs, light, and colour agree with the layout.
- A completely different style in every zone. Farmhouse bed, industrial desk, glam sofa — the room shatters into three arguments. One background style with three colour threads is what works.
- Putting the sleep zone by the door. The bed then catches every arrival and every bag. Sleep wants the far, quiet corner; living can handle the traffic end.
- A dark, heavy divider. It steals light from everything behind it and makes the studio feel smaller. Pale curtain, open shelf, tall plant — light boundaries only.
- Filling the walking lanes. A stool or a basket in the bare lanes dissolves the map you have just drawn. The lanes are part of the design; keep them empty.
Frequently Asked Questions
How can I divide the bed area without drilling or fixing anything?
Use a tension rod or a freestanding curtain frame, or an open-backed shelving unit that simply stands in place. A tall, full plant in a heavy pot also marks the line surprisingly well. All three are fully reversible and leave no marks, so they suit rentals as well as owned studios.
My studio is very small. Will three zones still work?
Yes, but soften the tools: skip the vertical divider if space is tight and zone with rugs, light, and colour only. The signals can be subtle — a mat by the bed, a lamp that means work, one colour for sleep — and still effective, because the brain reads even small consistent signals as places.
Does the bed need to be hidden for the zoning to work?
No. It needs to be defined, not hidden. A bed dressed in its own calm colour thread, with its rug, its lamp, and its picture, reads as a bedroom zone even in full view. Hiding helps some people switch off from work, but a neatly made, colour-coded bed zone works without it.
Which zone should I build first if money is tight?
The sleep zone. It benefits you every night, needs the clearest boundary, and its tools are the cheapest: a mat, calm bedding you may already own, a warm lamp, and one picture. Build the work zone second if you work from home, and let the living zone — usually the most furnished already — come together last from what remains.