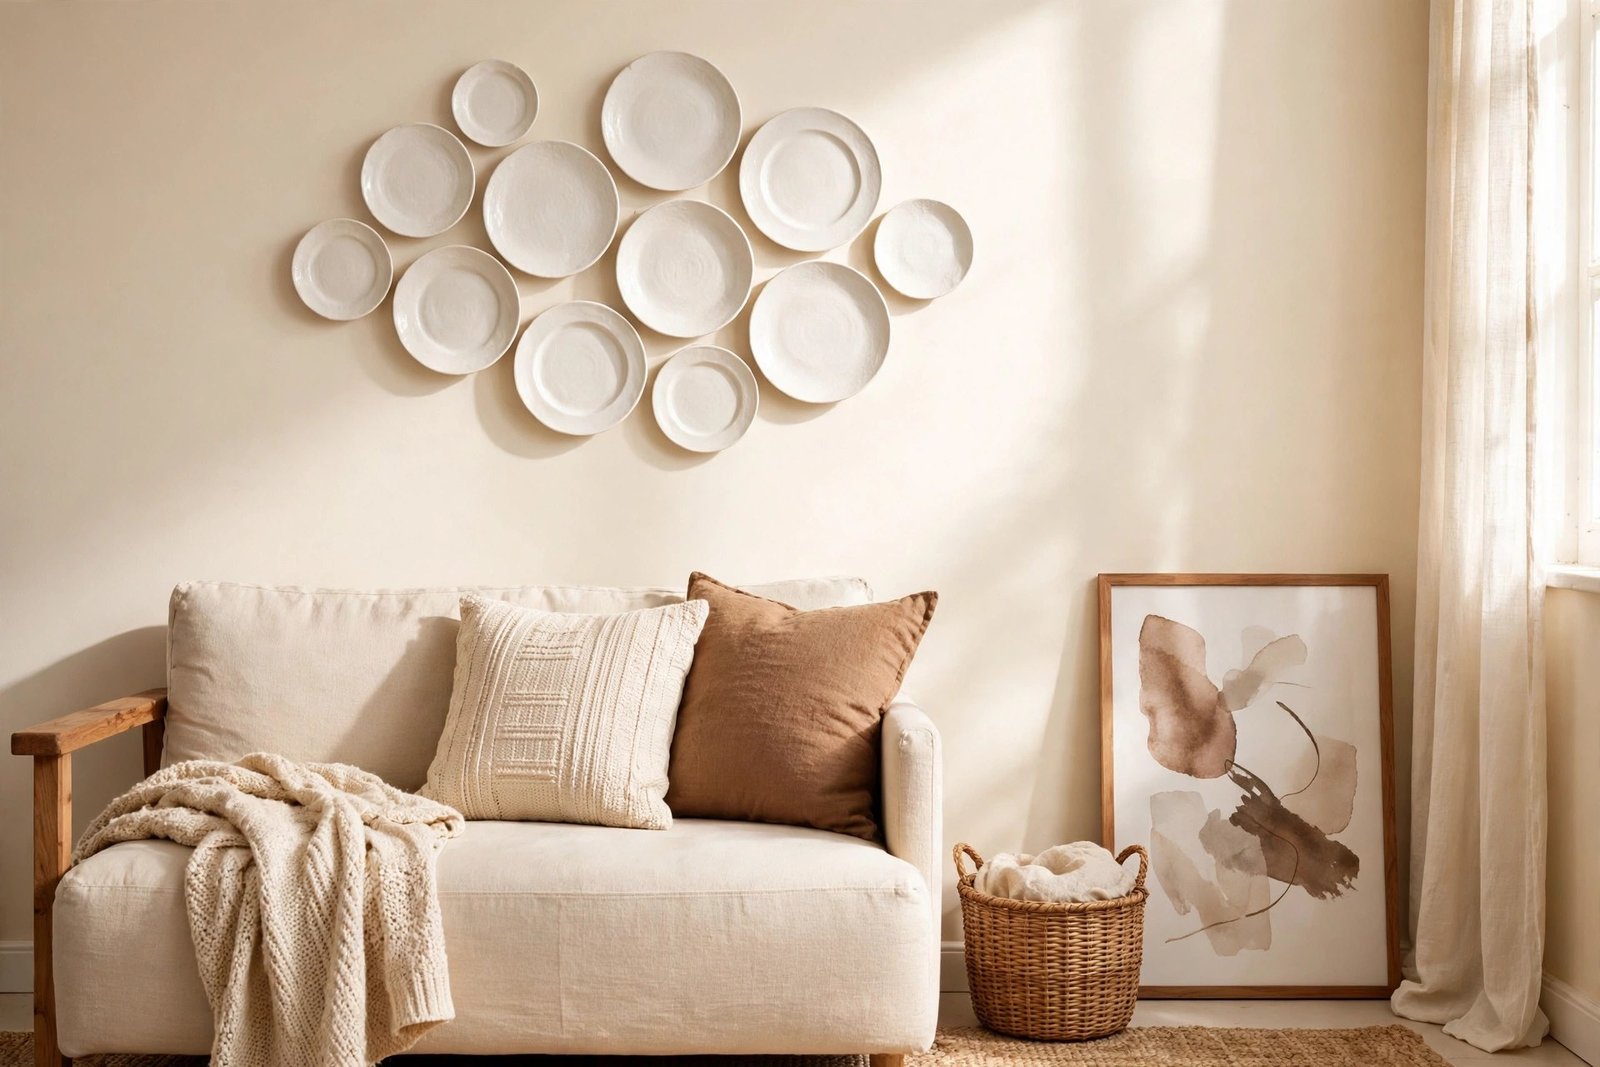
A big empty wall can make a whole room feel unfinished, even when the furniture is fine. The usual fix — a set of framed prints — is also the expensive one. Good frames cost far more than the art inside them, and a wall needs several before it stops looking bare. So the wall stays empty, and the room keeps feeling like you only just moved in.
The good news is that framing is only one way to fill a wall, and it is the priciest. This guide covers the nearly free options: washi-tape frames, clipboards, fabric panels, printables in second-hand frames, and shallow ledges — then walks step by step through the easiest one, a washi-tape gallery wall you can finish this afternoon for the price of two rolls of tape.
Quick Answer
To decorate an empty wall when frames are too expensive, skip the frames and use the wall itself. Washi tape can outline prints and photos like a frame for about $1 per picture. Clipboards hang unframed art tidily and let you swap it in seconds. A leftover piece of fabric stretched over a board or canvas makes one large, soft wall panel. Printable art — much of it free to download and legal to use — turns second-hand frames from a thrift store into a finished gallery. Whichever you choose, plan the layout on the floor first, keep gaps even at 5–8 cm, and hang the centre of the arrangement at about 145 cm from the floor.
Why Empty Walls Make a Room Feel Unfinished
Walls are the largest surfaces in a room, and the eye reads them as the room’s background. Bare walls in an otherwise furnished room send a “not done yet” signal, the same signal sent by the other small leftovers in redecorating a room using only what you already own — the fix is rarely new furniture; it is finishing the surfaces. One arranged group of pieces, even cheap ones, closes that signal completely. A wall does not need expensive art. It needs a decision.
Five Nearly Free Wall Decor Ideas
1. Washi-tape frames
Washi tape is a low-tack paper tape that sticks to paintwork and peels off without damage — ideal for renters. Stick a print, photo, postcard, or calendar page to the wall, then run tape around its edges to draw a “frame” on the wall. A simple rectangle looks clean; a double line or corner brackets look more designed. One roll covers several pictures, and mistakes cost nothing: peel it off and redo it.
2. Clipboards
Plain clipboards from a dollar store cost about $1–$2 each and hang from a single nail by their clip. Clamp in a print, a child’s drawing, a recipe card, or a page from an old book. A row of three or four matching clipboards reads as one tidy installation, and the art swaps in seconds whenever you tire of it.
3. A fabric panel
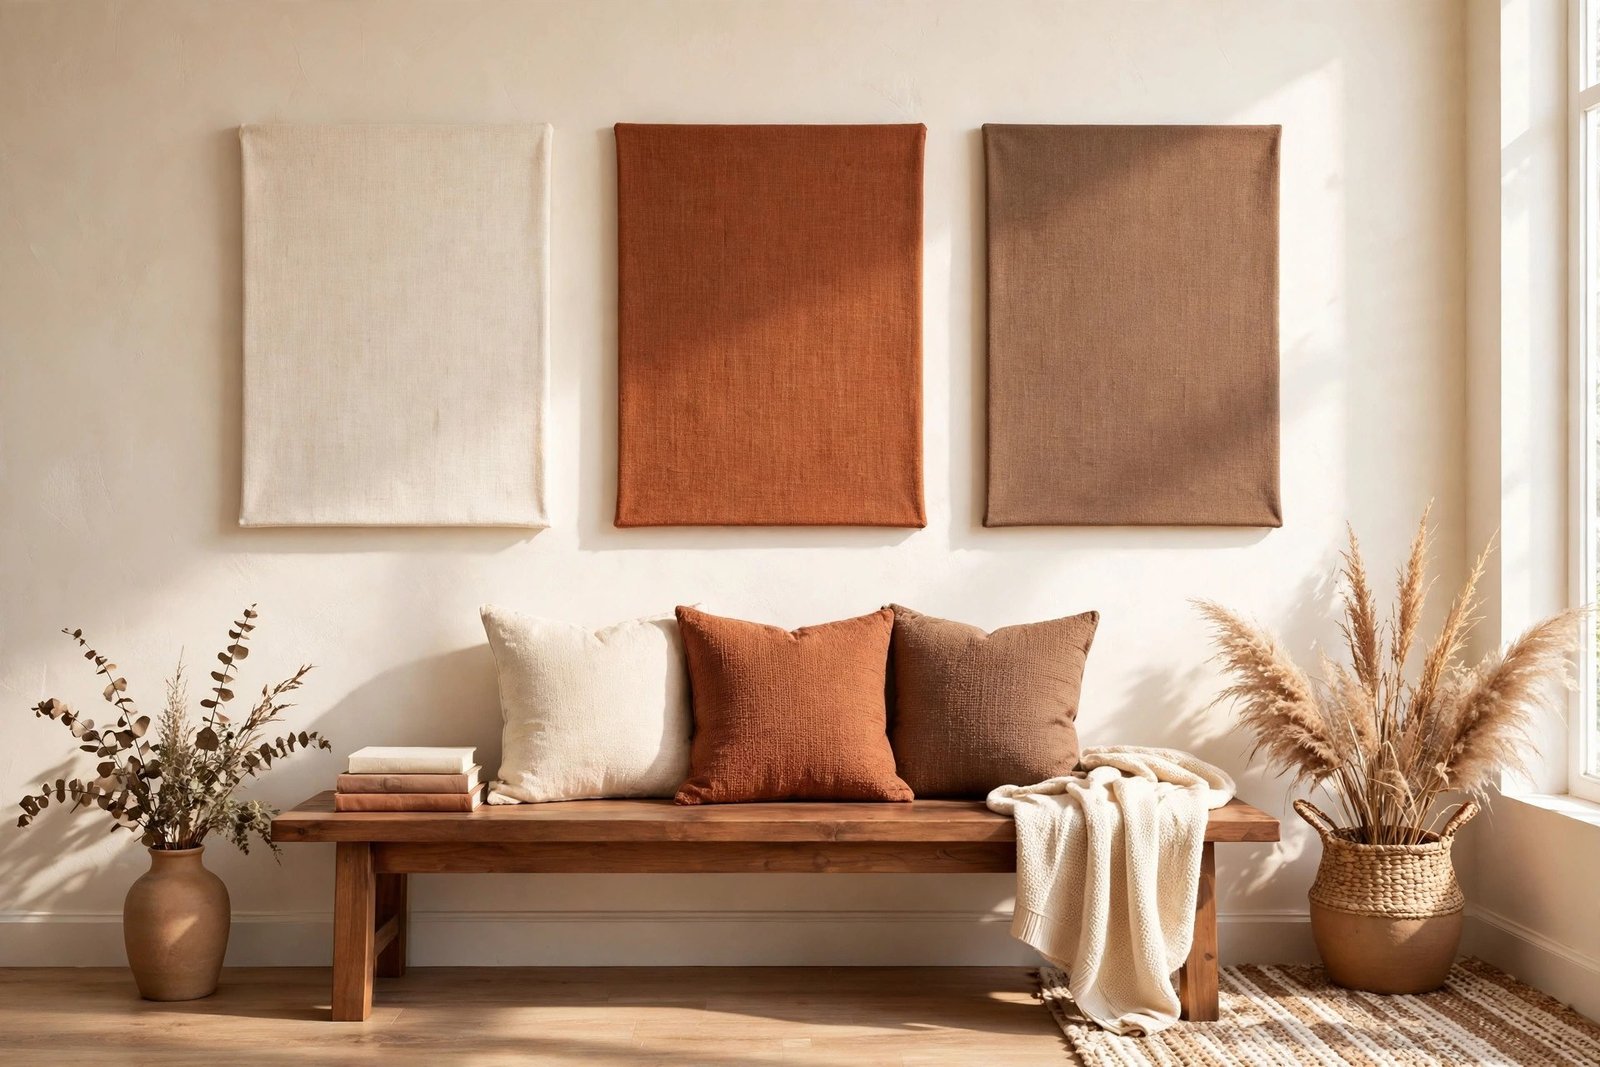
Leftover fabric — a patterned scarf, a pillowcase with a pretty print, a remnant from the fabric shop’s bargain bin — stretched tightly over a cheap canvas, a piece of foam board, or even a large picture frame with the glass removed, becomes one big soft panel. Big pieces fill walls faster than small ones, and fabric brings the pattern and colour a painted wall lacks. Staple or tape the fabric around the back, pull it drum-tight, and hang it like a picture.
4. Printable art in second-hand frames
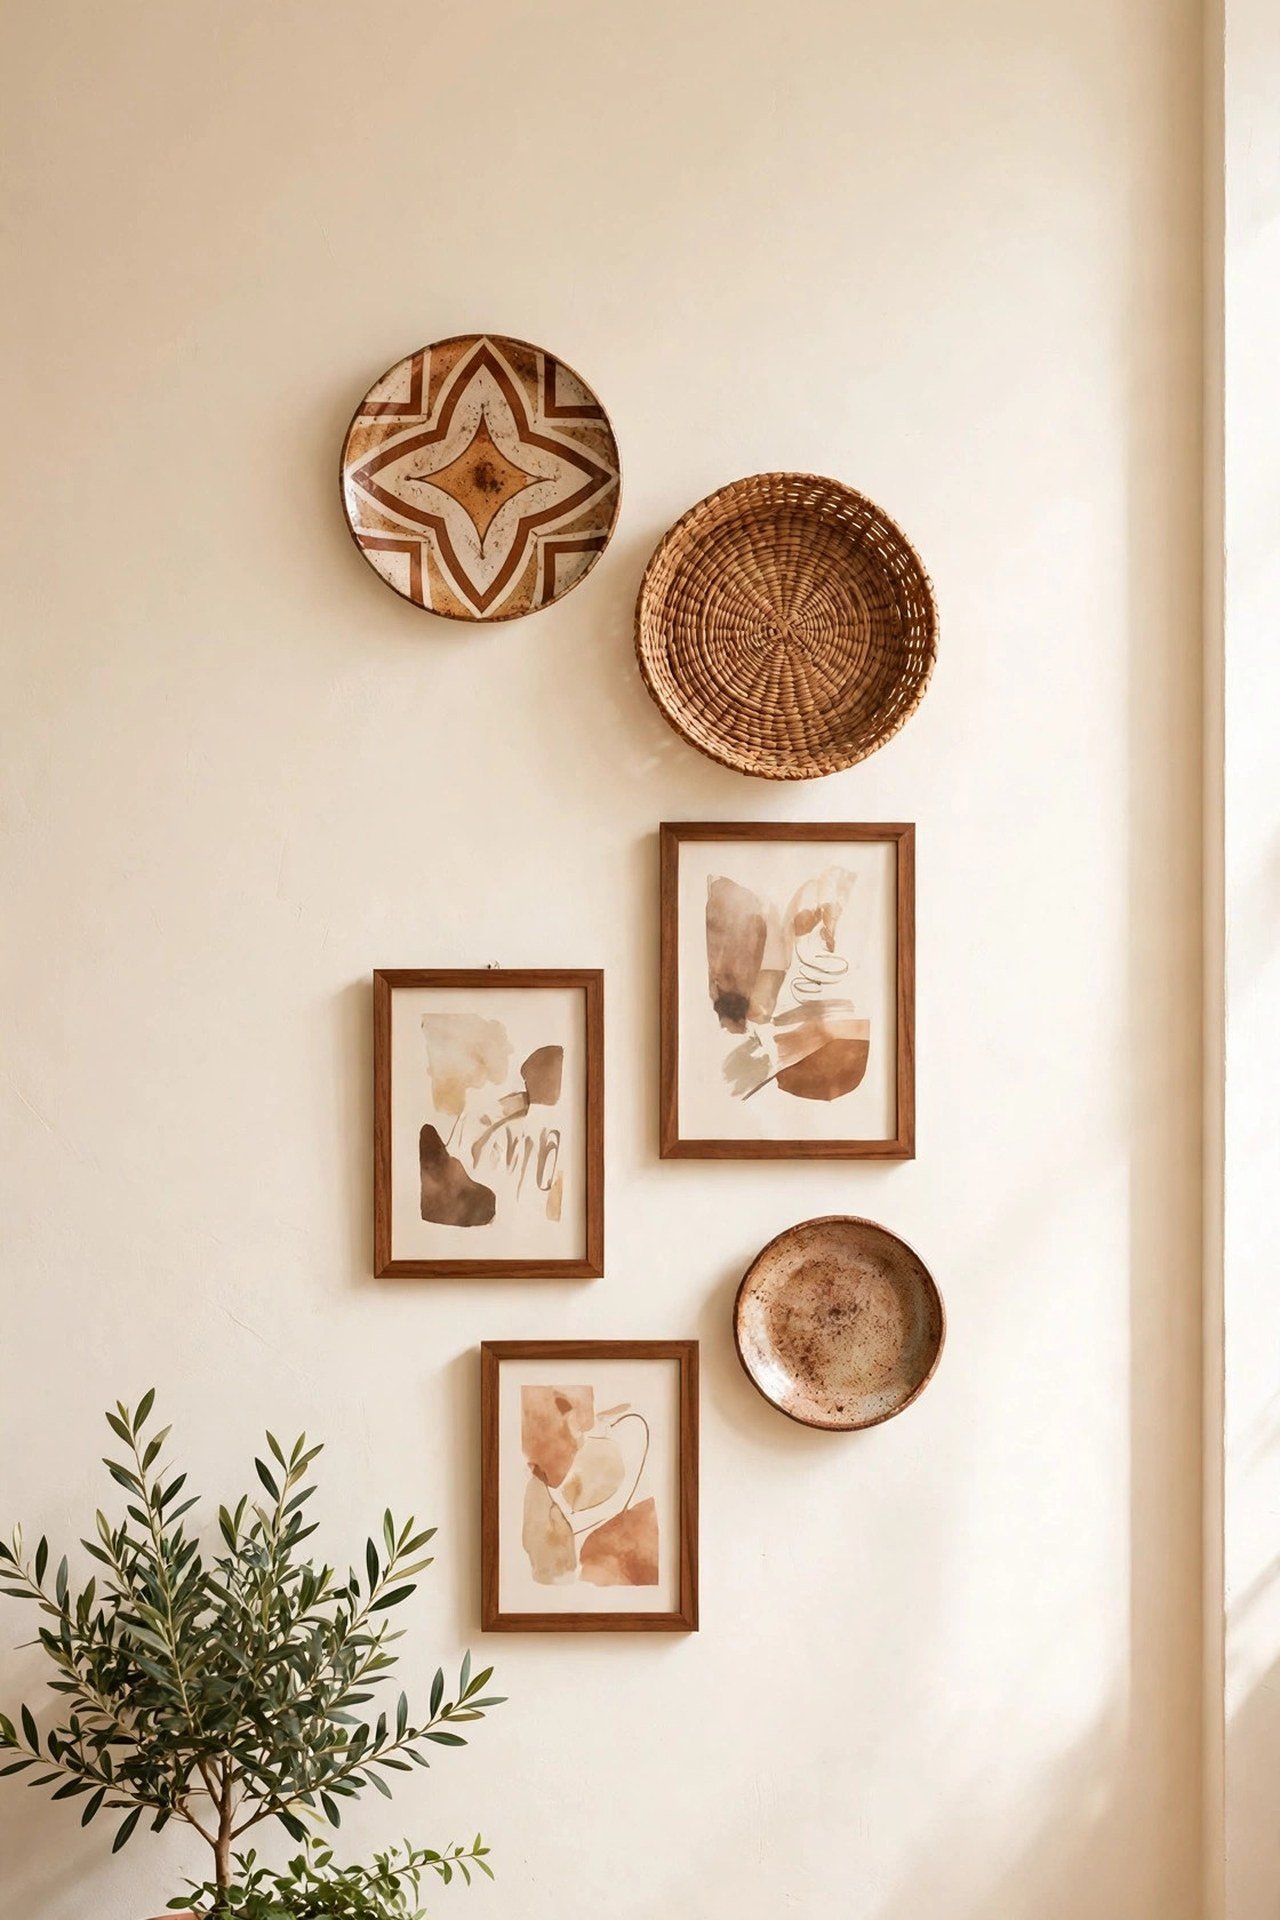
Museums and libraries publish thousands of classic artworks as free public-domain downloads, and home-printing a page costs cents. The frames are the expense — so buy them used. Thrift stores sell frames for $1–$3; ignore the art inside them and judge only the frame and glass. A mixed set looks intentional if you spray or brush every frame the same colour, which turns five odd frames into one gallery.
5. A shallow ledge with leaning pieces
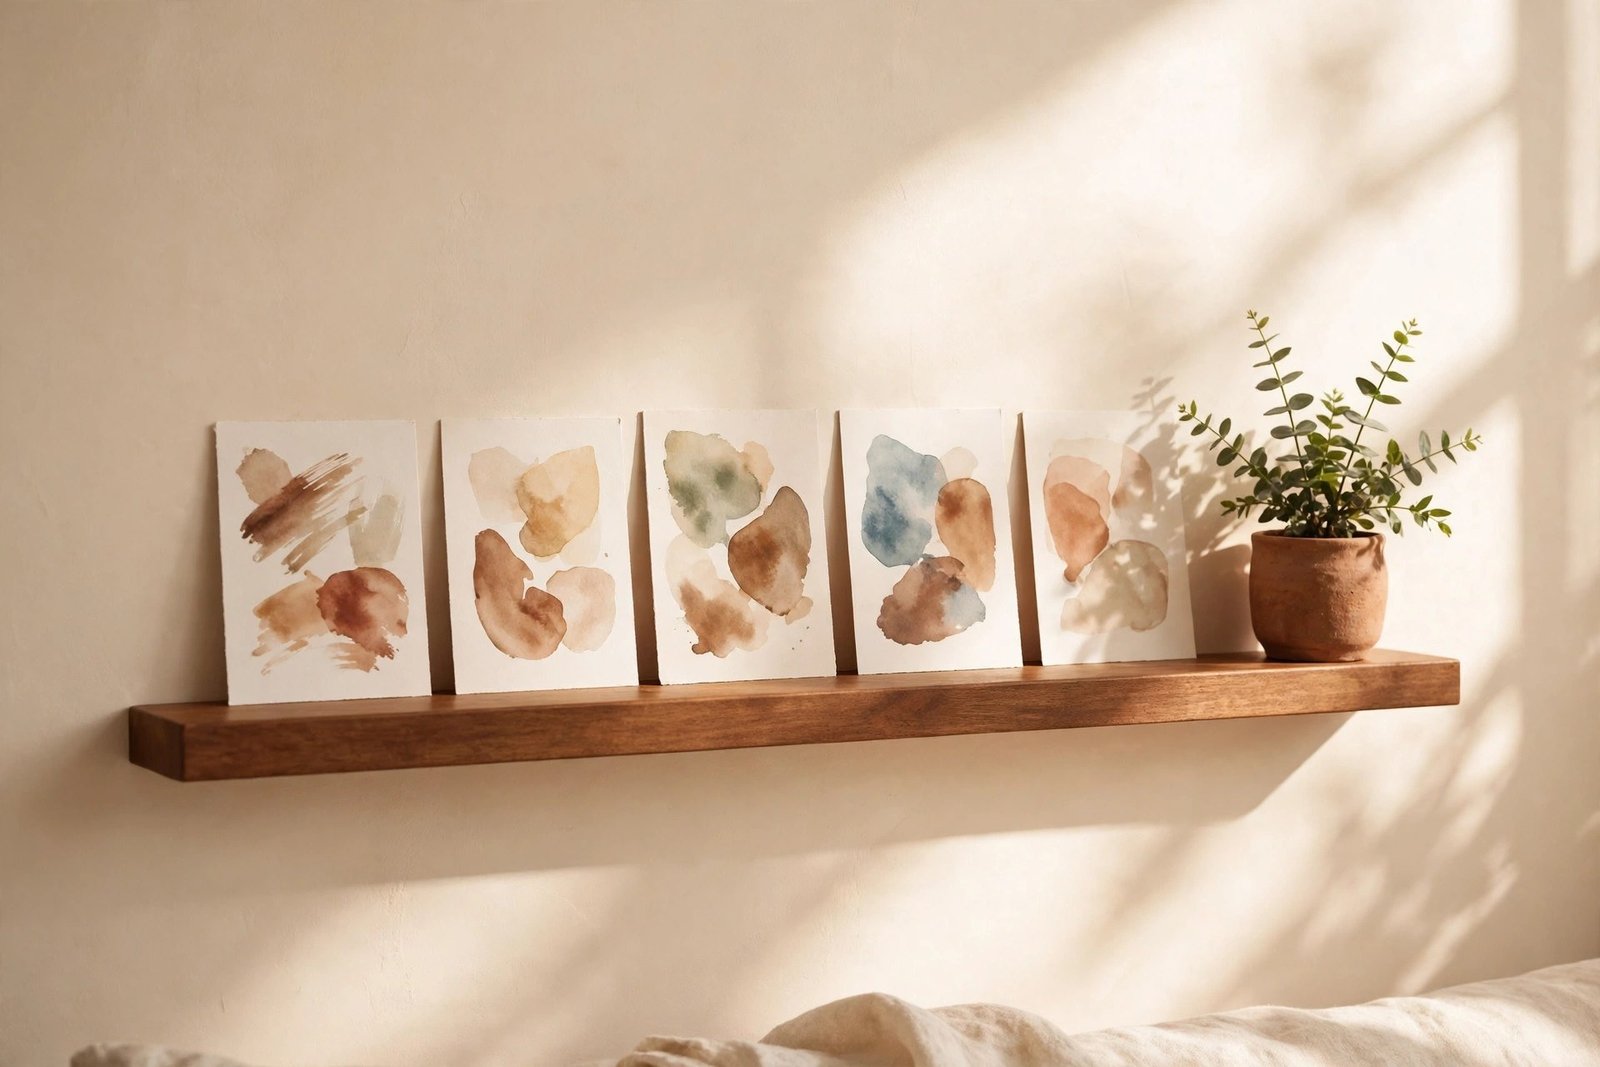
One narrow shelf or ledge, about 8–10 cm deep, holds unframed pieces leaning against the wall: prints, a small canvas, a record sleeve, a plate. Nothing needs a nail per piece, the arrangement changes in a minute, and the single horizontal line keeps everything looking ordered. This pairs naturally with the mirror trick in the next article of this series — a framed mirror on the same wall — and with any of the DIY decor and simple crafts on this site.
Step by Step: A Washi-Tape Gallery Wall
Time: 45–60 minutes. Difficulty: beginner. Cost: $3–$6.
- Choose and print your pieces. Pick 5–9 prints, photos, or pages in mixed sizes but one colour family. Trim them to neat rectangles with scissors and a ruler.
- Plan the layout on the floor. Lay everything out the size of your wall space. Put the largest piece slightly off-centre, fill around it, and keep gaps of 5–8 cm between pieces. Take a phone photo of the layout to copy.
- Mark the centre height. The middle of the whole arrangement should sit about 145 cm from the floor. Mark that point lightly in pencil. For anything you must reach, use a stable step stool rather than standing on a chair.
- Stick the pieces up. Use small loops of removable tape or poster putty on the back corners of each piece, following your floor plan from the centre outward.
- Draw the tape frames. Run washi tape around each piece, about 1 cm out from its edge, pressing the corners down firmly. Keep lines straight by tearing tape to length first and lining up one edge at a time.
- Step back and adjust. View the wall from the doorway. Straighten anything crooked, widen or narrow gaps, and remove one piece if the group feels crowded — empty space between pieces is part of the design.
Materials and Costs
- Washi tape, 2 rolls in one colour or finish — $3–$6
- Prints: home printing, or photos and pages you already own — $0–$5
- Clipboards (optional set of 4) — $4–$8
- Removable poster putty or tape loops — $2–$3
- Second-hand frames (optional) — $1–$3 each
- Fabric remnant plus foam board or old canvas (optional panel) — $3–$8
- Pencil, ruler or tape measure, scissors — usually already at home
A full washi-tape wall lands between $3 and $10 total. Even the “expensive” version of this project — clipboards or thrifted frames for every piece — rarely passes $20.
Layout Rules That Make Cheap Look Designed
Three rules separate a stylish budget wall from a student noticeboard. First, one colour family: pieces that share tones — all warm, all black-and-white, all soft greens — read as a collection, while unrelated colours read as leftovers. Second, even gaps: consistent 5–8 cm spacing looks planned even when nothing matches. Third, hang at the right height: arrangements centred around 145 cm connect with the furniture below them, while art hung near the ceiling floats away from the room. Follow those three and nobody studies what the “frames” are made of.
A mirror makes a good partner to any of these arrangements — it fills wall space and bounces light at the same time, and the project after this one shows how to make a plain mirror look expensive with a simple frame upgrade, so the two walls end up matching in effort and effect.
Mistakes to Avoid
- Hanging pieces one at a time with no plan. Walls filled by impulse end up scattered and uneven. Always arrange the whole group on the floor first.
- Art hung too high. The most common wall mistake. Centre the group near 145 cm, not at standing eye level or above.
- Every piece a different colour story. One shared colour family is what makes mixed cheap pieces look like a set.
- Cheap shiny tape instead of washi tape. Clear packing tape reflects light, looks plastic, and can pull paint off. Washi or painter’s tape only.
- Too many tiny pieces. Ten small scraps look fussier than five confident ones. Include at least one or two larger pieces to anchor the group.
- Tape frames drawn freehand in a rush. Wobbly lines read as accidental; torn lengths and one edge at a time keep them crisp — and they peel off for a redo.
Frequently Asked Questions
Will washi tape damage my paint or wallpaper?
Washi tape is designed to be low-tack and normally peels off cleanly, which is why renters love it. Test a small piece in a hidden spot for 24 hours first, especially on fresh paint (wait at least a month after painting) or delicate wallpaper. Avoid standard sticky tape, which can lift paint.
Where can I get art to print for free, legally?
Many major museums and public libraries offer public-domain artworks as free downloads, and free printable sites list designs for home use. Choose files marked public domain or free for personal use, print at home or at a copy shop, and the art itself costs almost nothing.
How do I make second-hand frames look like a matching set?
Remove the art and glass, wipe the frames, and paint them all one colour — matte black, warm white, or a metallic finish. Same-colour frames unify any mix of sizes and styles instantly, and leftover wall or furniture paint works fine for this.
I can only afford to fill one wall. Which one?
The wall you see when you enter the room, or the wall behind the sofa or bed — the surface your eye lands on most. One finished focal wall changes the feel of the whole room; spreading a few pieces thinly over every wall finishes none of them.
1 thought on “Wall Looks Empty but Frames Are Expensive: DIY Wall Decor That Costs Almost Nothing”