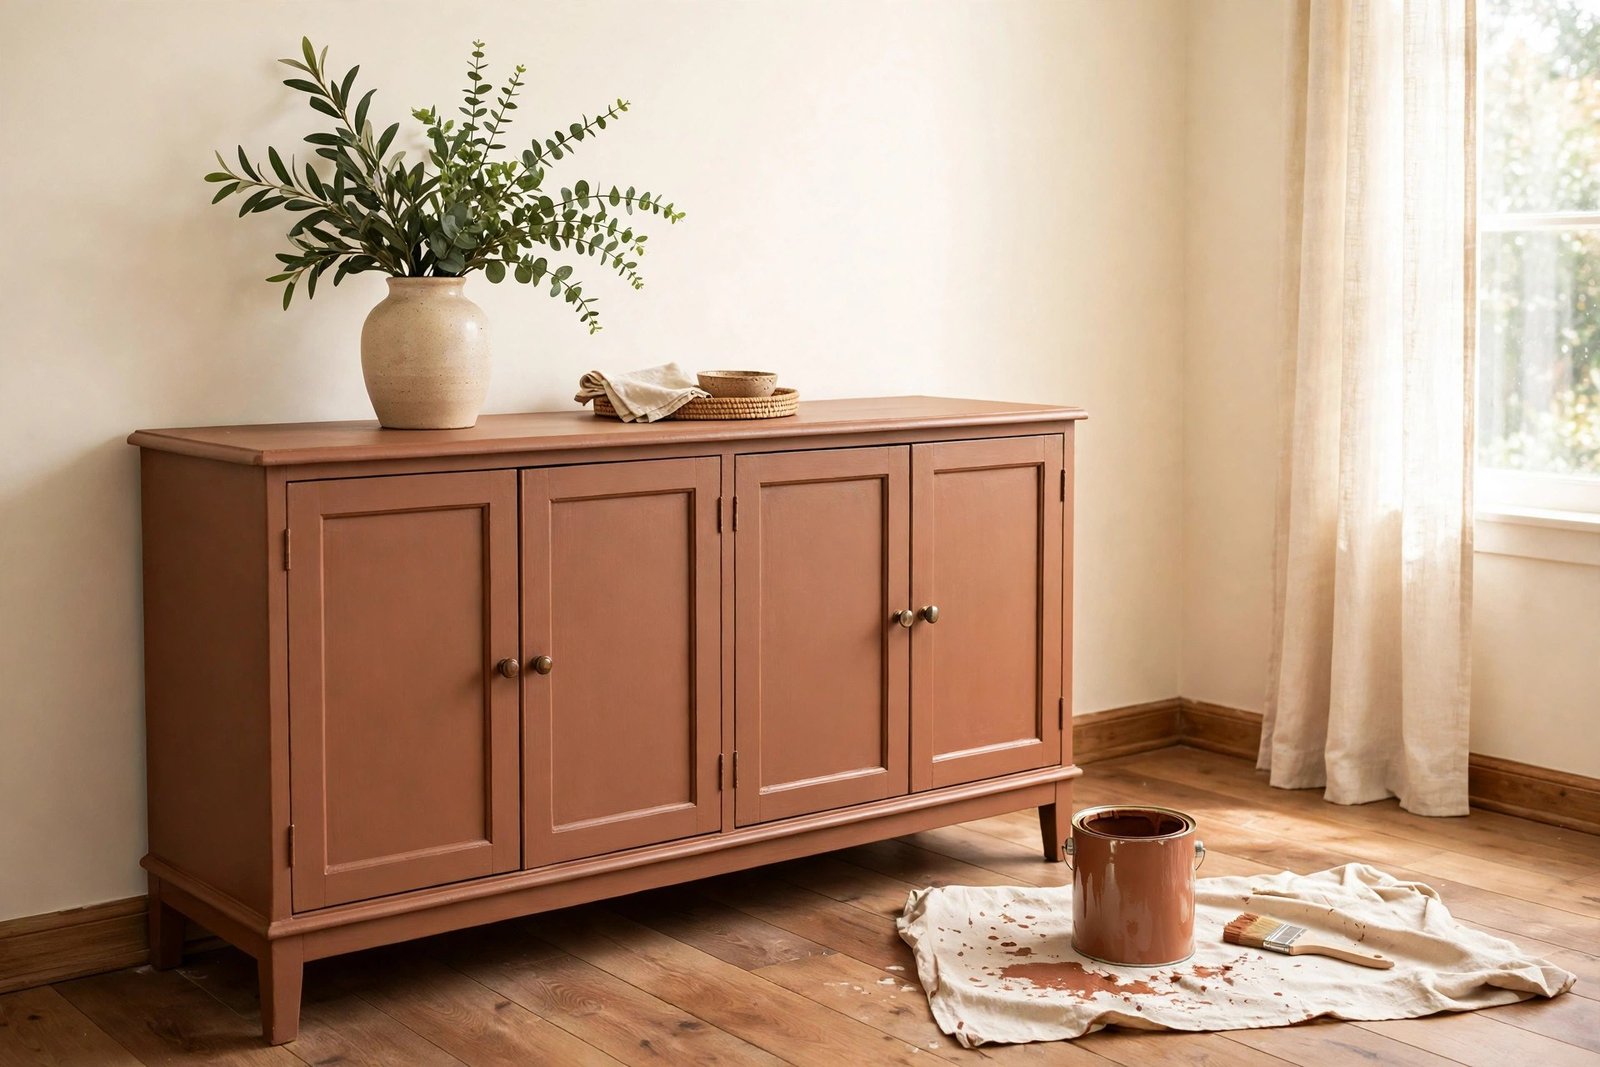
Painting old furniture is the cheapest big change you can make to a room — one dated dresser in a fresh colour can lift everything around it. It is also the project people most often regret, because rushed paint jobs announce themselves: brush streaks, drips frozen mid-run, paint peeling off in sheets within a month. The piece ends up looking worse than the worn wood it replaced.
Here is the truth that separates the two outcomes: paint itself is the easy part. Furniture looks cheap and streaky because of skipped prep and thick coats, not because of the painter’s talent. This guide gives the full method — prep, primer, thin coats, patience — for a smooth, hard finish on wood or laminate furniture, in one afternoon plus drying time.
Quick Answer
To paint old furniture without it looking cheap or streaky, do the boring steps properly. Clean the piece with warm soapy water or a degreaser, sand it lightly so the surface feels matte, and wipe the dust away. Apply one coat of primer and let it dry fully. Then paint two or three thin coats instead of one thick one, brushing in the direction of the wood grain and letting each coat dry completely before the next — thin coats are the whole secret to a streak-free finish. Finish with a clear topcoat on surfaces that get daily use. Choose a satin finish paint: matte hides flaws but marks easily, and gloss shows every brush stroke.
Why Painted Furniture Looks Cheap: Three Causes
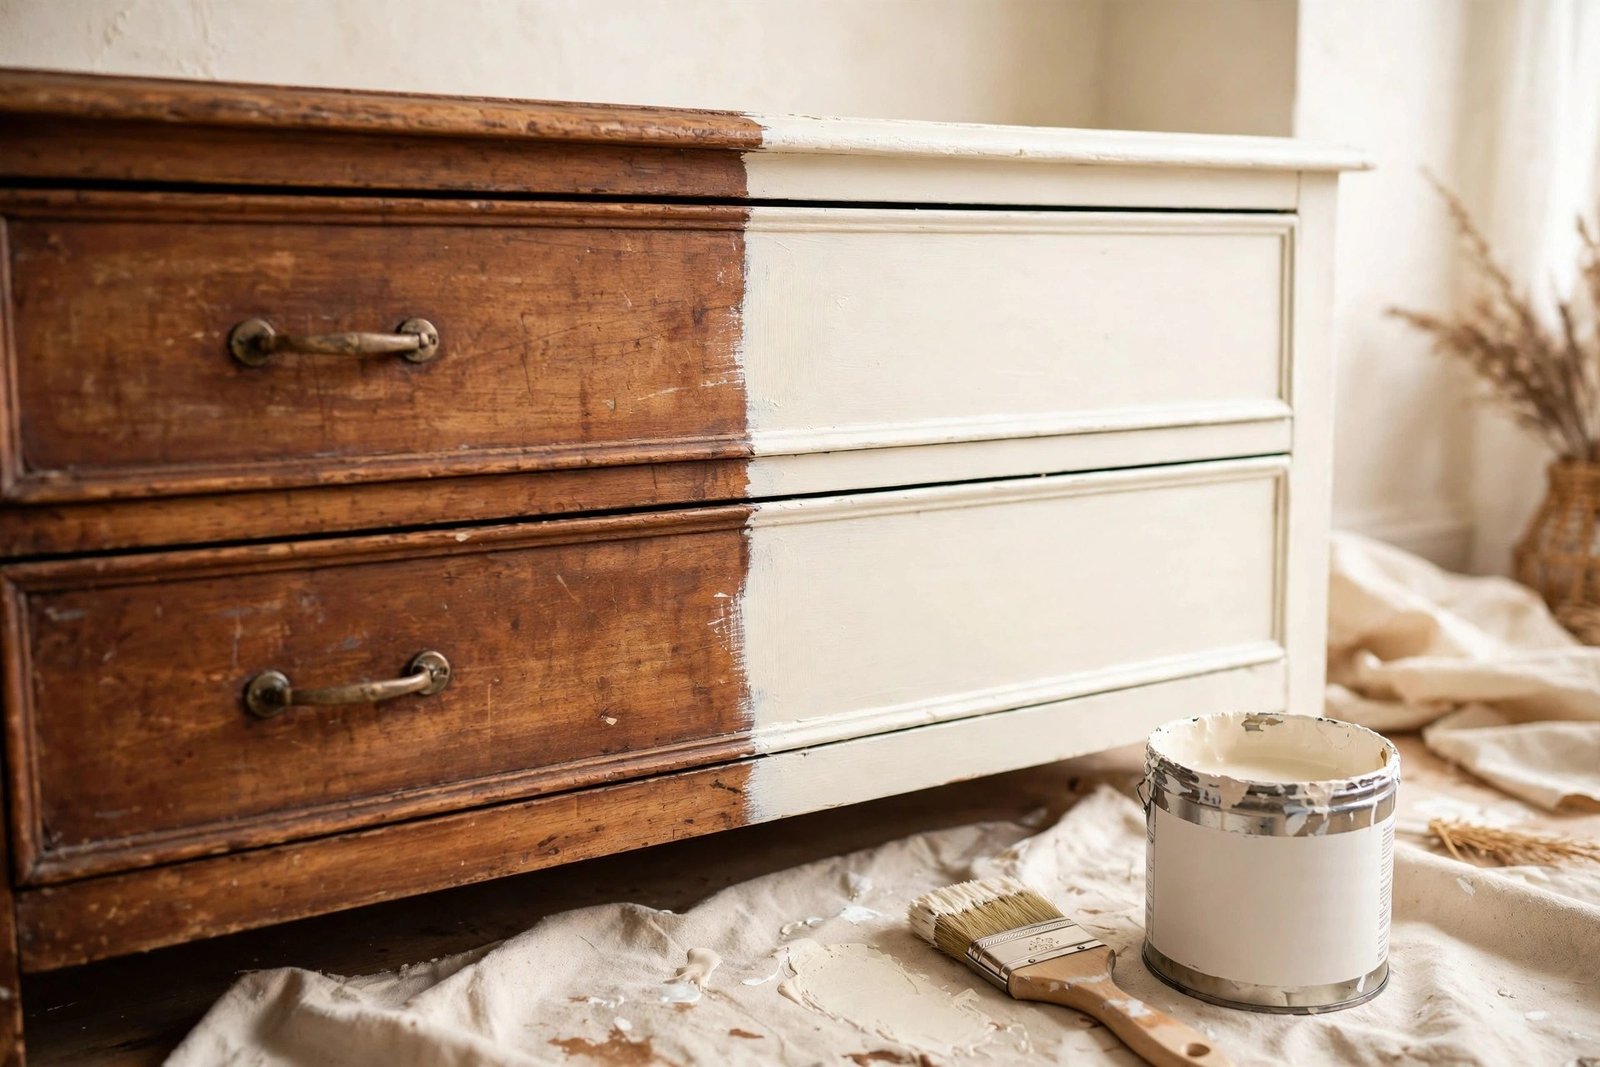
Skipped prep. Paint cannot stick to grease, polish, or a glossy old finish. It sits on top instead, and later peels, chips, or shows every speck of dust trapped underneath. Thick coats. One heavy coat stays wet on the surface and dry underneath, so it sags into drips and brush marks as it sets. The wrong sheen. High-gloss paint under room light displays every ridge your brush left; chalky matte paint shows fingerprints and water rings. Knowing the causes makes the method below make sense: every step exists to kill one of them.
Materials and Tools, With Costs
- Primer (water-based bonding primer works on wood and laminate) — $8–$12 per small tin
- Furniture paint or interior satin paint — $10–$18 (a sample or small tin covers one or two pieces)
- Clear water-based topcoat (for tabletops and dressers) — $8–$12
- 120-grit and 220-grit sandpaper, or sanding sponges — $4–$6
- Good angled brush, 4–5 cm, plus a small foam roller — $6–$10 (a poor brush causes streaks no technique can fix)
- Painter’s tape — $3–$5
- Drop cloth or old sheet, tack cloth or damp microfibre cloth — $0–$4
- Screwdriver for handles, wood filler for dents — $0–$6
Total for one piece: roughly $25–$45 if you own nothing, and much of it — primer, sandpaper, brush — carries over to the next project, like the plain mirror frame upgrade later in this series.
Step by Step: The Method
Active time: about 2 hours, spread across one day with drying gaps. Paint in a ventilated space — open windows or work outdoors — and wear a dust mask while sanding.
- Empty, remove, and clean. Take drawers out, unscrew handles and knobs, and wash every surface with warm water and a little dish soap or degreaser. Kitchen grease and furniture polish are invisible but fatal to paint. Let it dry fully.
- Repair. Fill dents and deep scratches with wood filler, slightly overfilled. Let it harden, then sand it flush.
- Sand lightly. With 120-grit paper, sand all surfaces just until the shine is gone and the finish feels evenly matte — you are giving primer something to grip, not stripping the piece. On laminate, this light scuff is essential. Wipe all dust off with a tack cloth or damp cloth.
- Tape and protect. Tape drawer edges, hinges, and anything you are not painting. Set the piece on a drop cloth, raised on blocks or books if you can, so you can reach the bottom edges.
- Prime. Brush on one thin, even coat of primer. It will look patchy — that is fine; primer’s job is grip, not coverage. Let it dry for the time on the tin, usually 1–2 hours.
- Sand whisper-light. Once the primer is dry, pass 220-grit paper over it gently. This knocks down raised grain and brush texture and is the step most beginners skip — and the one that makes coat one feel like glass. Wipe the dust.
- Paint coat one — thin. Load the brush lightly and apply a coat so thin you can partly see through it. Brush with the grain, tip off each section with one long light stroke, and do not go back over paint that has started to set — that is where streaks and drag marks come from.
- Dry, then coat two. Let coat one dry completely (2–4 hours for most water-based paints; check the tin). Sand whisper-light again if it feels rough, wipe, and apply coat two the same way. Many pieces are done here; deep colours or pale paint over dark wood may need a third thin coat.
- Topcoat where it matters. Tabletops, dresser tops, and anything that holds cups or keys get one or two thin coats of clear topcoat, applied like the paint coats.
- Cure before use. Refit handles after 24 hours, use the piece gently for the first week, and wait about a month before heavy daily use — paint feels dry long before it is fully hard.
Choosing Colour and Finish
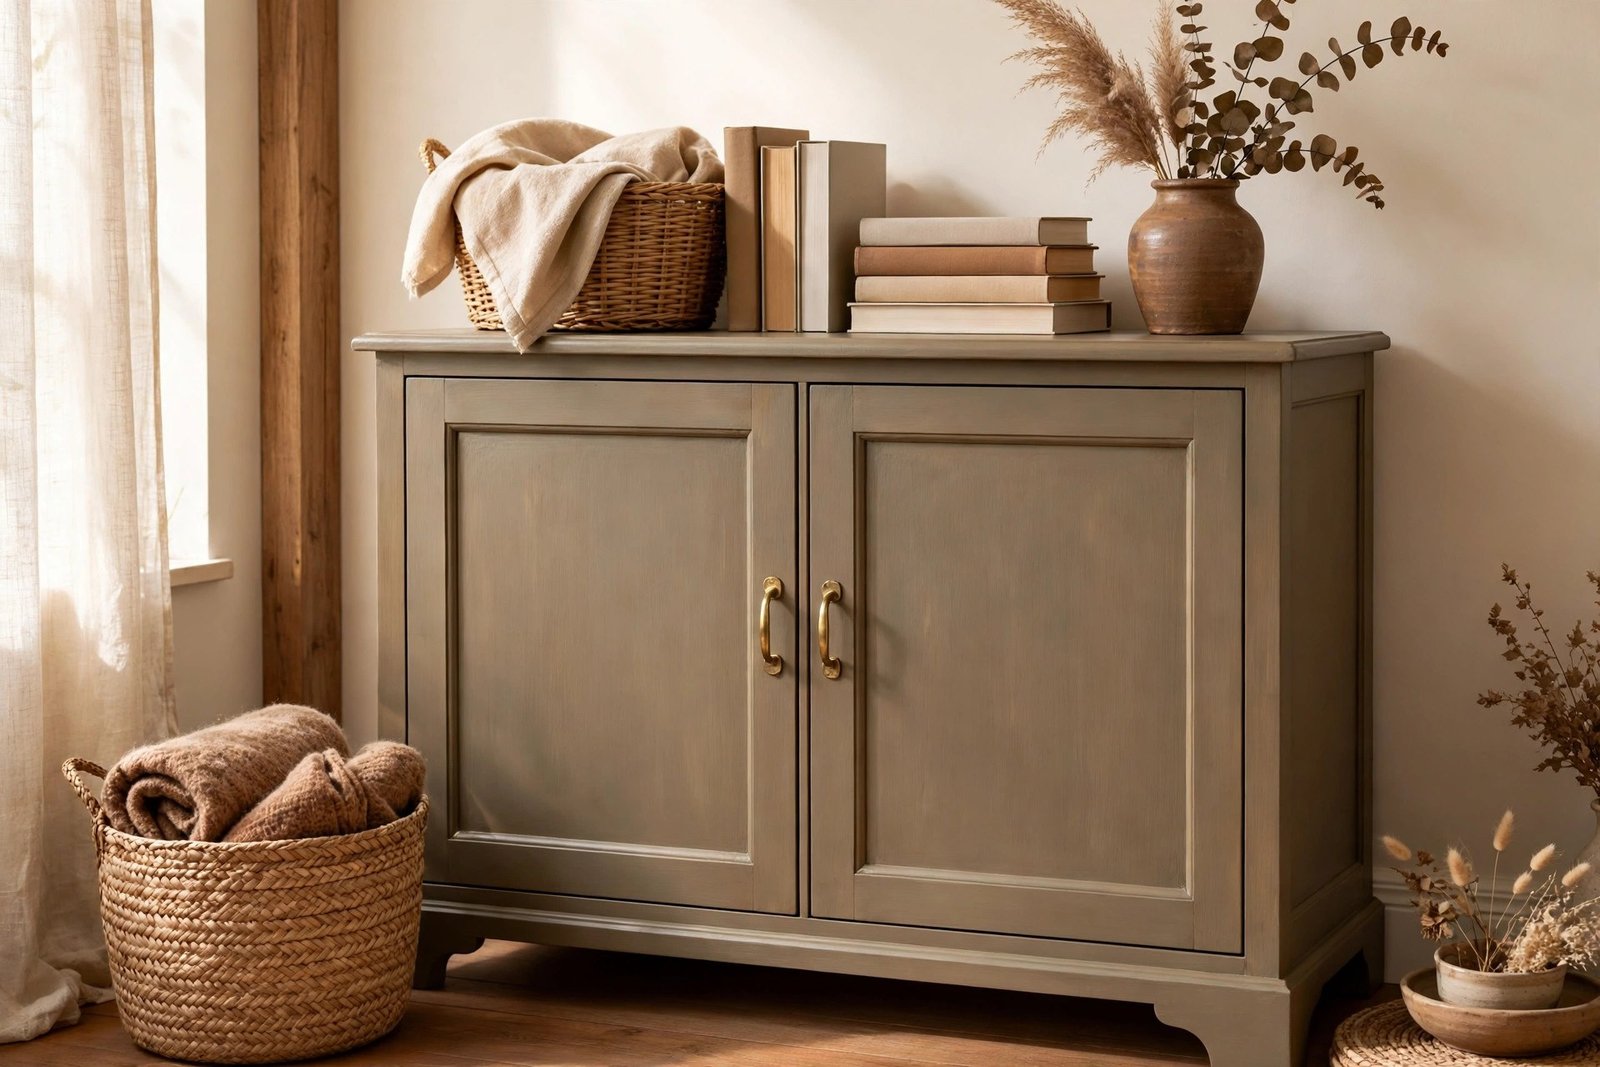
Satin is the forgiving middle: a soft sheen that reads expensive, hides minor texture, and wipes clean. If you are painting to rescue a room, the safest colours are the room’s existing neutrals taken deeper — a warm greige dresser, a soft sage side table, classic navy or charcoal for one statement piece. Painting a whole suite the same colour unifies pieces that never matched, which is exactly the trick used to make a tired room look fresh without buying new furniture. Test colour on the back of a drawer first; paint dries darker than it looks in the tin.
How Long It Really Takes
Plan on one afternoon of short work bursts: 20 minutes cleaning and taping, 15 minutes priming, then 20 minutes per coat, with drying gaps you can spend on other things. The calendar time is a day; the hands-on time is about two hours. Rushing the gaps is the only way this project fails.
Mistakes to Avoid
- Painting over grease, polish, or gloss without sanding. The paint will peel — not might, will. Clean, scuff, prime.
- One thick coat to “get it done”. Thick paint drips, sags, and dries streaky. Two or three thin coats are faster in the end.
- Re-brushing paint that has started to set. Once a section begins drying, leave it alone. Touch-ups belong in the next coat.
- A cheap, shedding brush. Bristles in the finish and uneven loading cause most streaks blamed on paint. One decent brush changes everything.
- Skipping the light sand between coats. Sixty seconds with fine paper per coat is the difference between “painted” and “finished”.
- Putting the piece back into heavy use the same day. Dry is not cured. Rings, scratches, and stuck objects follow for anyone who skips the cure.
More weekend-scale projects like this one are collected with the other DIY decor and simple crafts on the site.
Frequently Asked Questions
Can I paint laminate or veneer furniture, or only solid wood?
Yes — laminate paints well if you respect the prep. Clean it, scuff-sand the whole surface until it is evenly matte, and use a bonding primer made for slick surfaces. The paint bonds to the primer, and the primer bonds to the scuffed laminate. Skipping the scuff or the primer is why laminate paint jobs peel.
Do I really need primer if the paint says “paint and primer in one”?
On bare or stained wood in good condition, combined products can work. On glossy, varnished, laminate, or very dark pieces, a separate primer coat is the cheap insurance that stops peeling and stops old colour bleeding through. For a first project, prime — it costs $10 and saves the whole piece.
How do I avoid brush marks if I don’t own a sprayer?
Thin coats, a good brush, a foam roller for large flat areas like tabletops and doors, and tipping off with one long light stroke. Rollers leave a fine, even texture that reads as a sprayed finish at normal distance. Also keep a “wet edge” — work in sections and move steadily rather than returning to drying paint.
What if the finish still looks streaky after two coats?
Add a third thin coat rather than one heavy rescue coat, after a whisper-light sand with 220-grit. Streaks are usually thin coverage showing the colour beneath, and one more honest thin coat evens it out. If brush ridges are the problem, the fine sand between coats levels them.
1 thought on “How to Paint Old Furniture Without It Looking Cheap or Streaky”