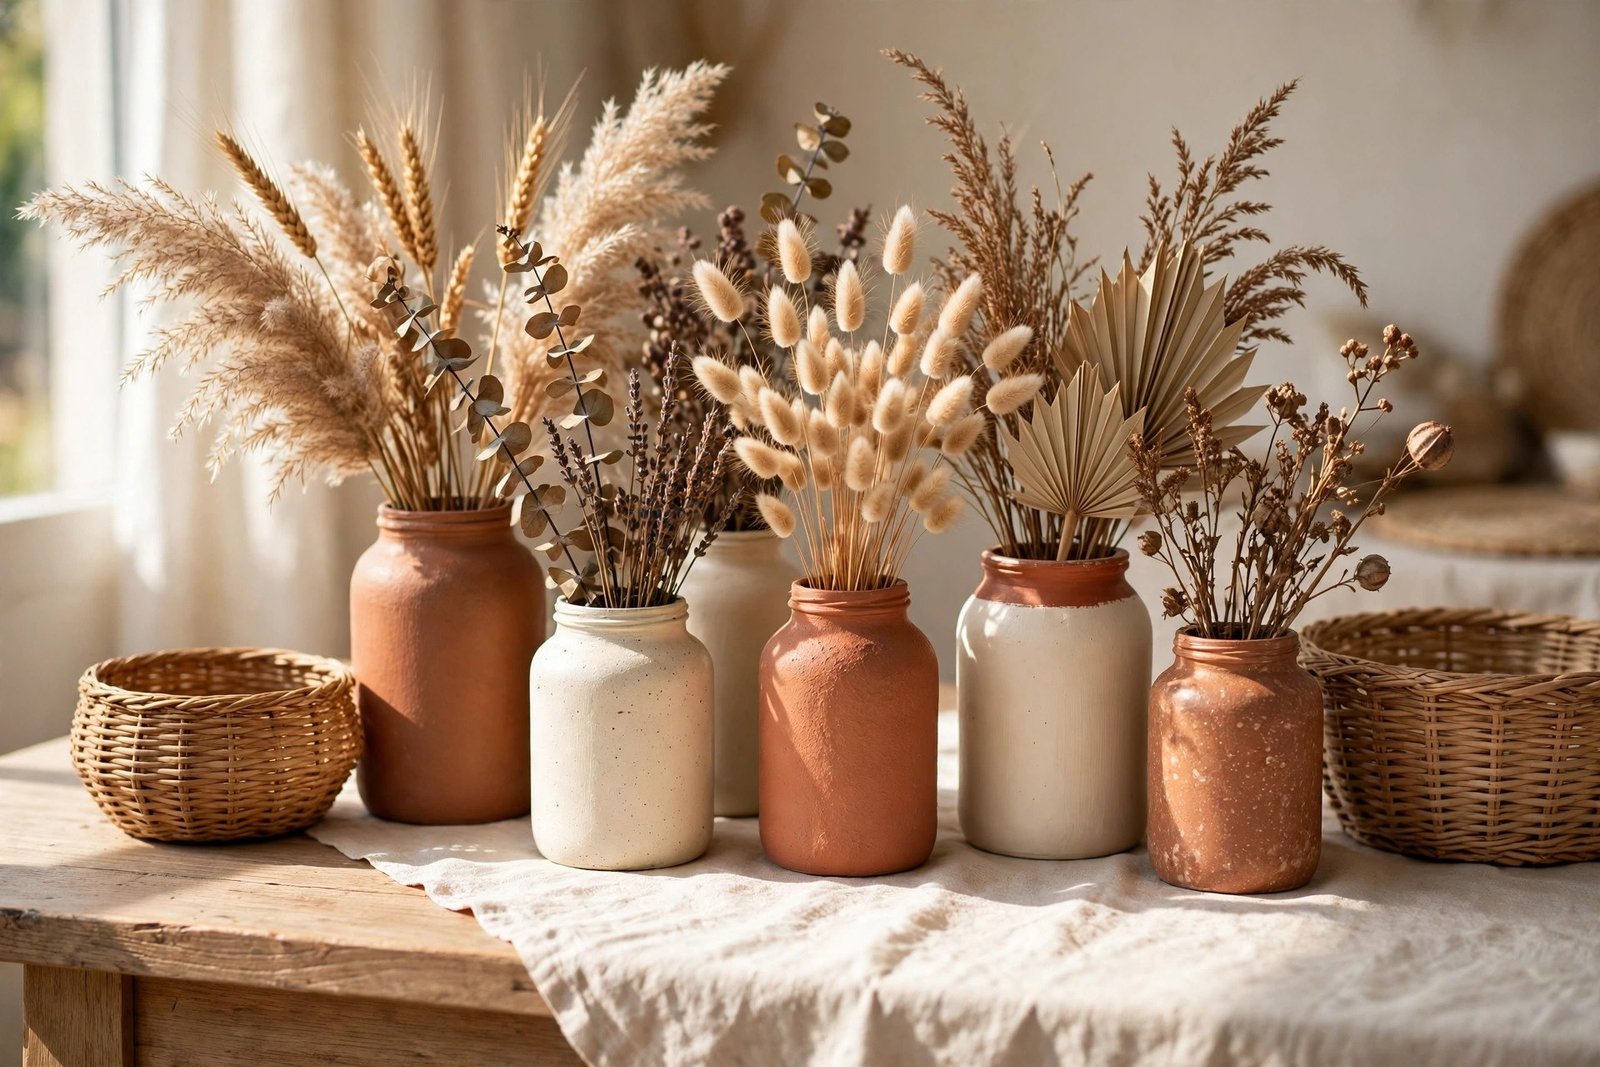
Every home has a quiet stockpile: jam jars saved “just in case”, a gift box too nice to throw away, a basket that came free with something and now holds nothing in particular. On their own they look like leftovers. Scattered around the house, they look like clutter waiting to happen. But grouped, unified and given one clear job each, the same jars, boxes and baskets become the kind of decor people buy in shops — vases, candle holders, planters and styled tray groupings.
The difference is never the container. It is the treatment. A clear jar with a sticky label looks like rubbish; the same jar, label removed and filled with a few stems, looks like a vase someone chose. This guide gives you the system: sort honestly, strip the packaging look away, give everything one shared finish, then arrange in odd-numbered groups where each piece has exactly one job.
Quick Answer
To turn old jars, boxes and baskets into decor that actually looks good, remove every label and wash everything first — packaging is what makes containers look like rubbish. Then give the pieces you keep one shared finish: the same paint colour, the same wrap, or the same natural material left plain. Style them as decor, not storage: jars become vases, candle holders and planters; boxes become risers and lidded display bases; baskets become plant holders and throw holders. Group in odd numbers (three or five), mix heights, and give each container one job only. Matching finish plus odd groupings is the whole secret.
Step One: Sort Honestly Before You Style Anything
Start by gathering every spare jar, box and basket into one place. Seeing them together tells you the truth: you probably own more containers than you have surfaces, and not all of them deserve to become decor. Keep pieces with a good shape, a sturdy feel and no damage. Let go of cracked plastic tubs, flimsy packaging and anything stained or warped — no finish rescues a bad shape.
Aim for a small, strong set: perhaps four or five jars, two or three boxes and two baskets. A limited set is also what makes the next step possible, because unifying five pieces is an afternoon’s work; unifying twenty is a chore you will never finish. Shape matters more than size: a jar with clean lines and a basket with a tight, even weave will look deliberate in almost any room.
Step Two: Strip Away the Packaging Look
Labels, price stickers and printed branding are the reason containers read as “left over” instead of “chosen”. Removing them takes minutes and changes everything. Soak glass jars in warm soapy water for half an hour and most paper labels slide off; stubborn glue rubs away with a little cooking oil on a cloth, followed by another wash. Work slowly around glass rims and edges, which can be sharp on older jars — a cloth between your hand and the rim keeps the job safe. Cardboard boxes lose their shop look when you remove stickers and, if needed, cover scuffs with paper or paint. Baskets usually need only a good shake outside, a brush-down and a wipe with a damp cloth.
Step Three: Give Everything One Shared Finish
This is the step that turns a pile of leftovers into a collection. Choose one finish and apply it across the set: one paint colour for the jars and boxes, one type of wrap (twine, ribbon or fabric strips) tied the same way, or one decision to leave everything natural — clear glass, plain kraft card and raw woven fibre actually work beautifully together because they share a calm, neutral palette.
Paint is the strongest unifier, and the technique is exactly the one used for painting old furniture: thin coats, a light sand or a clean dry surface first, and patience between coats. A matte or satin finish in one colour — warm white, sage, terracotta or soft black — makes a supermarket jar and a gift box look like they were bought as a set. Paint only the outside of anything that will hold plants or candles, and let pieces dry fully before styling.
Step by Step: From Leftover to Decor in One Afternoon
Time: about 2 hours including soaking, plus paint drying time. Difficulty: beginner. Cost: $0–$10.
- Gather and sort (20 minutes). Collect all spare jars, boxes and baskets. Keep only good shapes in good condition — roughly eight to ten pieces total.
- Soak and de-label (30 minutes, mostly waiting). Soak glass in warm soapy water, peel labels, remove glue residue with oil, then wash and dry everything, baskets included.
- Choose one finish (5 minutes). One paint colour, one wrap material, or all-natural neutrals. Commit to it for the whole set.
- Apply the finish (30–45 minutes). Paint thin coats on jars and boxes, or tie wraps in the same position on each piece. Let everything dry completely.
- Assign one job per piece (10 minutes). Decide what each container is now: vase, candle holder, planter, riser, throw holder. One job each — never “a bit of everything”.
- Group and place (15 minutes). Arrange in threes or fives with varied heights on trays, shelves and tables. Step back, remove one piece, and look again — the group should feel calm, not crowded.
Decor Jobs That Suit Each Container
Jars: vases, candle holders, planters
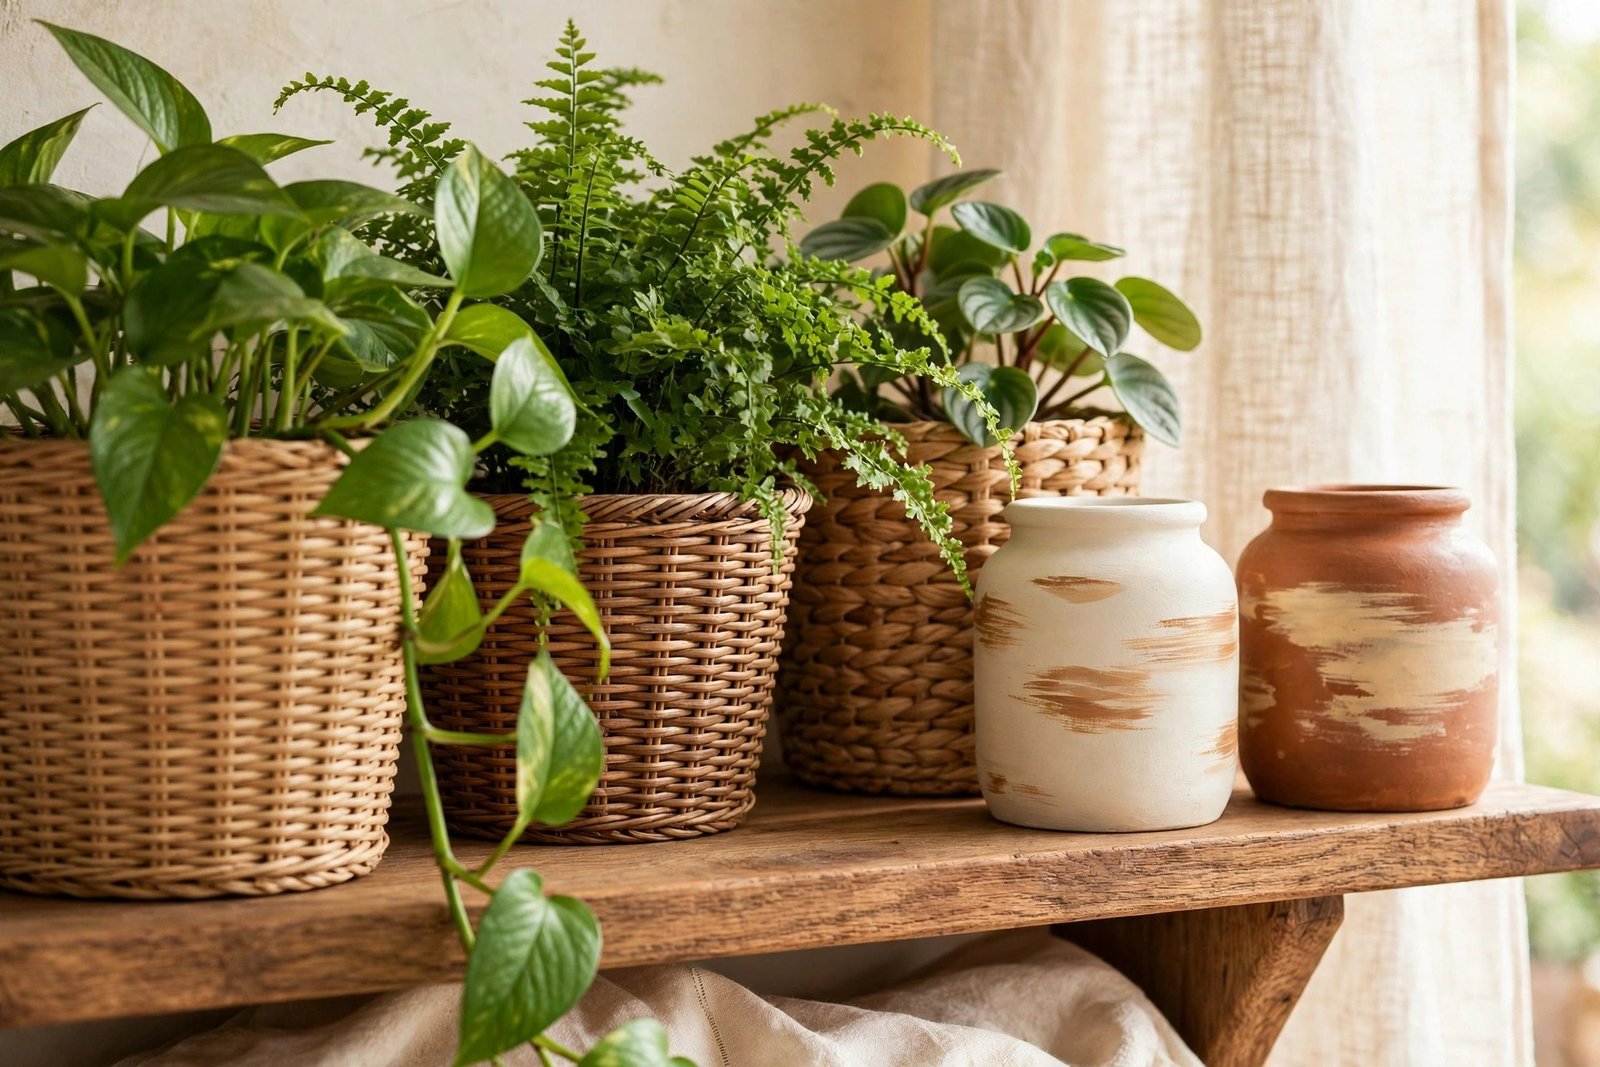
A single stem or a few eucalyptus sprigs in a tall jar looks as good as any bought vase. A tealight inside a short jar throws a warm pattern of light through glass — plain or frosted both work. Small jars become planters for cuttings and herbs on a windowsill; add a few pebbles at the bottom for drainage if the plant will live there, or treat the jar as a cachepot with the plant still in its nursery pot inside.
Boxes: risers and quiet display bases
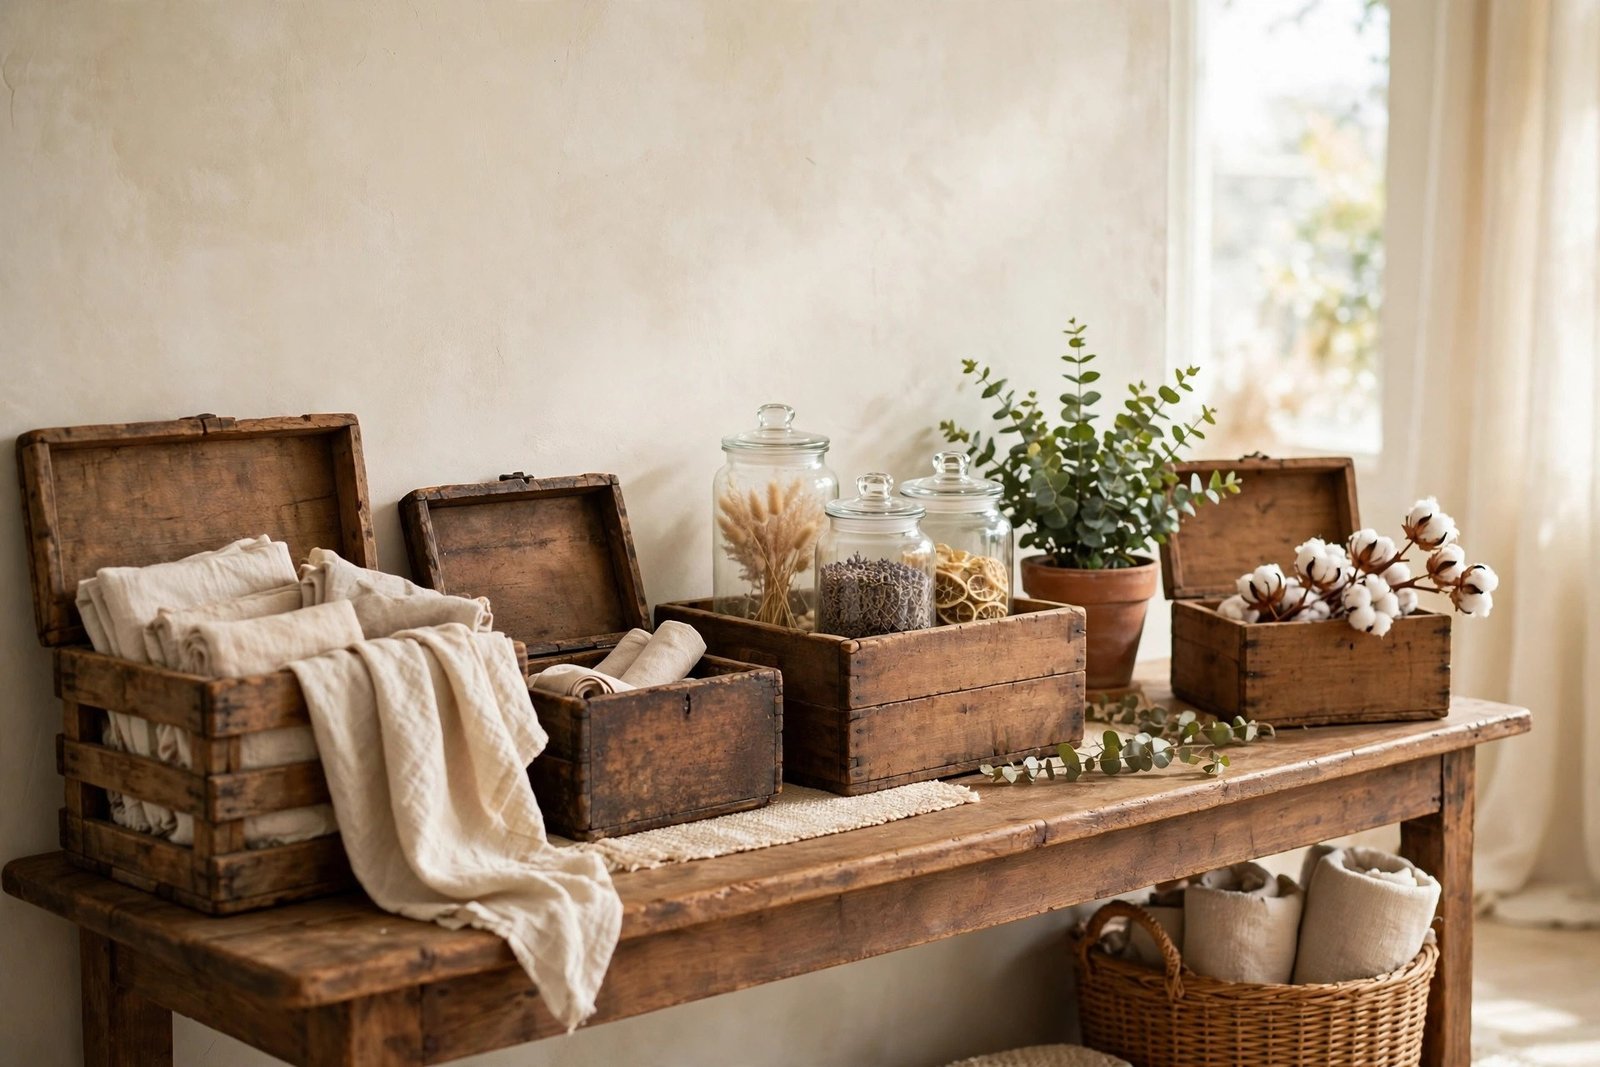
A sturdy box is a free riser. Stand a plant or a jar grouping on top of a lidded box and you instantly create the height difference that makes an arrangement look styled instead of lined up. Pretty boxes also work as low plinths on a shelf or sideboard, with one object displayed on top. Keep the lid on and the contents — if any — limited to things that belong to that room, so the box stays decor rather than creeping back into general storage.
Baskets: softness and texture
Baskets add the texture smooth surfaces lack. A large basket beside a sofa holding a folded throw, a medium one disguising a plain plant pot, a small one on a table holding a jar candle and a book — each looks intentional because the basket has one clear job and the right scale for it. A basket stuffed with unrelated items looks like storage again, which is why the one-job rule matters most here.
The Grouping Rule: Odd Numbers, Varied Heights, One Tray
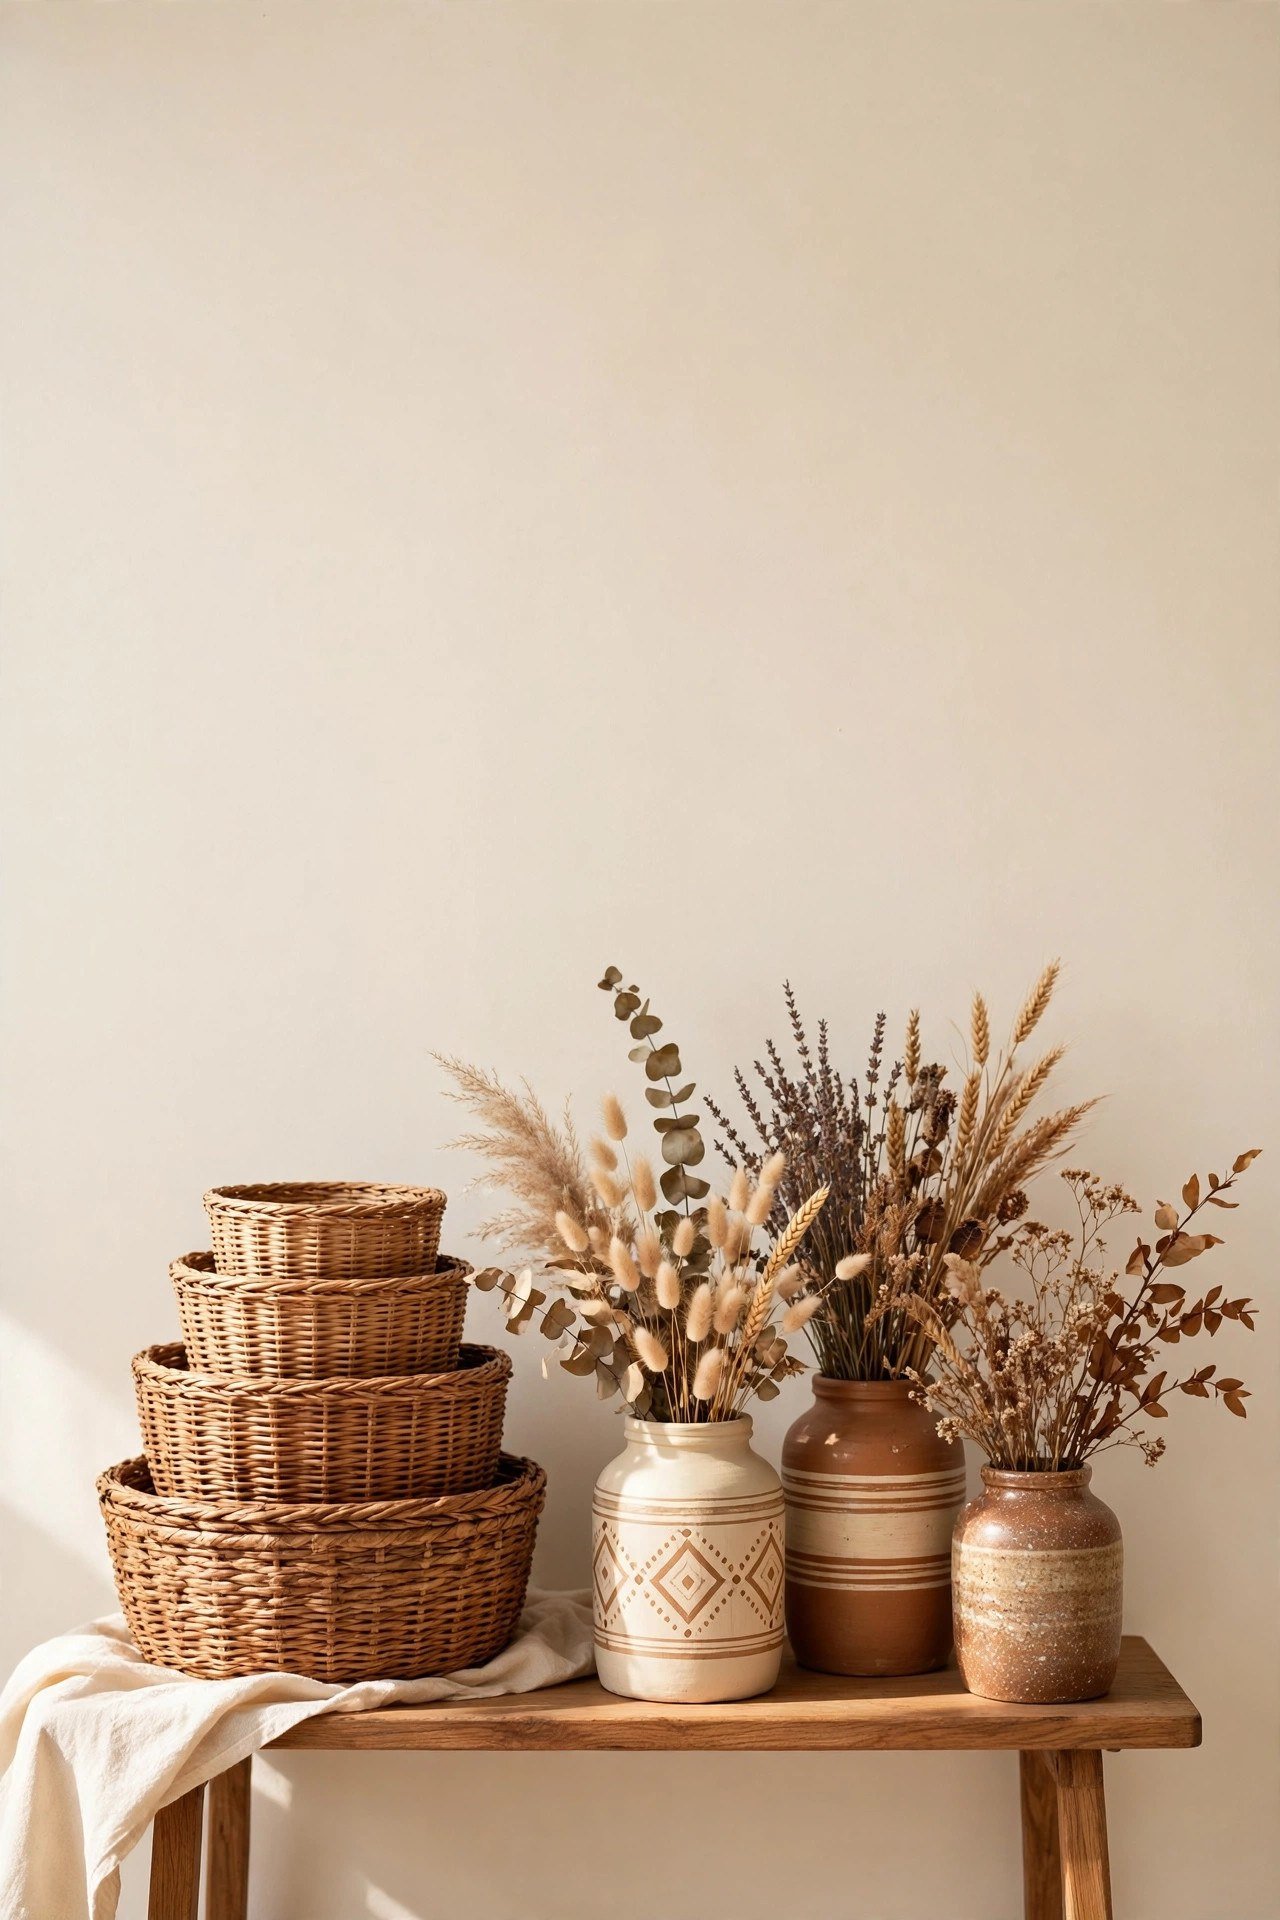
Groups of three or five look designed; pairs and even rows often look like stock on a shelf. Within a group, vary the heights — tall jar, medium box, low basket — so the eye moves up and down. Setting a group on a tray, a board or a box lid draws a border around it and tells the eye “this is one arrangement”. This is the same grouping logic that settles a shelf styling project: the containers in this guide make excellent anchors and fillers in the simple bookshelf styling system. More projects in this series are collected in the DIY decor and simple crafts guides.
Materials and Costs
- Warm soapy water and cooking oil for label glue — $0 (already at home)
- Sample pot of matte or satin paint, one colour — $4–$7
- Small paint brush — $2–$4
- Twine, ribbon or fabric strips for wrapping (optional) — $2–$5
- Tealights or a small candle (optional) — $2–$4
- Pebbles for jar planters (optional) — $0–$3
Most sets cost nothing at all: the containers are free, and the finish can be “clean and natural” with no purchase. Paint is the one small spend that makes the biggest difference.
Mistakes to Avoid
- Leaving the labels on. A visible brand label announces “packaging” louder than any styling can fix. If a label will not come off cleanly, paint or wrap over it.
- A different finish on every piece. One red jar, one gold box, one striped basket is a jumble sale, not a set. One shared finish is what makes them a collection.
- Using decor containers as general storage. The moment a styled jar holds loose change, cables and hair ties, it stops being decor. One job each, and keep it.
- Groups of two, or long even rows. Pairs look like shop stock and rows look like a pantry. Odd numbers with varied heights read as styling.
- Too many pieces out at once. Eight styled groups is a home full of clutter wearing a disguise. Two or three strong groups beat a container on every surface.
- Skipping the clean. Dusty glass and a grubby basket weave undermine even the best paint. Everything gets washed before it gets styled.
Frequently Asked Questions
What paint works on glass jars?
Ordinary matte or satin household paint works on clean, dry glass for decorative use, applied in two thin coats. Chalk-style paints grip glass especially well without primer. Paint the outside only, and if the jar will be washed often, keep the paint away from the rim and wash gently by hand.
How do I remove really stubborn label glue?
Soak longer first — an hour in hot soapy water lifts most adhesives. For what remains, rub with a cloth dipped in cooking oil or a paste of baking soda and oil, leave it ten minutes, then wash again. Avoid metal scourers on glass you plan to leave clear, as they can leave fine scratches.
Can baskets really work as plant pots?
Yes, as a cachepot: keep the plant in its plastic nursery pot, set that inside the basket, ideally on a small saucer to catch drips. The basket hides the ugly pot and adds texture, and the plant lifts out for watering. Never plant directly into an unlined basket — the weave rots quickly.
I only have a few containers. Is it still worth doing?
Absolutely — three pieces are enough for one good group: one jar as a vase, one box as a riser, one small basket beside them. A single finished group on one surface changes a room more than ten half-finished pieces spread around the house.
1 thought on “Old Jars, Boxes and Baskets Lying Around? Turn Them Into Decor That Actually Looks Good”