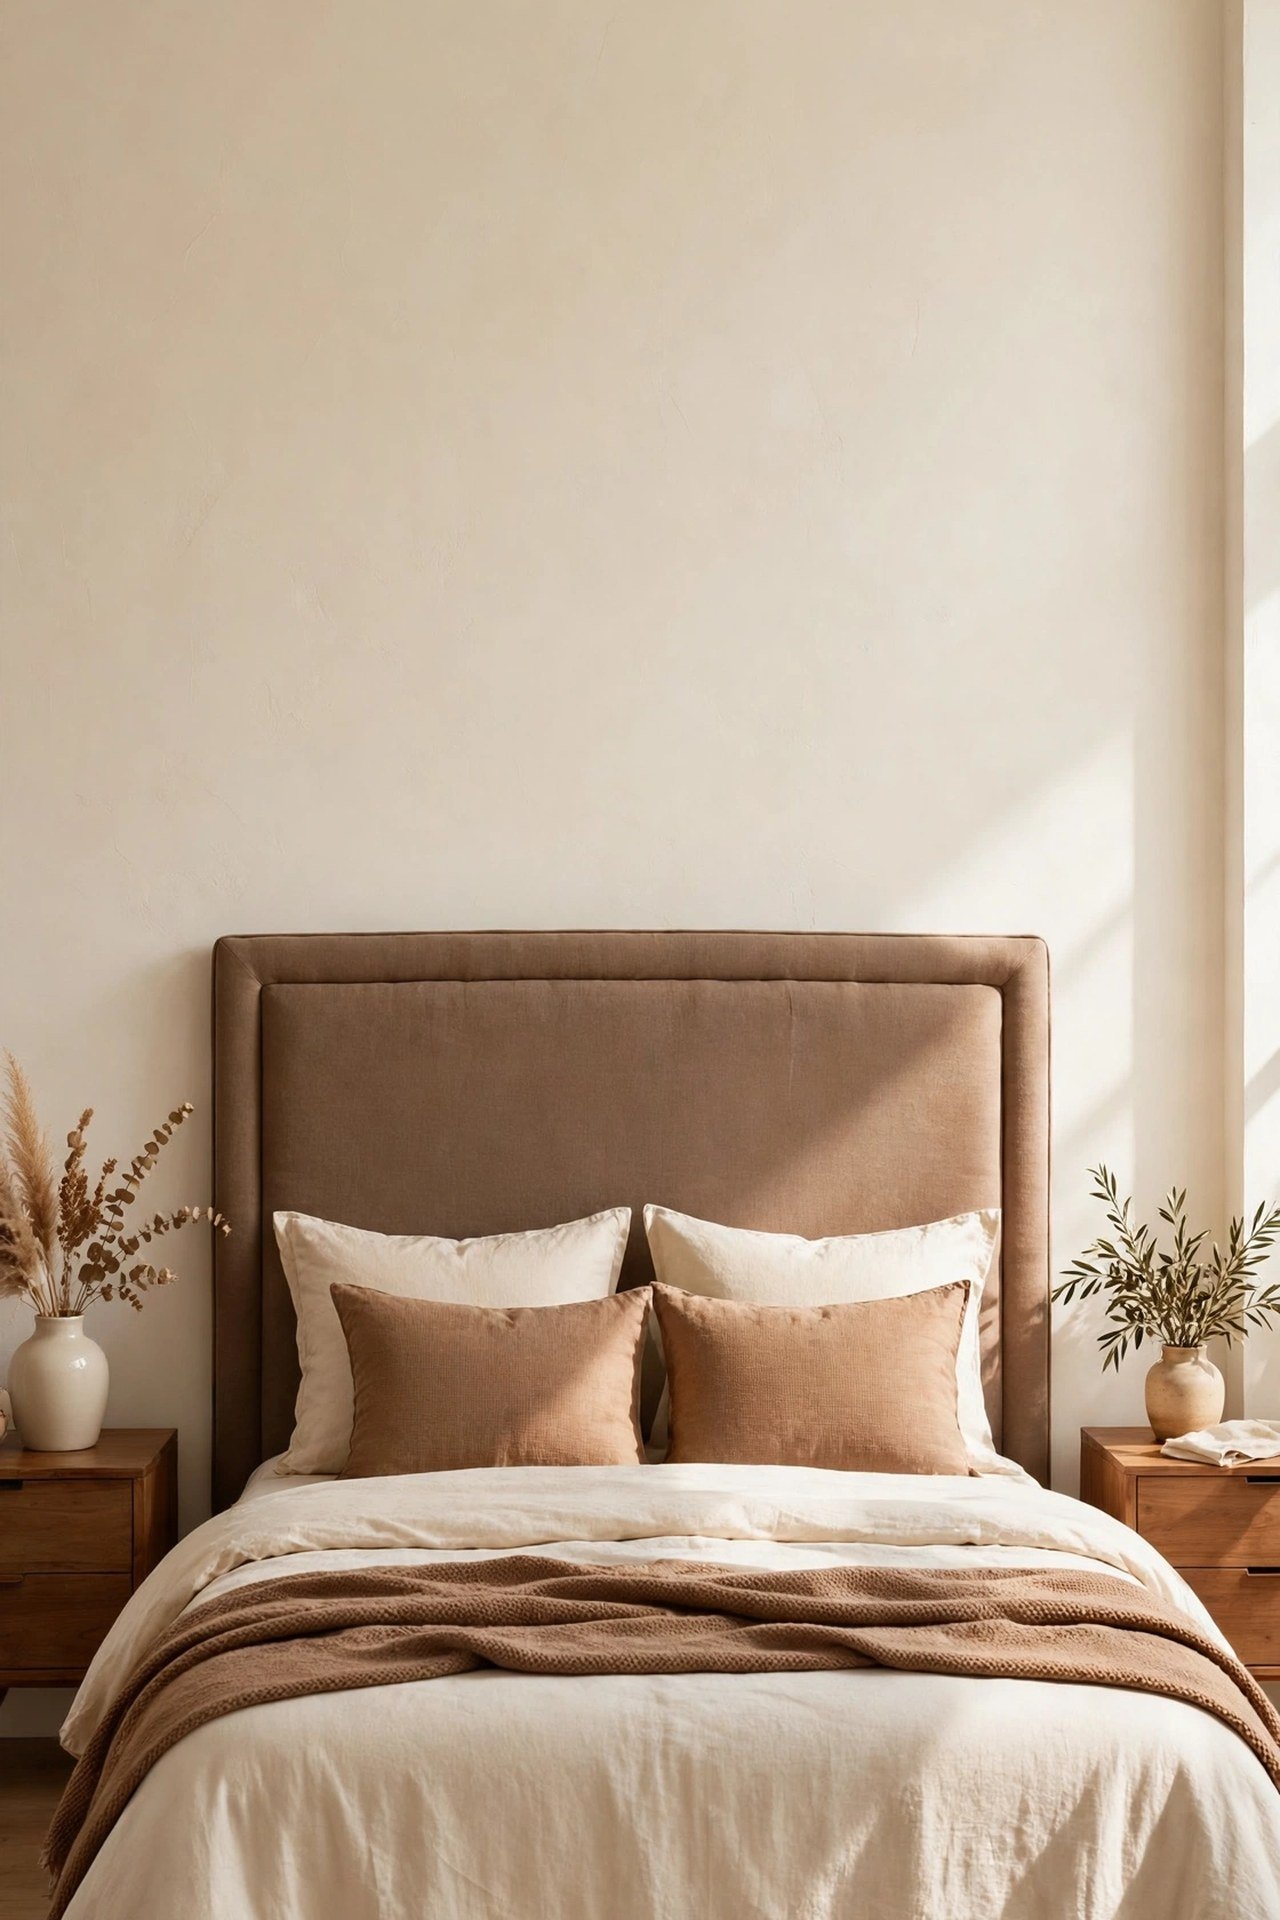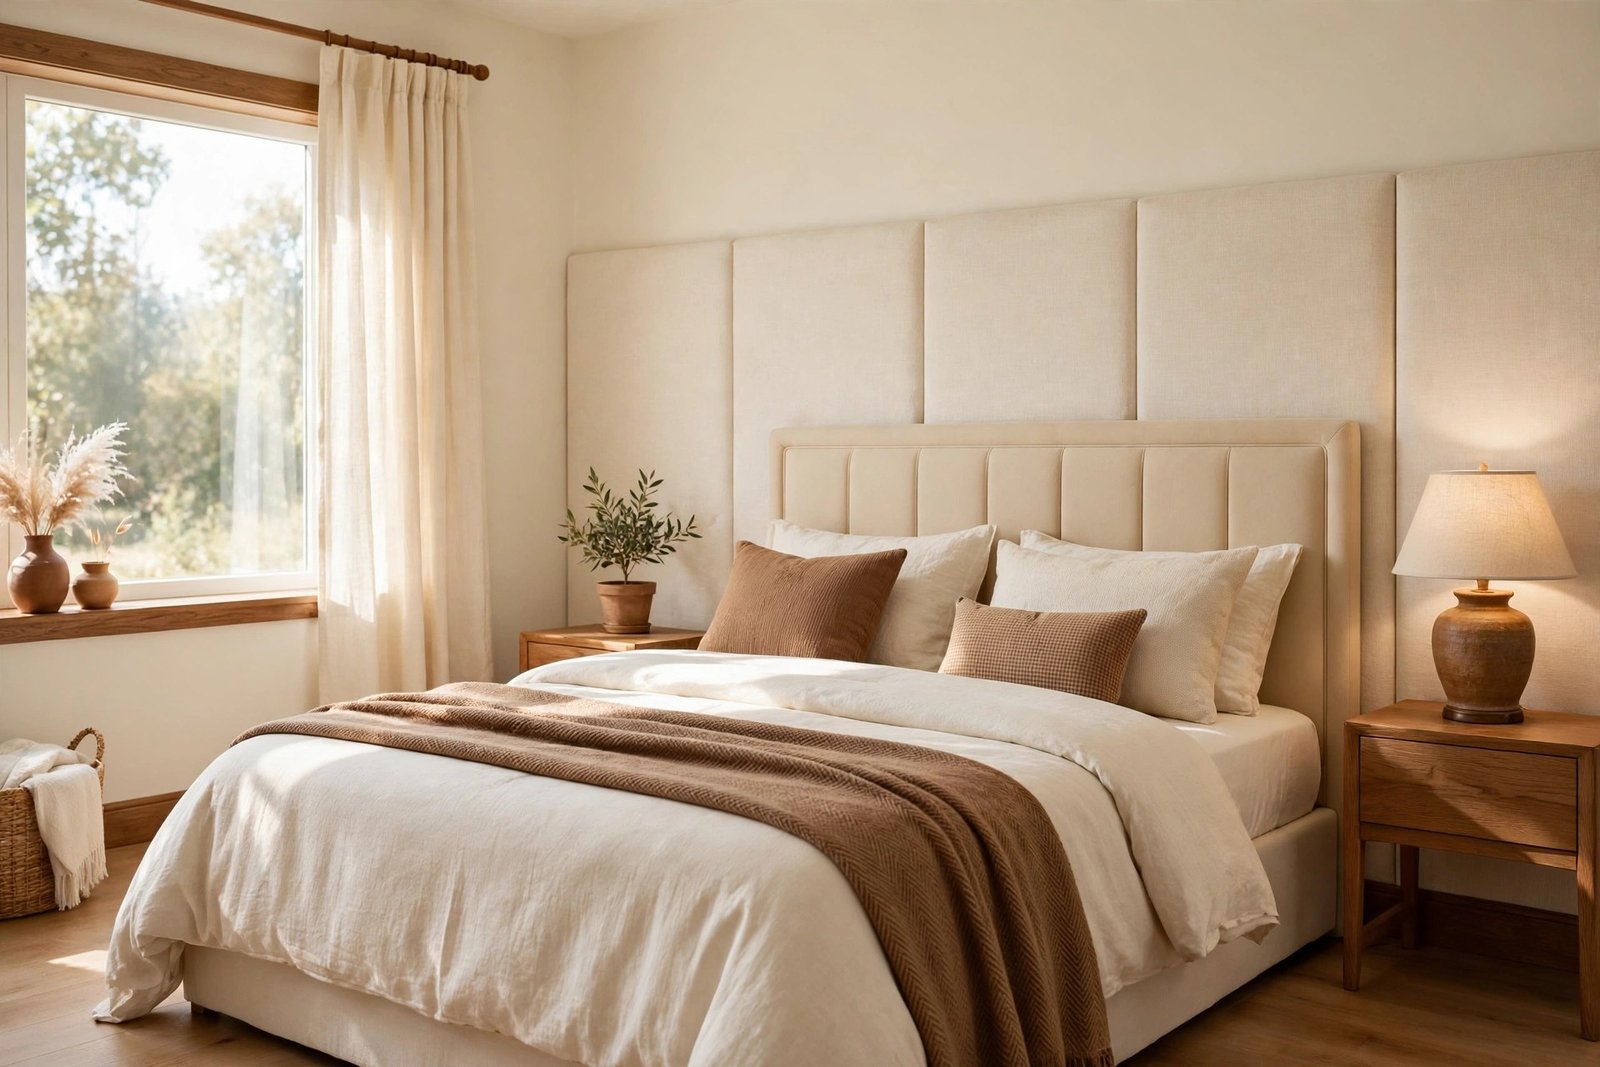
A bed without a headboard always looks slightly temporary — like the bed was pushed against the wall as a placeholder and never quite became the room’s centrepiece. Shop-bought headboards fix that, but a padded, upholstered one in a fabric you actually like is rarely cheap, and delivery can cost nearly as much as the headboard.
The good news is that a headboard is one of the easiest pieces of “furniture” to fake convincingly, because it does almost no physical work. It does not hold the bed up. It only has to look finished: the right width, a clean edge, and proportions that make sense against the pillows. This guide ranks four DIY options from most convincing to quickest, with the honest rules that make each one look done rather than improvised.
Quick Answer
To make a DIY headboard that looks finished, follow three rules whichever option you choose: make it wider than the mattress (about 10 cm extra each side), end it at least 50–60 cm above the top of the mattress so pillows do not swallow it, and give it a clean, deliberate edge. The most convincing option is upholstered panels; wood slats suit warm, simple rooms; a hanging fabric panel is the fastest soft option; and a painted wall arch costs almost nothing while still giving the bed a visual anchor.
The Finished-Look Rules (Every Option)
- Width: the headboard should extend roughly 10 cm beyond the mattress on each side. Exactly mattress-width looks like it shrank; slightly wider looks designed.
- Height: aim for the top edge to sit 50–60 cm above the mattress top once pillows are in place. Lower than that, the bed swallows it and it reads as a mistake.
- Edge discipline: a crisp edge — a seam, a frame, a clean painted line — is what separates “finished” from “fabric hung on a wall”. Every option below is really a way of getting that edge.
- One colour story: tie the headboard to something already in the room — the curtains, a throw, the wall’s deeper shade — so it looks chosen for this bed, not borrowed from another one.
Option 1: Upholstered Panels (Most Convincing)
Two or three rectangular panels, each a piece of board or thick foam wrapped in fabric and stapled at the back, hung side by side or fixed to a simple batten. This is the closest you get to a shop headboard, because it genuinely is one — just assembled at home.
Why it works: the padding gives soft shadow lines, the fabric reads as upholstery, and separate panels mean you can re-cover one without redoing everything. Choose a fabric with some body — a woven cotton, linen-look or light velvet-style fabric — and pull it drum-tight so there are no ripples. Corners matter most: fold them neatly, hospital-style, because a lumpy corner is the one detail that betrays the whole project.
Cost and time: $40–$80 depending on fabric; one afternoon. This is the option to choose if the bedroom is the room you most want to feel “done”.
Option 2: Wood Slats or a Simple Wood Panel
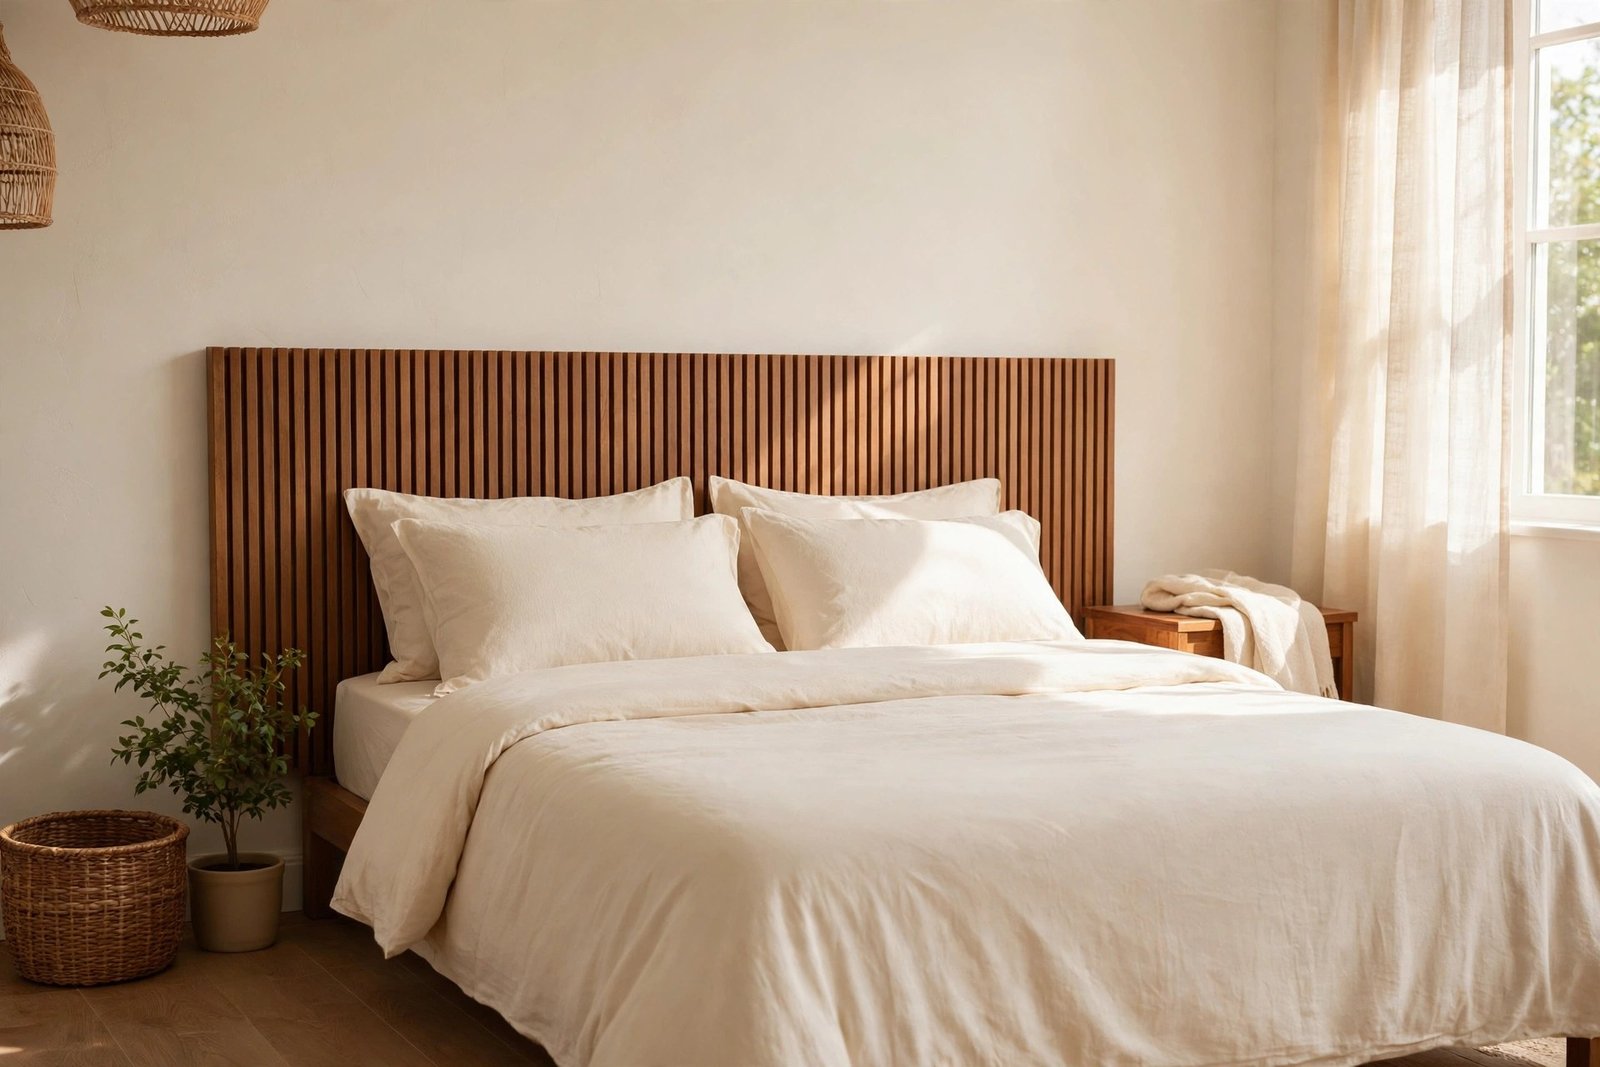
Vertical or horizontal slats of plain timber, sanded smooth and finished with the same wax or one-colour paint you would use on any furniture, fixed to two hidden battens on the wall. A single wide sanded board, or even a pair of plain internal doors painted as one piece, gives the same effect with less cutting.
Why it works: wood has natural authority — it looks like furniture because it is furniture material. Keep the gaps between slats perfectly even, because the eye measures slat work by its spacing. Finish every visible edge, including the top, which is seen from the doorway more than you would expect.
Cost and time: $25–$60; half a day including sanding. Best in rooms that already have warm wood tones to echo.
Option 3: A Hanging Fabric or Curtain Panel
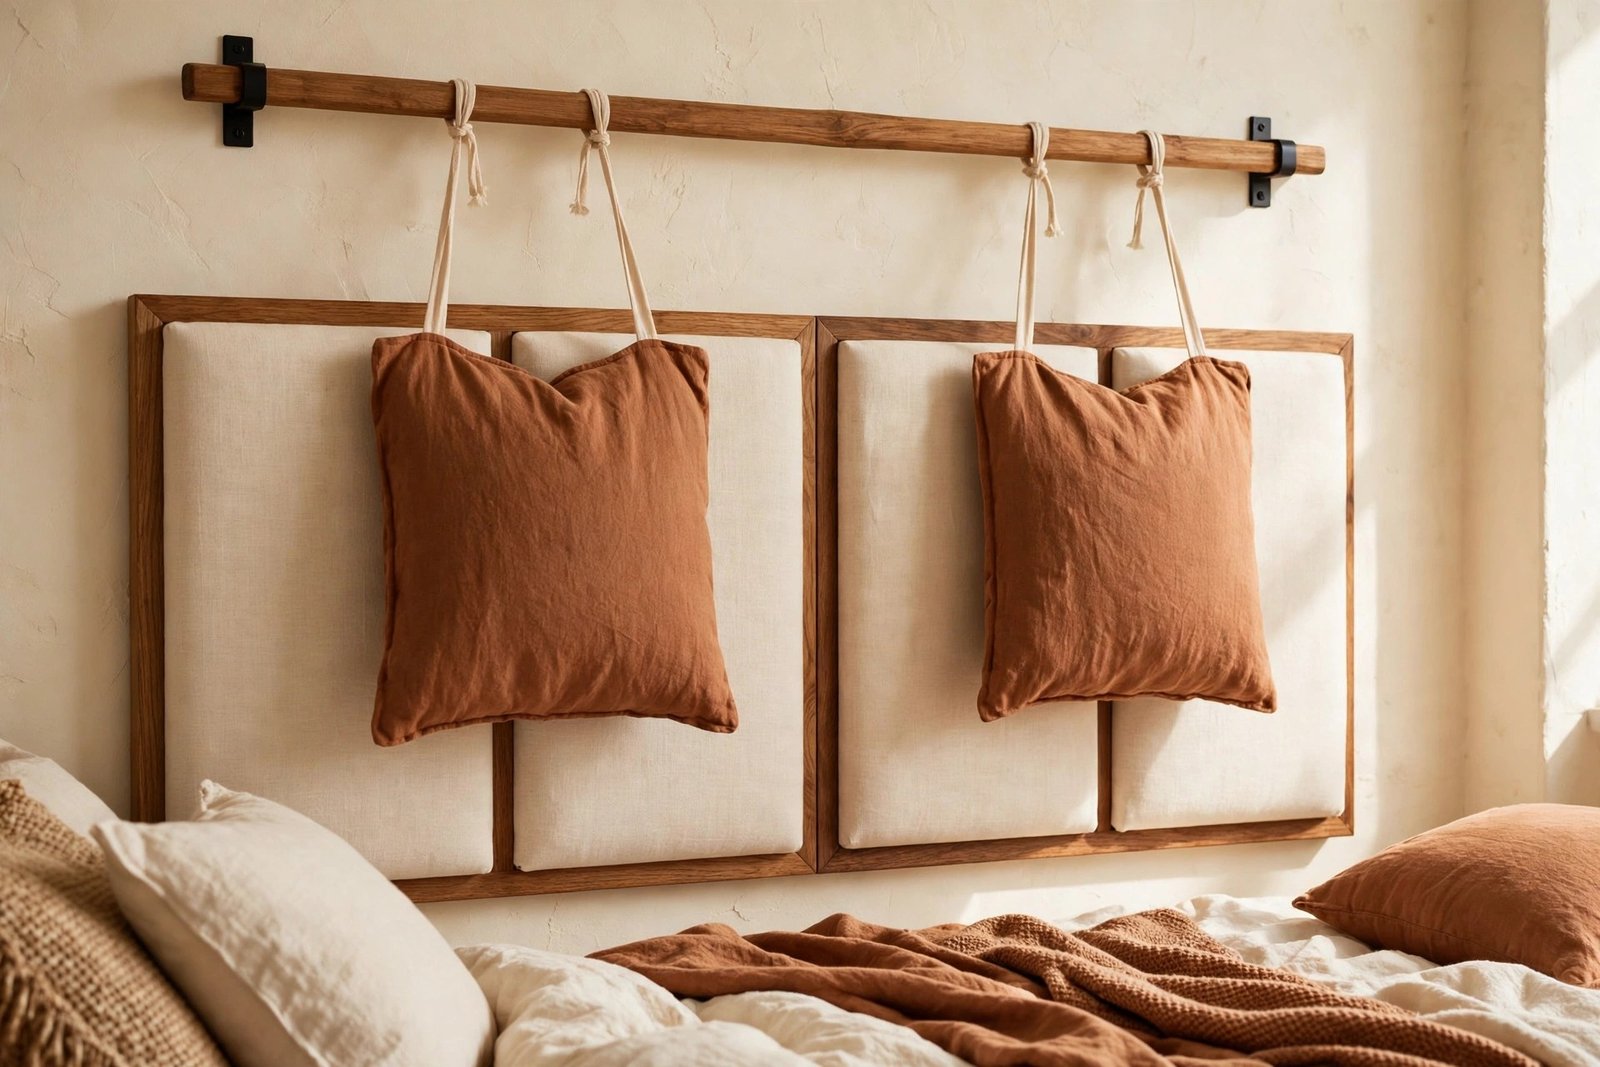
A wide panel of heavy fabric — a curtain panel is ideal — hung from a simple rod or a hidden batten so it falls flat and straight behind the pillows, weighted or hemmed so the bottom edge is clean.
Why it works: it gives the bed a soft, tall backdrop for the price of one curtain, and renters can take it down without a trace. The rules that save it from looking like laundry: the fabric must be wide enough to pass the bed’s edges, it must hang dead straight with no sag in the middle, and it helps enormously to borrow the method from refreshing tired curtains with no-sew fixes — a crisp iron and a proper fusible-tape hem turn a curtain into a panel. Add a plain border or a band of contrasting fabric at the bottom edge and it starts to look deliberate.
Cost and time: $10–$30; under an hour once hung. The fastest soft option, and easy to swap when you redecorate.
Option 4: A Painted Wall Arch or Rectangle
No object at all: a painted shape on the wall behind the bed — an arch, a rectangle, a half-circle rising behind the pillows — in a deeper shade of the room’s colour or one calm contrasting tone.
Why it works: the bed still gets its visual anchor, and nothing can wobble, sag or collect dust. The whole project lives or dies on the edge line: mask it with good painter’s tape, or draw the arch with a pencil-on-string compass and paint to the line with a small brush, slowly. A wobbly edge is the only thing that makes this look homemade, and it is entirely avoidable with patience. It also pairs naturally with the fabric refresh tricks used for refreshing flat cushion covers — paint the arch in the colour family of the cushions and the bed reads as one designed arrangement.
Cost and time: $5–$15 for a sample pot and tape; one to two hours. The cheapest option by far, and the easiest to paint over later.
Step by Step: Planning Any Headboard
Time: 15 minutes of measuring saves every option below from looking wrong.
- Measure the mattress width and add about 20 cm — 10 cm each side — for the headboard’s target width.
- Mark the height. With pillows in place, mark a line on the wall 50–60 cm above the mattress top. Sit against the pillows: your head should rest against the headboard zone, not the wall above it.
- Mask the outline with painter’s tape at the real size and live with it for a day. This is where most size mistakes are caught for free.
- Choose the option that matches the room — upholstered for softness, wood for warmth, fabric for speed, paint for budget — and check it sits happily with the bedside lamps and pictures you already have.
- Fix it securely. Anything hung above a bed must be fixed to hold its weight safely — use fixings suited to your wall, check them with a firm pull before the bed goes back, and use a stable step stool rather than standing on the mattress. A headboard should never rest on the bed frame alone or lean loose against the wall.
Materials and Costs (Per Option)
- Upholstered panels: board or foam, fabric, staple gun and staples, battens — $40–$80
- Wood slats: plain timber slats, sandpaper, wax or paint, two battens and screws — $25–$60
- Fabric panel: one heavy curtain panel, rod or batten, fusible hemming tape — $10–$30
- Painted arch: sample pot of paint, painter’s tape, small brush — $5–$15
- Shared basics: tape measure, spirit level, pencil, wall fixings suited to your walls — $5–$10
Every option here costs less than most delivery charges on a bought headboard, and the whole set of projects sits naturally alongside the other DIY decor and simple crafts guides.
Mistakes to Avoid
- Exactly mattress-width. It reads as an offcut, not a headboard. The extra width on each side is what makes it look designed.
- Too low behind the pillows. If only a sliver shows above the pillows, the bed looks unfinished no matter how good the work is. Height is not optional.
- Rippled, loose upholstery fabric. Tension is the whole craft. Re-staple a loose section rather than hoping the pillows will hide it — they will not.
- Uneven slat gaps. Use a spacer block between slats so spacing is mechanical, not eyeballed.
- A sagging fabric panel. One fixing point in the middle guarantees a dip. Fix along the full width, and hem the bottom edge so it hangs straight.
- Skipping the wall fixings to save time. Anything above a sleeping person must be genuinely secure. This is the one step that is never optional.
Frequently Asked Questions
Can a DIY headboard work in a rented home?
Yes — two of the four options were made for renters. The fabric panel hangs from a rod on small hooks or even removable strips if the panel is light, and the painted arch needs only repainting in the wall colour when you leave. Upholstered panels can also lean securely behind the mattress if they are tall and wide enough to be trapped by the bed’s weight — but if there is any doubt about stability, fix them properly or choose paint.
What fabric is best for upholstered panels?
A medium-weight woven fabric with very little stretch — cotton canvas, linen-look weaves, or upholstery-weight fabric from the remnant bin. Stretchy fabric ripples no matter how hard you pull it, and very thick fabric fights the corners. Buy a little extra: your first corner fold is practice, and the fabric is the cheapest part of the project.
How do I draw a neat painted arch?
Mark the centre point of the arch at the height where the curve should start. Tie a pencil to a length of string, hold the string’s end at the centre point, and swing the pencil in an arc, keeping the string taut — that draws a true curve. Connect the arc’s ends down to the skirting with straight taped lines, then paint inside the shape with a small brush at the edge and a roller in the middle.
My bed is in the middle of the room, not against a wall. Do these still work?
The panel and slat options can, if they are built on a rigid frame fixed to the floor or the bed frame by someone confident with fixings — a freestanding headboard must be genuinely stable, not balanced. The painted arch obviously cannot. In practice, most mid-room beds look best with a low, solid, double-sided piece; if that is beyond a weekend project, a tall plant or a screen behind the bed gives a similar anchor while you plan.