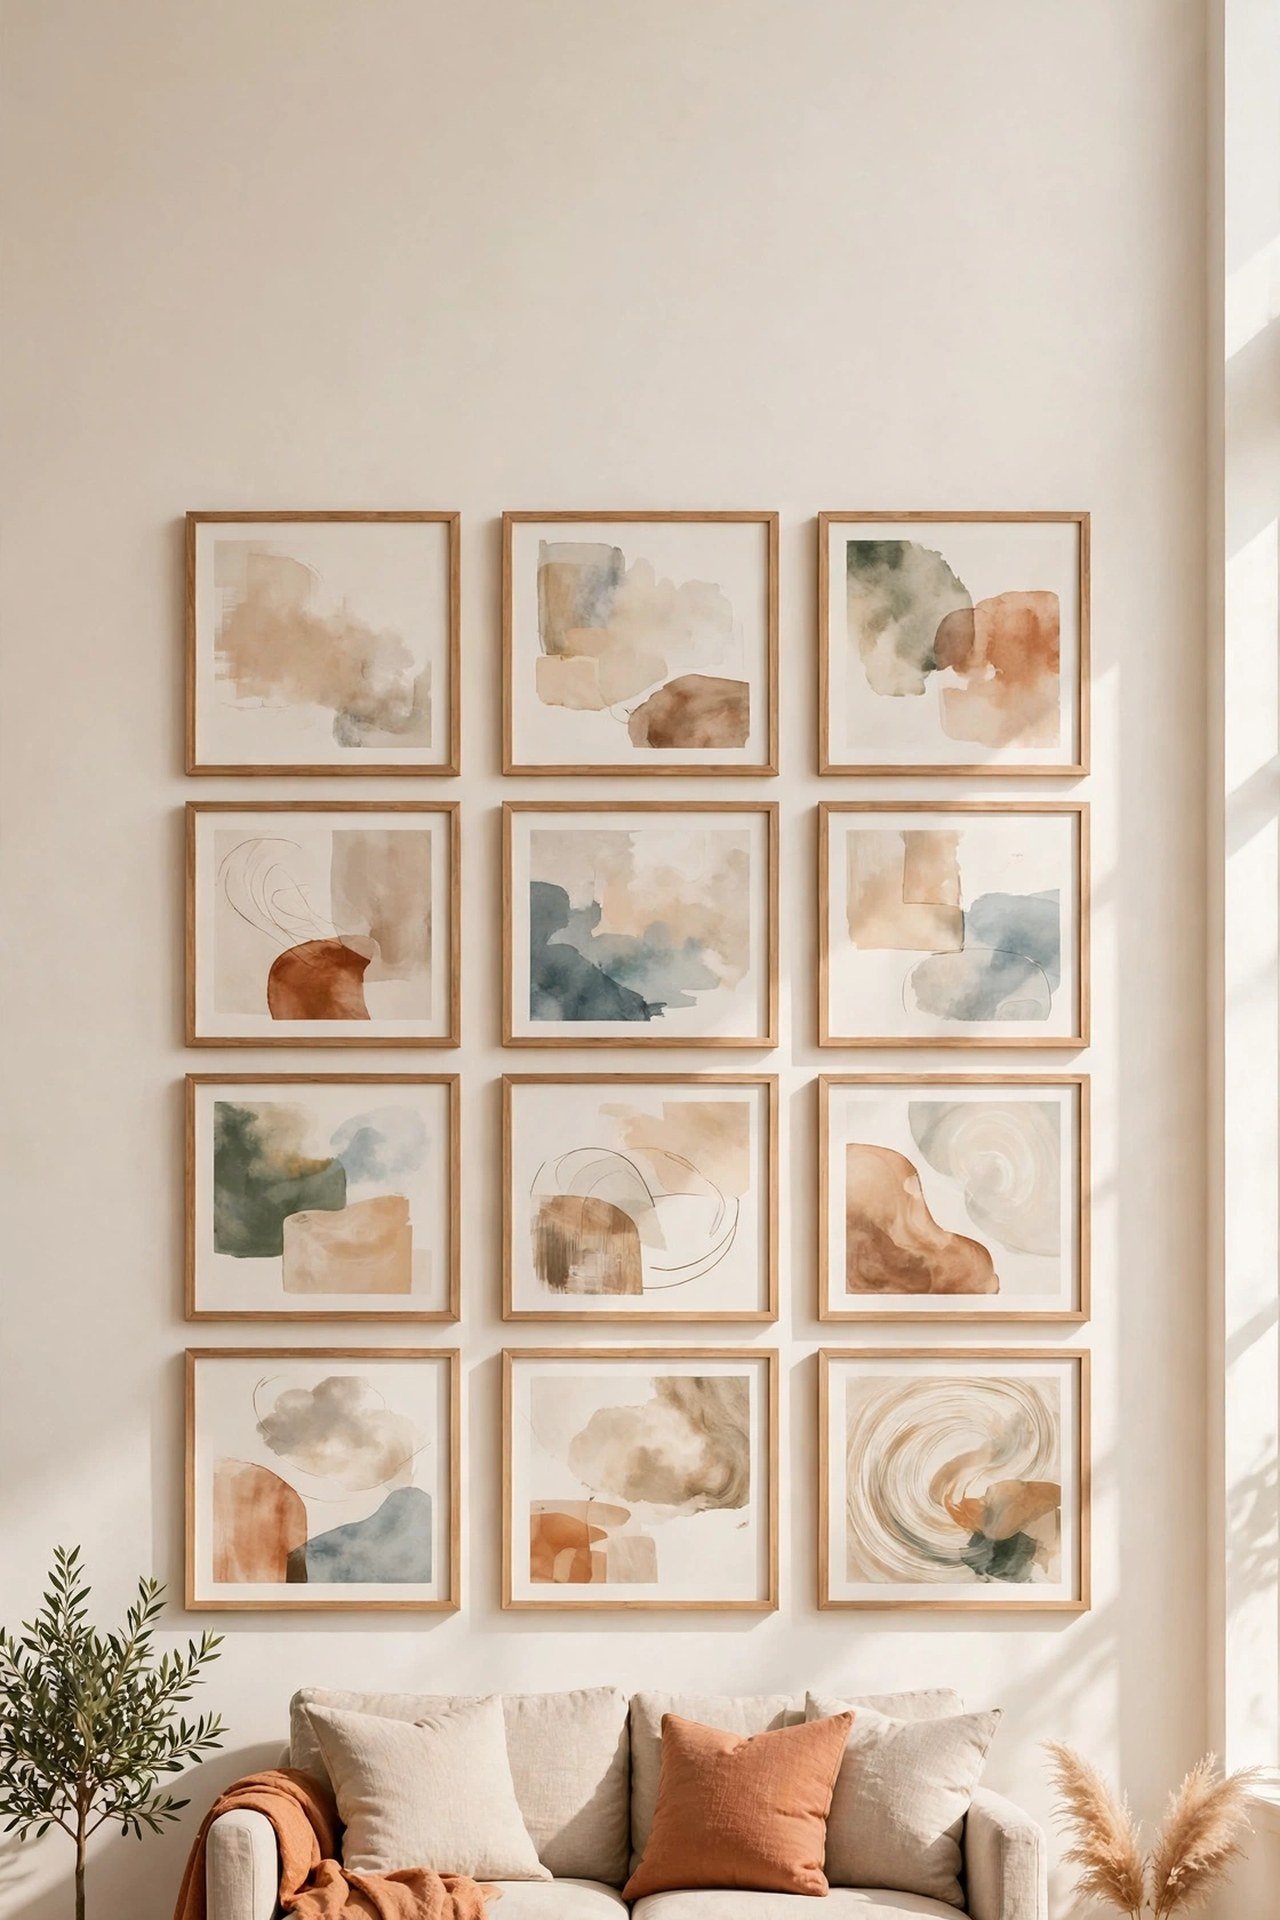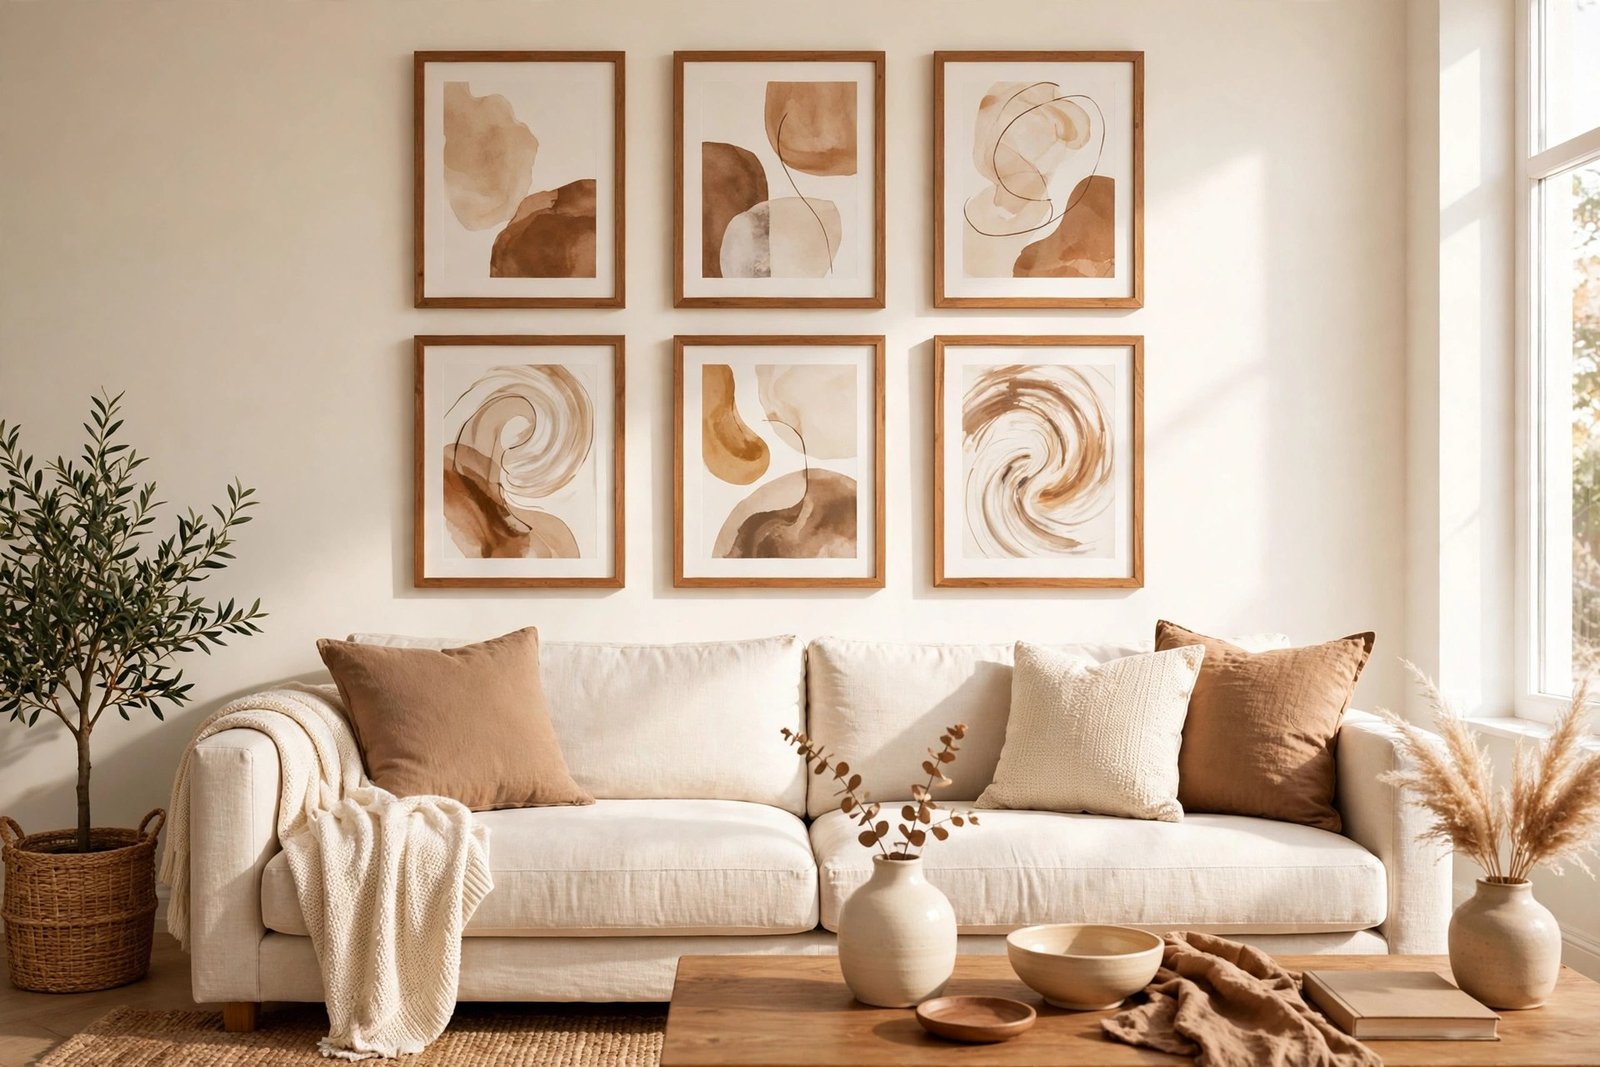
A gallery wall is supposed to look like a collection that grew with intention. What most people end up with is a frame problem: every print arrives in a different frame — different wood, different metal, different widths — bought at different times in different shops. Hung together, the frames argue with each other, and the art underneath disappears into the noise.
Matching frame sets fix it, but a set of eight or ten identical frames is expensive, and honestly a little dull. There is a better route: use mixed frames, but take away everything that makes them look mismatched. One painted colour, one mat style and one layout rule unify almost any frames you already own or can buy second-hand for a dollar or two. This guide shows the system step by step.
If you would rather skip frames altogether, the frame-free routes — washi-tape outlines, clipboards and fabric panels — are covered in the guide to DIY wall decor that costs almost nothing. This article is for people who like real frames and already have a drawer of them.
Quick Answer
To create a gallery wall without mismatched frames, unify the frames you have instead of buying a set. Paint every frame the same colour and finish — matte black, warm white or one wood tone. Put every print behind the same style of mat (passe-partout) in the same colour, with the print sizes varied but the mat borders consistent. Plan the whole arrangement as a paper template taped to the wall before drilling anything, keep the gaps between frames even at 5–8 cm, and centre the group at about 145 cm from the floor. Frames can differ in size, shape and age; colour, mat and spacing are what the eye reads as “matching”.
Why Frames Look Mismatched (It Is Not the Frames)
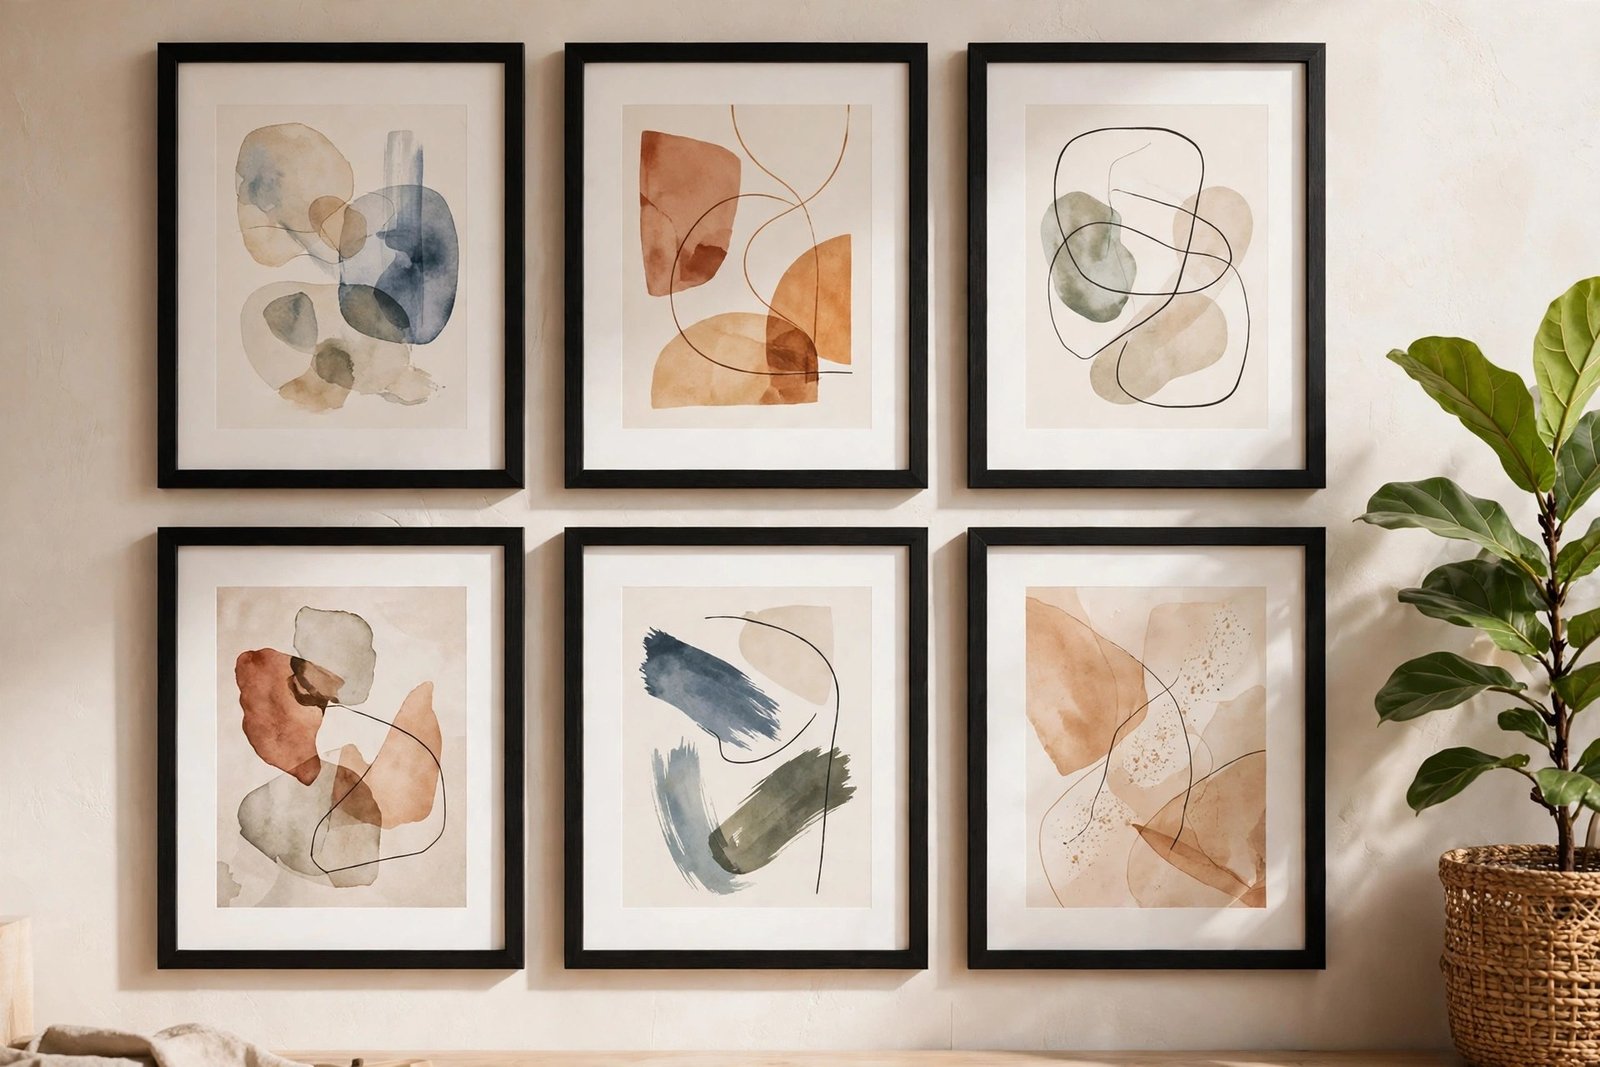
Three things make a group of frames look random. First, colour chaos: honey pine beside black metal beside gilt beside white plastic asks the eye to read four different collections at once. Second, mat chaos: some prints fill their frames edge to edge, others float behind wide borders, so nothing lines up even when the frames align. Third, layout chaos: uneven gaps and a wandering centre line make the group look hung one piece at a time, whenever a new print arrived.
Notice that none of the three is the frame itself. A carved antique frame and a plain modern one sit happily together once both are the same colour, hold their prints the same way and respect the same spacing. That is why the system below works with charity-shop frames, inherited frames and the odd ones at the back of a cupboard — the unification is a surface decision, not a shopping decision.
Step One: Gather More Frames Than You Need
Collect every frame you own, then add second-hand finds. Thrift stores, garage sales and charity shops sell frames for $1–$3; judge them by shape and condition, never by the picture inside or the current colour, because both are about to change. Aim for a mix of sizes with one or two large pieces (40 × 50 cm or bigger) to anchor the wall, several mediums, and a few small ones for rhythm. Gather two or three more than the wall needs — choice at layout time is what keeps a gallery wall from looking forced.
Step Two: One Colour, One Finish
Remove the art and glass, wipe the frames down, and lightly sand any glossy finish so paint grips. Then paint every frame the same colour: two thin coats of the same matte or satin paint. Matte black is the classic gallery choice and hides mixed materials best; warm white suits pale walls and softens ornate frames; a single warm wood stain works when most frames are real wood. Inherited from the furniture project in this series, the thin-coat rule applies: the method for making a plain mirror look expensive with a simple frame upgrade uses exactly the same logic — frame finish first, and the object suddenly looks bought on purpose. Paint the frames before the mats go in, and let them dry fully.
Step Three: One Mat Style for Every Print
The mat (the card border inside the frame) is the quiet unifier. Choose one mat colour — usually a warm off-white — and cut or buy mats so that each print sits behind a similar width of border, even though the prints themselves differ in size. Ready-cut mats cost $2–$4 each in standard sizes; a large sheet of mat board and a craft knife produce several for the same money. Consistent mats calm the wall twice over: they give every image the same breathing room, and they let a small print hold its own in a big frame, which frees you from hunting for exact-size frames.
Step by Step: Template, Then Hang
Time: about 2 hours, plus paint drying. Difficulty: beginner. Cost: $10–$25 depending on how many frames you buy.
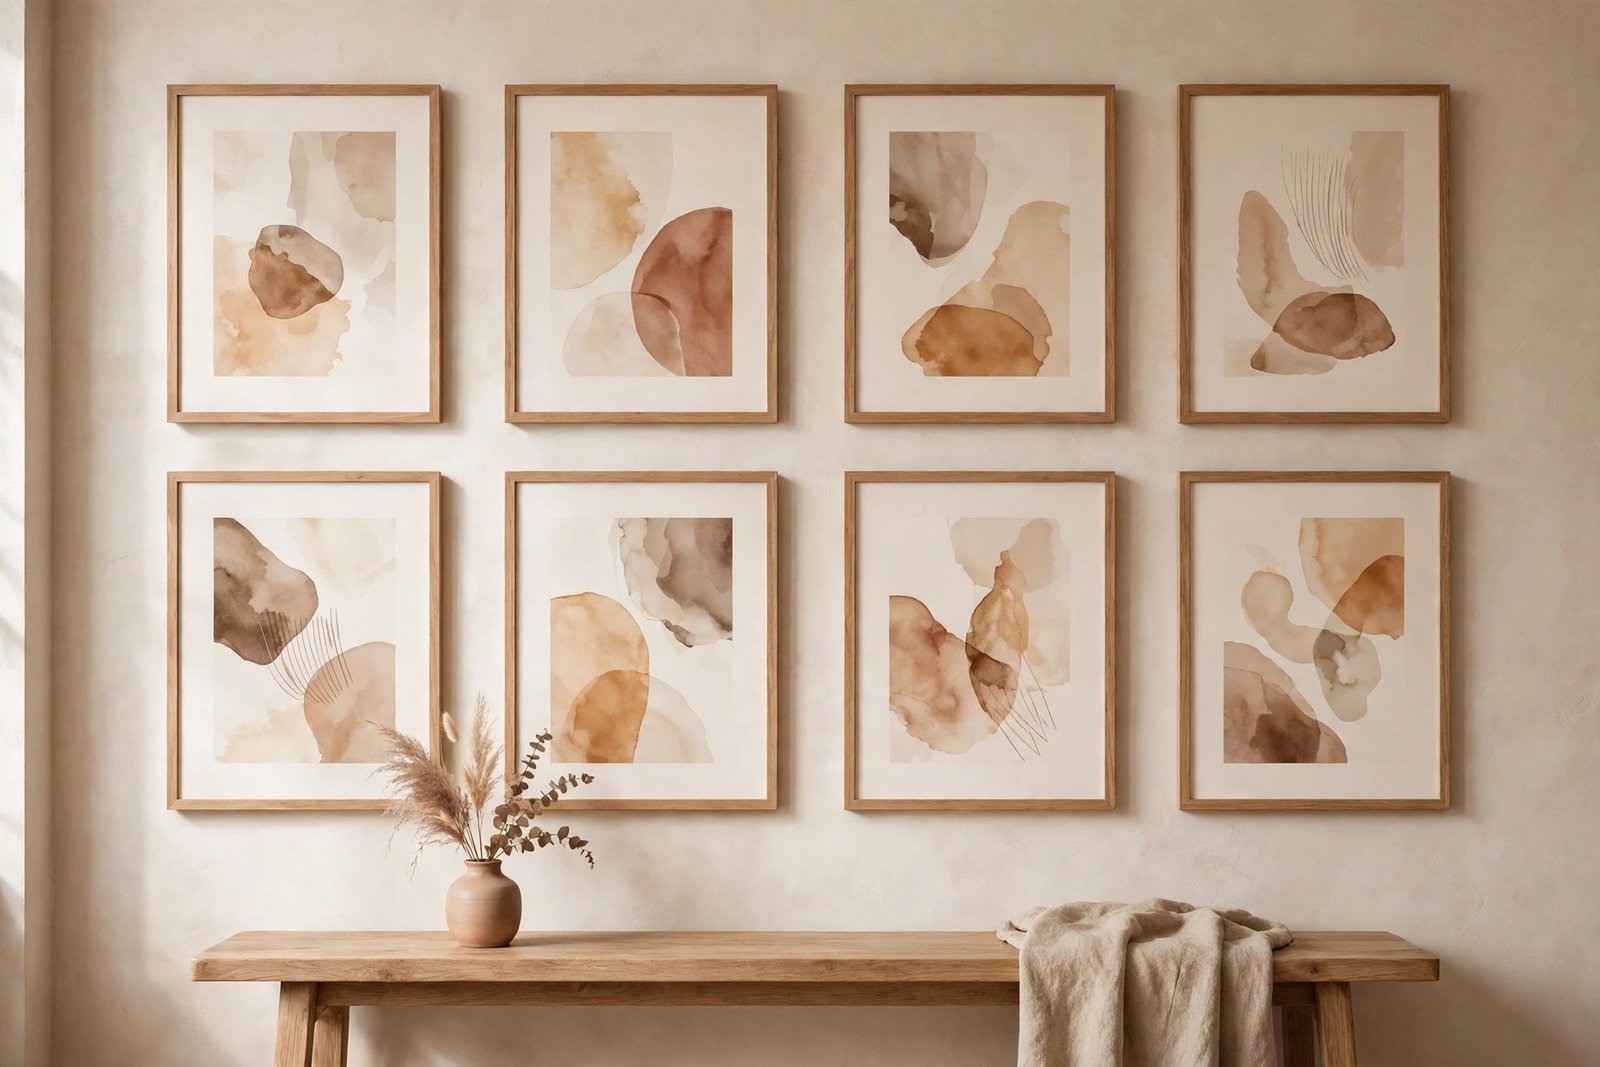
- Lay the arrangement on the floor (20 minutes). With frames painted and prints matted, arrange the group on the floor at the wall’s real dimensions. Largest piece slightly off-centre, mediums around it, smalls filling gaps. Keep the outer edge of the group roughly rectangular — gallery walls look calmest inside an implied rectangle.
- Fix the gaps (5 minutes). Nudge frames until every gap is the same 5–8 cm. Consistent spacing is non-negotiable; it is what your eye actually reads as “designed”.
- Trace paper templates (15 minutes). Trace each frame onto brown paper or newspaper, cut out the shapes, and mark each template with the position of its hanging hook or wire.
- Tape the templates to the wall (10 minutes). Tape the paper group up at the real height — centre of the whole arrangement around 145 cm from the floor — and live with it for a few hours if you can. Adjust from the doorway view. For high pieces, use a stable step stool rather than standing on a chair.
- Mark, drill, hang (30 minutes). Through each template’s hook mark, mark the wall, then drill or hammer your fixings. Tear the paper away and hang the real frames in its place, checking each with a spirit level as you go.
- Final pass (5 minutes). Straighten every frame, stand back, and swap any two prints whose colours fight. Small straightening beats are normal for a day or two as frames settle.
Materials and Costs
- Second-hand frames — $1–$3 each
- Matte or satin paint, one colour, small tin — $5–$9
- Pre-cut mats, or mat board sheet plus craft knife — $2–$4 each / $6–$10 per sheet
- Brown paper or newspaper for templates — $0
- Painter’s tape, pencil, tape measure, spirit level — usually already at home
- Picture hooks, nails or wall plugs to suit your walls — $3–$6
- Fine sandpaper for glossy frames — $2–$3
A wall of eight frames typically lands between $15 and $30 all-in — less than two new matching frames bought retail.
Mistakes to Avoid
- Painting some frames and “keeping the nice wood one”. One exception restarts the mismatch. Every frame takes the colour, or the system fails.
- Skipping the mats to save money. Mixed prints without mats show every size difference at full strength. The mat is the cheapest unifier in the whole project.
- Hanging as you go. Piece-by-piece hanging guarantees drifting gaps and a rising centre line. Template first, drill once.
- Random gaps for a “relaxed” look. Relaxed gallery walls in magazines still use ruthlessly even spacing. Uneven gaps read as accident, not ease.
- Art in clashing colour stories. Unified frames cannot rescue prints that fight. Keep the images in one broad family — all warm, all black-and-white, all botanical — for a calm wall.
- The group hung too high. The centre belongs near 145 cm, connected to the furniture below. A gallery floating near the ceiling belongs to the ceiling, not the room.
More wall and surface projects are gathered in the DIY decor and simple crafts collection.
Frequently Asked Questions
Can I mix frame shapes — oval, ornate, plain — in one wall?
Yes, once colour and mats unify them, shape variety becomes the interesting part. Keep ornate frames in the minority (one or two among plainer ones) so the wall reads calm with accents, rather than busy. The same colour in a matte finish settles even very different profiles.
What if my frames are different depths?
Slight depth differences are invisible from the front and fine in practice. If one frame is much deeper, hang it near the centre of the group where its shadow looks deliberate, rather than at an edge where it juts. Foam bumpers on the bottom corners keep deeper frames hanging straight.
How many pieces does a gallery wall need?
Five is a comfortable minimum for the effect; seven to nine suits most living room walls. Fewer than five reads as “a few pictures”, which is fine too — just arrange them as one tight group with the same spacing rules instead of spacing them out to fake a gallery.
Is it better to use all photos, or mix photos with art prints?
Mixed content usually looks richer: photographs, prints, a child’s drawing and one small textile or plate piece give the wall texture. Keep the images in one colour family and let the identical frames and mats hold the mixture together — that contrast inside a calm structure is exactly what a good gallery wall is.