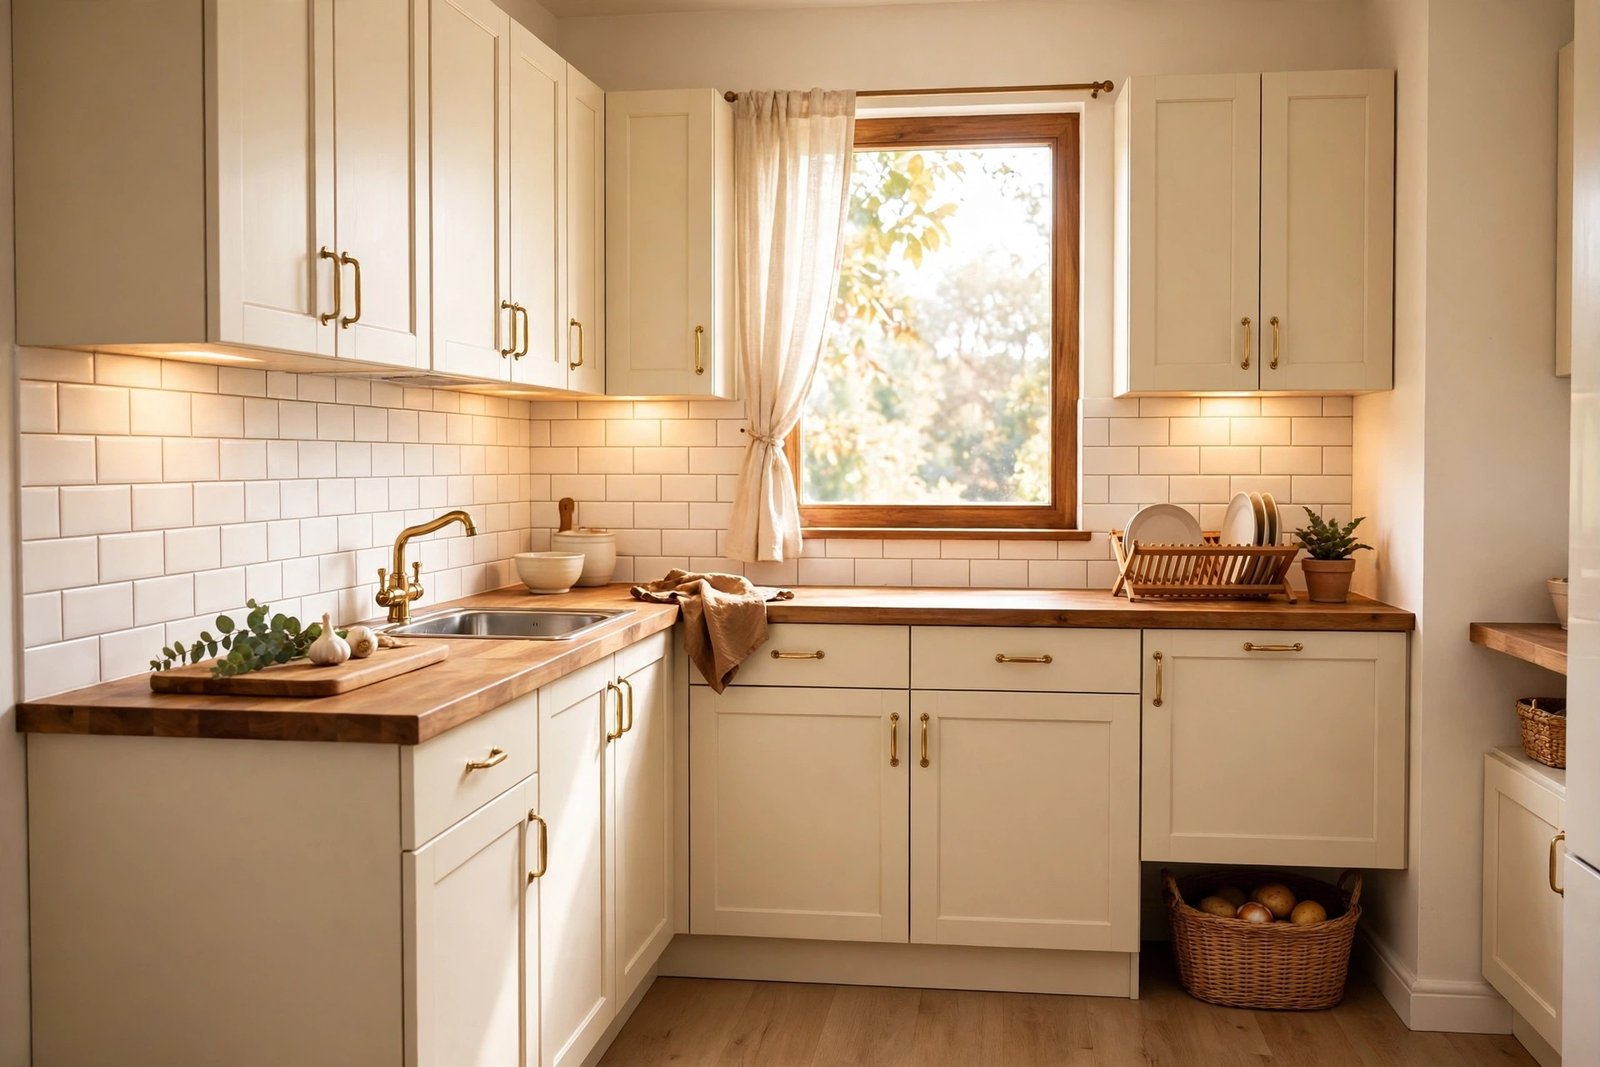
A kitchen is the hardest room to change on a small budget, because the expensive parts — cabinets, worktops, appliances — are exactly the parts you cannot replace. So the room keeps looking old even when it is clean, and it is easy to believe nothing short of a full renovation will help. That is not true. Most dated kitchens look dated for three smaller reasons: tired colour, worn handles, and flat, harsh light. All three can be changed for far less than new cabinets.
This guide puts a tight budget in the right order: paint first, handles second, lighting third, and small finishing touches only with what is left. It is the same principle used in a living room makeover on a $100 budget — spend on what the eye notices first, and do not spread the money across ten tiny items that change nothing.
Quick Answer
For a kitchen makeover on a tight budget, work in this order. First, clear and deep-clean everything, including the tops of cabinets and the grout — that is free. Second, paint: one coat on the walls in a clean, light colour, or paint the cabinet fronts if they are sound but dated; a small tin and a roller cost roughly $25–$40. Third, replace the cabinet handles — a full set of simple handles for a small kitchen costs about $20–$35 and makes old cabinets look deliberate. Fourth, fix the lighting: warm bulbs, and a simple stick-on or plug-in strip under the wall cabinets if there is money left, about $10–$20. Keep the last few dollars for one or two finishing items, such as a plain runner or matching jars for the worktop. Skip new taps, new appliances, and decorative clutter until these three jobs are done.
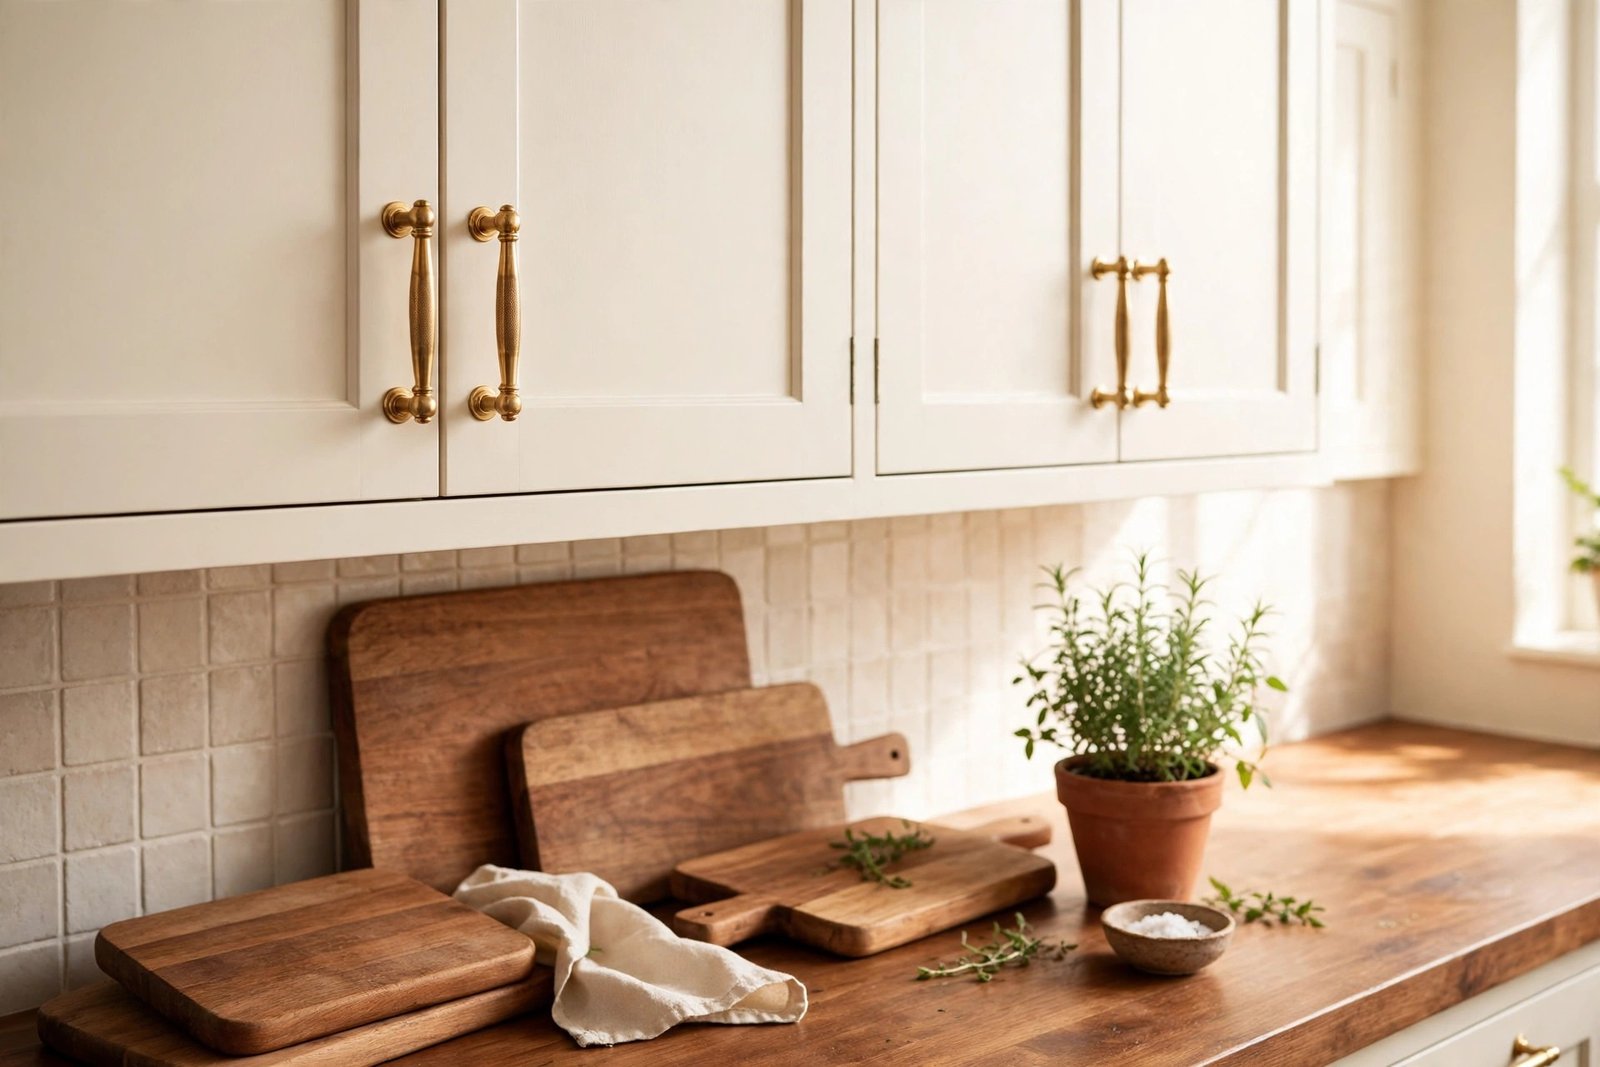
Step 0: Clear and Clean Until the Room Tells the Truth
Before buying anything, empty the worktops completely, wash every surface, and clean the places that quietly age a kitchen: the greasy film on cabinet tops, splashes behind the hob, stained grout, and the fronts of appliances. Degreaser, hot water, and an old toothbrush for grout cost almost nothing, and a clean kitchen in bad light still looks better than a dirty kitchen in good light.
Then be honest about what stays on the worktop. A kettle, a knife block, a fruit bowl, and one plant is a calm kitchen. Fifteen appliances, boxes, and papers is a storage room with a sink in it. Move everything you do not use daily into a cupboard, even if the cupboard needs a ten-minute sort first. The paint and handles that follow will only show if the surfaces are calm enough to see them.
Step 1: Paint — the Biggest Change for the Least Money
Paint gives more visible change per dollar than anything else in a kitchen. You have two choices, and you should pick only one on a tight budget: the walls, or the cabinet fronts.
Painting the walls
If the cabinets are a plain colour you can live with, paint the walls. Choose a clean, light, warm neutral — warm white, pale greige, or a very soft sage — and avoid cold blue-greys, which make kitchens feel like offices. One wall is often enough: the wall you see from the doorway sets the tone for the whole room. Wash the wall first, especially near the hob, or the new paint will not grip, and use a kitchen paint or a washable finish if the budget stretches to it.
Painting the cabinet fronts
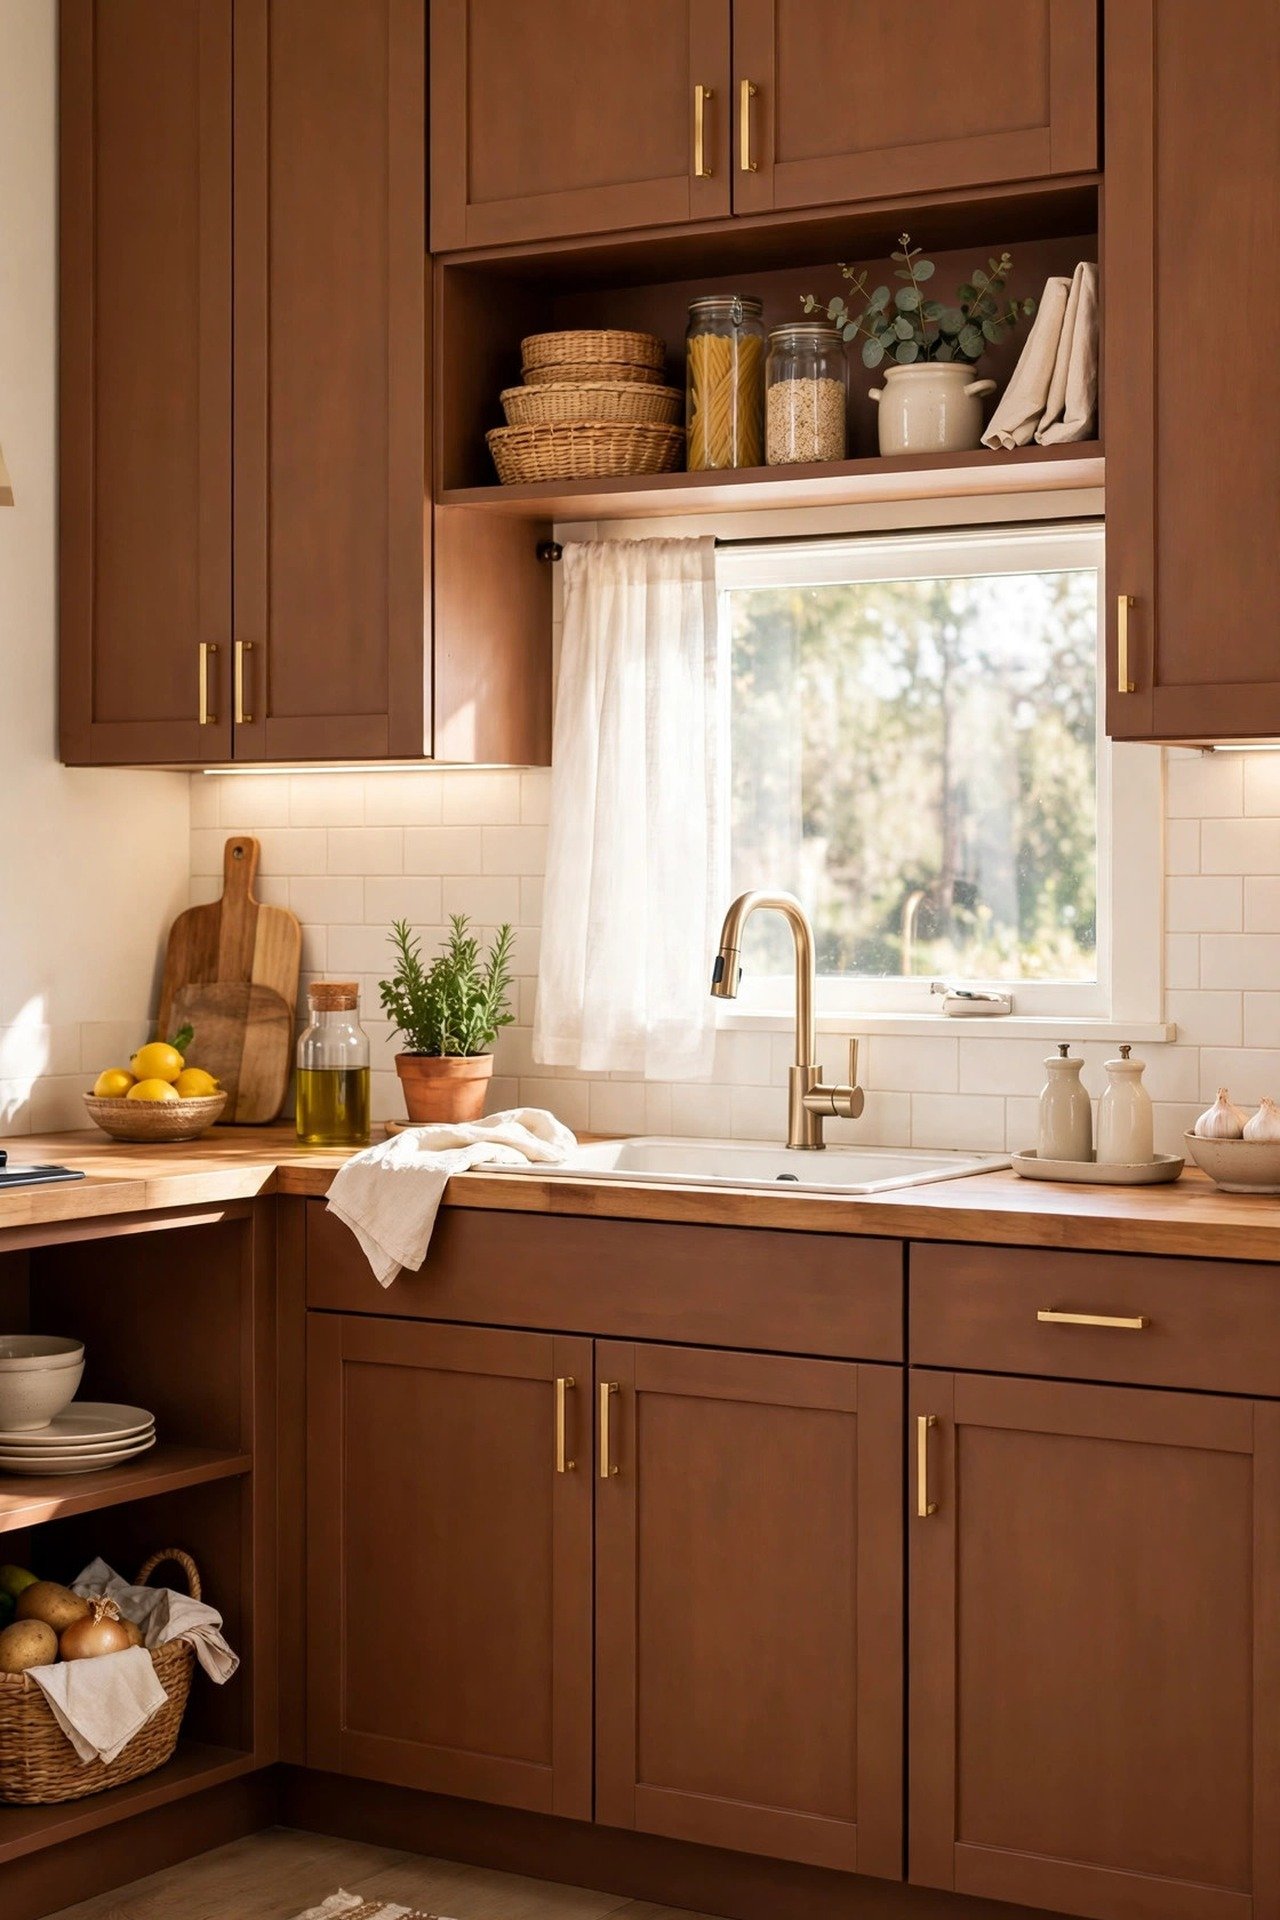
If the cabinets themselves are the problem — dark orange wood, yellowed white, or a colour you dislike every morning — painting the fronts changes the entire room. It is slower but not difficult. Remove the doors and handles, wash them with degreaser, sand lightly so the paint has something to hold, wipe the dust away, and apply a primer followed by two thin coats of a durable cabinet or multi-surface paint. Thin coats matter: thick coats drip, show brush marks, and chip within weeks. Leave doors to harden for at least a day before refitting them, longer if you can.
Choose the cabinet colour from the room you already have. The floor and worktop are not changing, so the paint must sit happily beside them. Soft white, warm grey, and muted green work with most floors; a strong dark colour looks wonderful in photos but shows every splash and fingerprint in a small, busy kitchen.
Step 2: Handles — Small Metal, Big Difference
Handles are the jewellery of the kitchen, and old ones give the room away. Swapping them is a ten-minute job per door with a screwdriver, and it is the change guests are most likely to notice without knowing why.
Measure before you buy. Most handles fix with two screws, and the distance between the screw holes — the centre distance — must match your new handles, or you will be filling holes and drilling new ones. Take one old handle to the shop or measure carefully at home. Simple bar handles or plain knobs in one finish — brushed black, warm brass, or plain steel — suit almost every kitchen. Pick one finish and use it everywhere; mixed finishes look like leftovers, not design.
If new handles for every door strain the budget, buy for the doors you see most — the run facing the doorway — and match the rest later, or spray-paint sound old handles in one even colour. Spray paint on handles wears with heavy use, so treat it as a short-term fix, not a permanent one.
Step 3: Lighting — Fix the Light Before You Judge the Colour
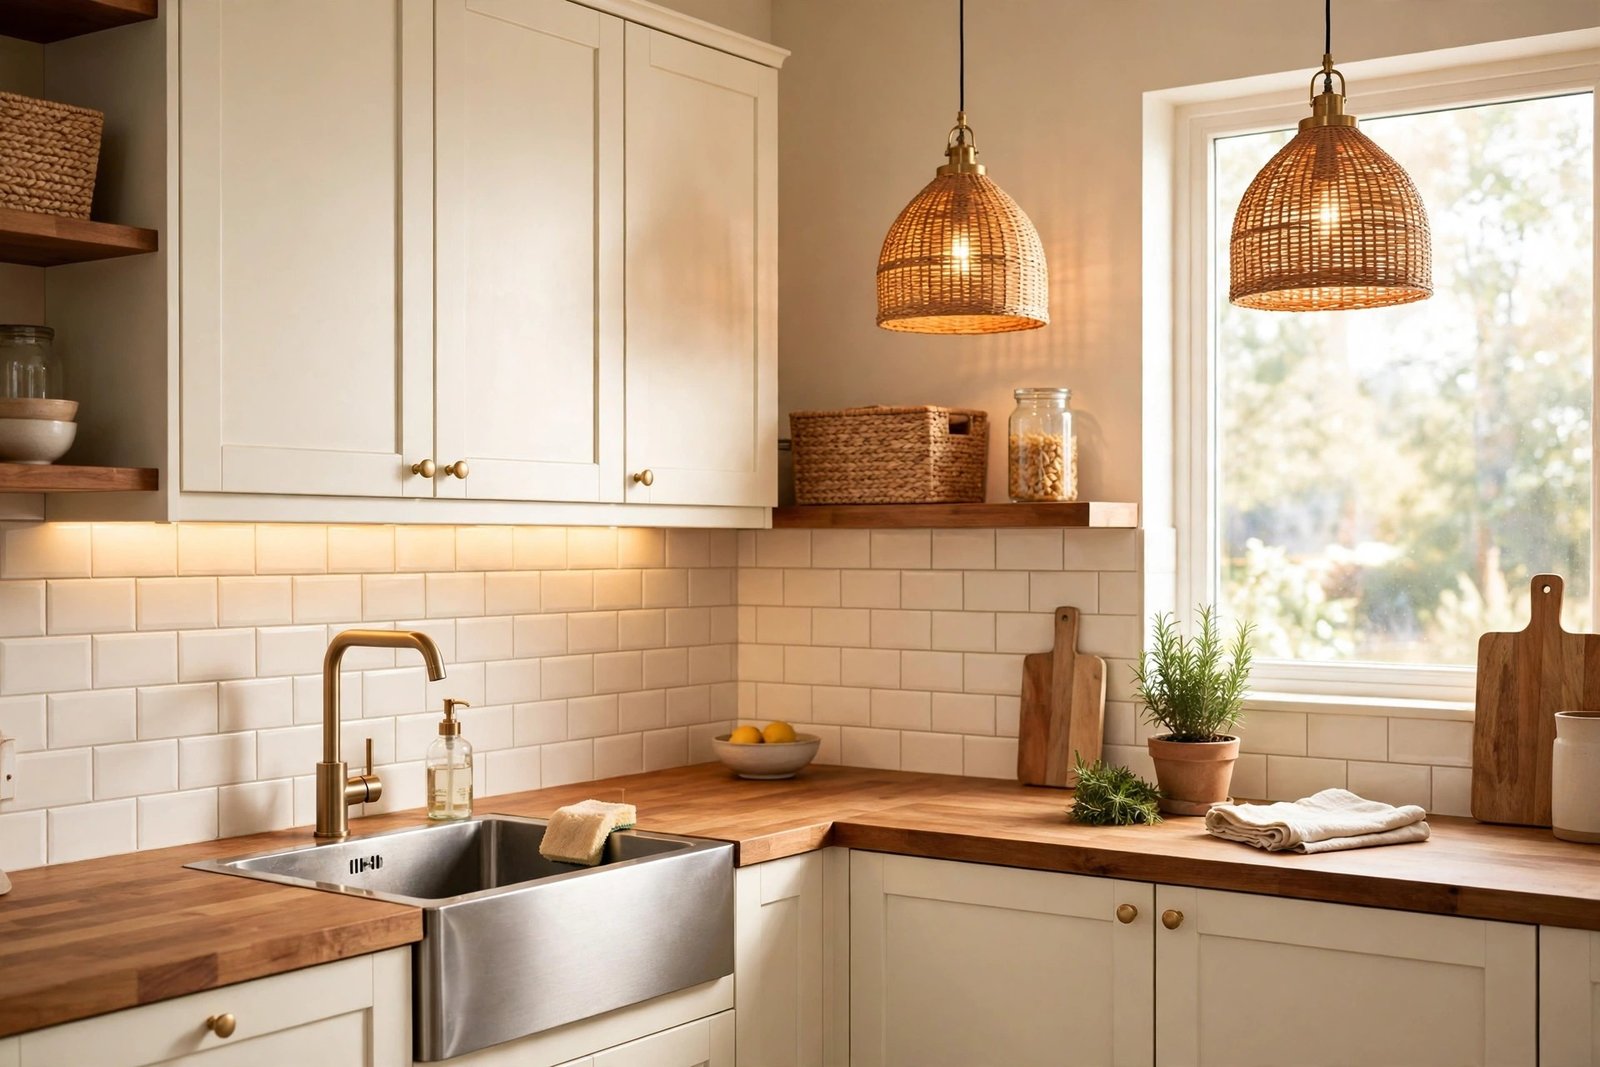
Many kitchens are lit by a single ceiling tube or one cold bulb, which flattens every colour and makes even fresh paint look grey. Warm light, around the warmth of an ordinary household bulb, makes wood warmer, white cleaner, and food more appetising. Changing bulbs is the cheapest part of this whole makeover, so do it before you decide the paint colour is wrong.
Then add light where the work happens. The area under wall cabinets is usually in shadow, exactly where you chop and read recipes. A battery, stick-on, or plug-in strip light fixed under the cabinets costs about $10–$20, needs no electrician, and makes the worktop look cleaner and more expensive instantly. If you rent or cannot fix anything to the cabinets, a small plug-in lamp on the worktop in an unused corner does a similar job.
Avoid coloured or very bright daylight bulbs in a kitchen you use in the evening. They are fine in a workshop; in a home they make the room feel like a shop and undo the warmth the paint was chosen for.
Step 4: Finish With Restraint
With paint, handles, and lighting done, most kitchens need very little else. A plain washable runner in front of the sink softens hard floors and costs about $10–$15. Decanting washing-up liquid and oil into two plain matching bottles removes the visual noise of labels for a few dollars. One plant that tolerates kitchen light — on the windowsill or a high shelf — adds life without taking worktop space.
Resist the finishing spree. Matching storage jars, new tea towels, a picture, a clock, and a bread bin bought all at once will eat the money that should have gone on paint, and the room will look decorated rather than renewed. The approach is identical in the bathroom: the bathroom makeover under $75 also fixes surfaces and light before buying a single accessory.
A Sample Tight Budget, Spent in Order
- Cleaning and preparation: $0–$5 — degreaser, sandpaper, painter’s tape.
- Paint: $25–$40 — walls or cabinet fronts, plus a small roller and tray if you do not own them.
- Handles: $20–$35 — one simple style, one finish, measured before buying.
- Lighting: $10–$20 — warm bulbs first, then an under-cabinet strip if money remains.
- Finishing: $5–$10 — one runner, two plain bottles, or one plant. Choose one.
For more step-by-step projects in this series, browse the full collection of budget room makeovers, where every guide spends the money in a deliberate order instead of all at once.
Mistakes to Avoid
- Buying decor before fixing surfaces. New jars and pictures cannot rescue tired paint and worn handles; they just get lost against them.
- Skipping preparation on cabinet paint. Paint over grease or shiny, unsanded fronts will peel. Cleaning, sanding, and primer are the makeover — the colour is the easy part.
- Ordering handles without measuring. If the screw centres do not match, a ten-minute job becomes drilling and filling on every door.
- Mixing metal finishes. Brass handles, a chrome tap, and black appliances handles together look accidental. Choose one finish and repeat it.
- Judging paint under cold light. Change the bulbs first, or live with a sample patch for a day, before repainting a colour that was never the real problem.
- Painting everything a strong colour. Cabinets, walls, and accessories in bold colours fight each other in a small kitchen. Let one thing lead and keep the rest quiet.
Frequently Asked Questions
Is it better to paint the walls or the cabinets first?
Paint whichever one bothers you most and is in worse condition — you rarely need both on a tight budget. If the cabinets are a dated colour, they dominate the room, so paint them. If the cabinets are plain and acceptable, fresh wall paint plus new handles will be enough, and it is a much faster job.
How long does painting kitchen cabinets take?
For a small kitchen, allow a full weekend: one day to remove, clean, sand, and prime the doors, and a second day for two coats with drying time between them. Rushing the drying stages is the most common reason cabinet paint chips, so leave the doors as long as you reasonably can before refitting them and using the handles.
Can I do this makeover in a rented kitchen?
Parts of it, yes. Handles can be swapped and the originals kept safely to refit later, bulbs and strip lights need no permission, and a runner and plain bottles change nothing permanent. Painting walls or cabinets is different — always get your landlord’s written permission first, because repainting cabinets is hard to reverse.
What if there is no money left for handles?
Deep-clean the existing handles, tighten every screw, and straighten any that sit crooked — wobbly handles make cabinets feel worn even when they are clean. Then save the handle change as the single next job. It is a complete, satisfying upgrade on its own, and it does not need to happen on the same weekend as the paint.
1 thought on “Kitchen Makeover on a Tight Budget: Paint, Handles and Lighting First”