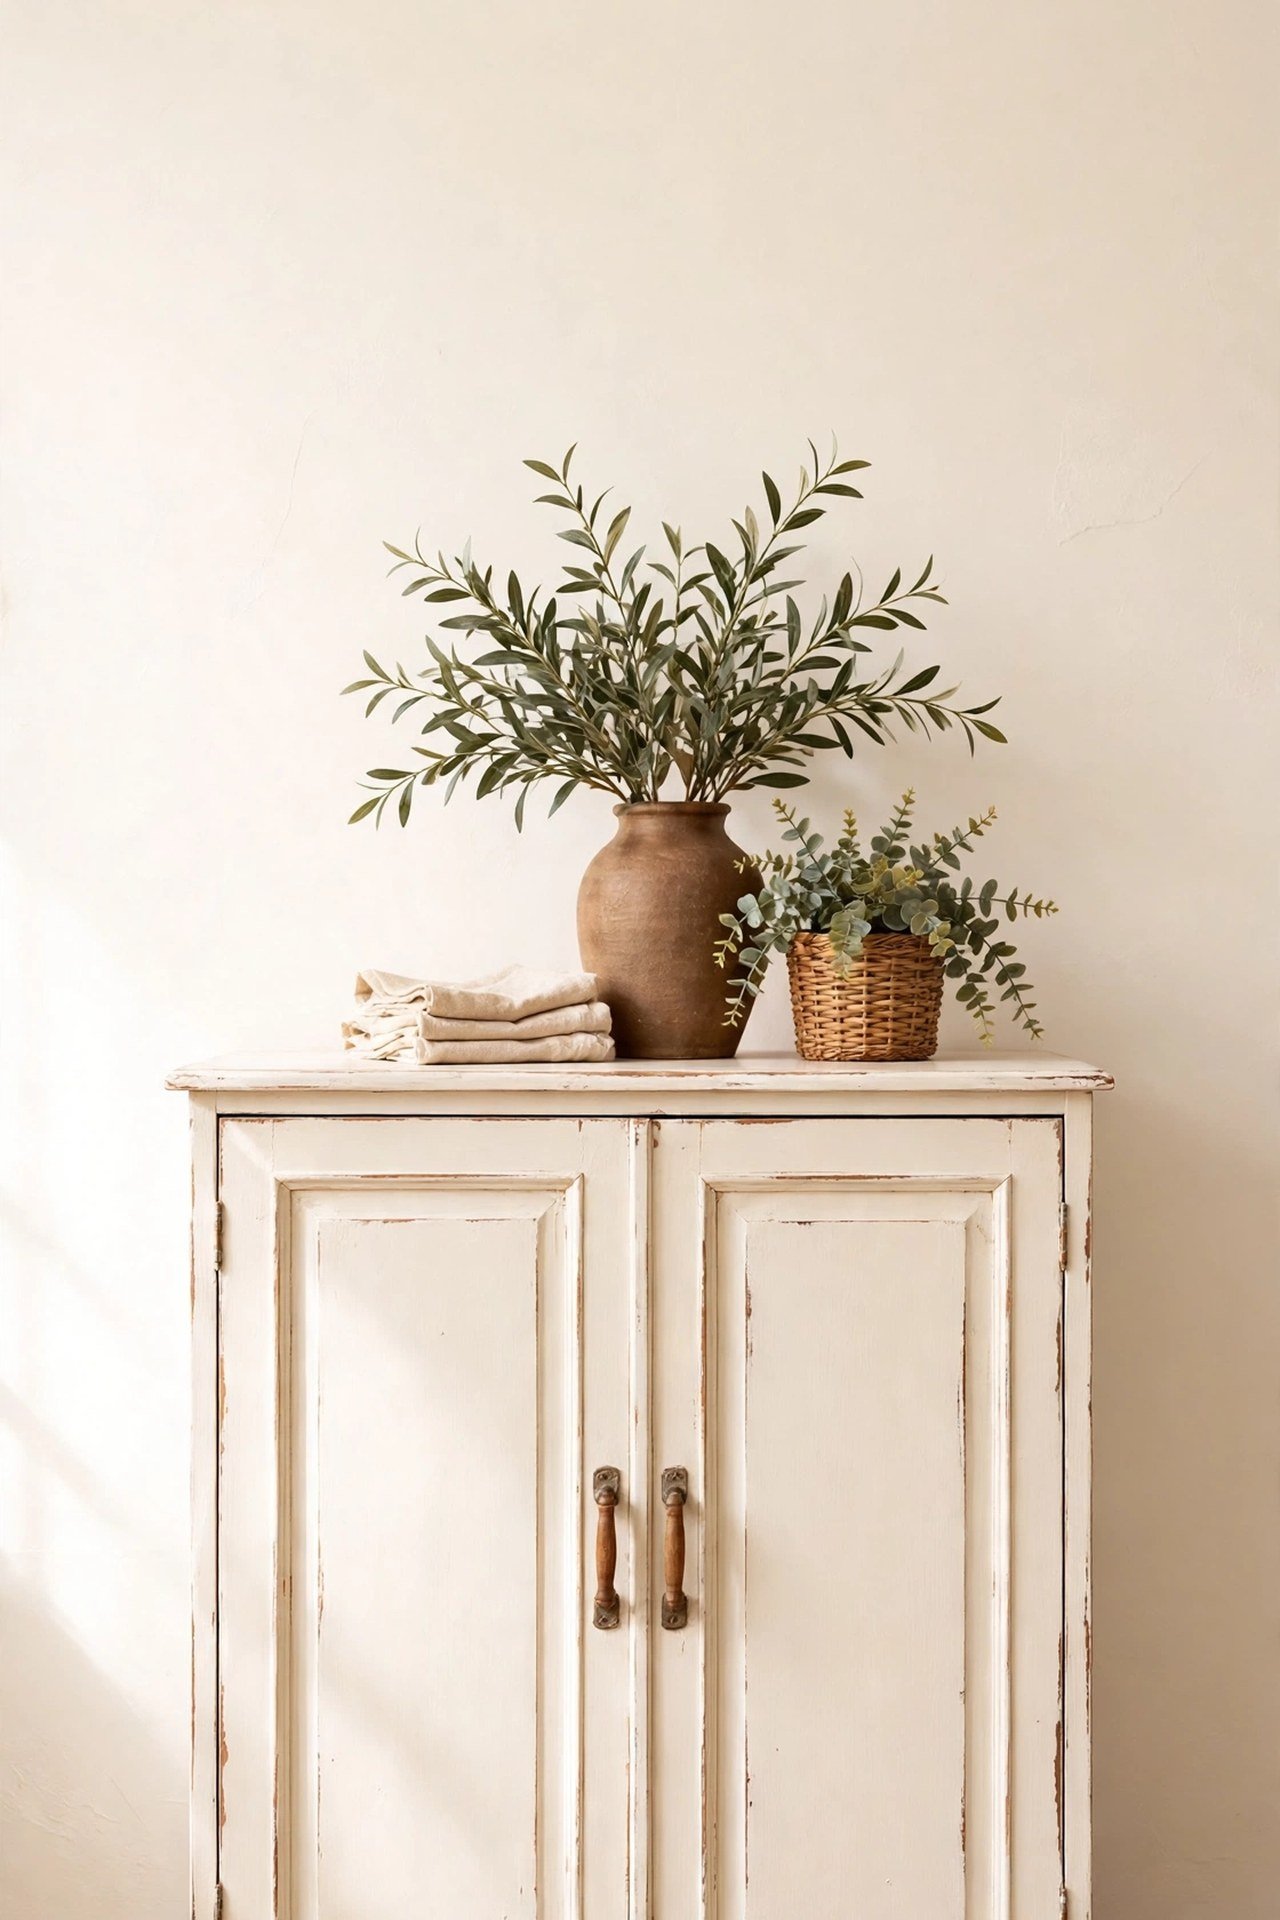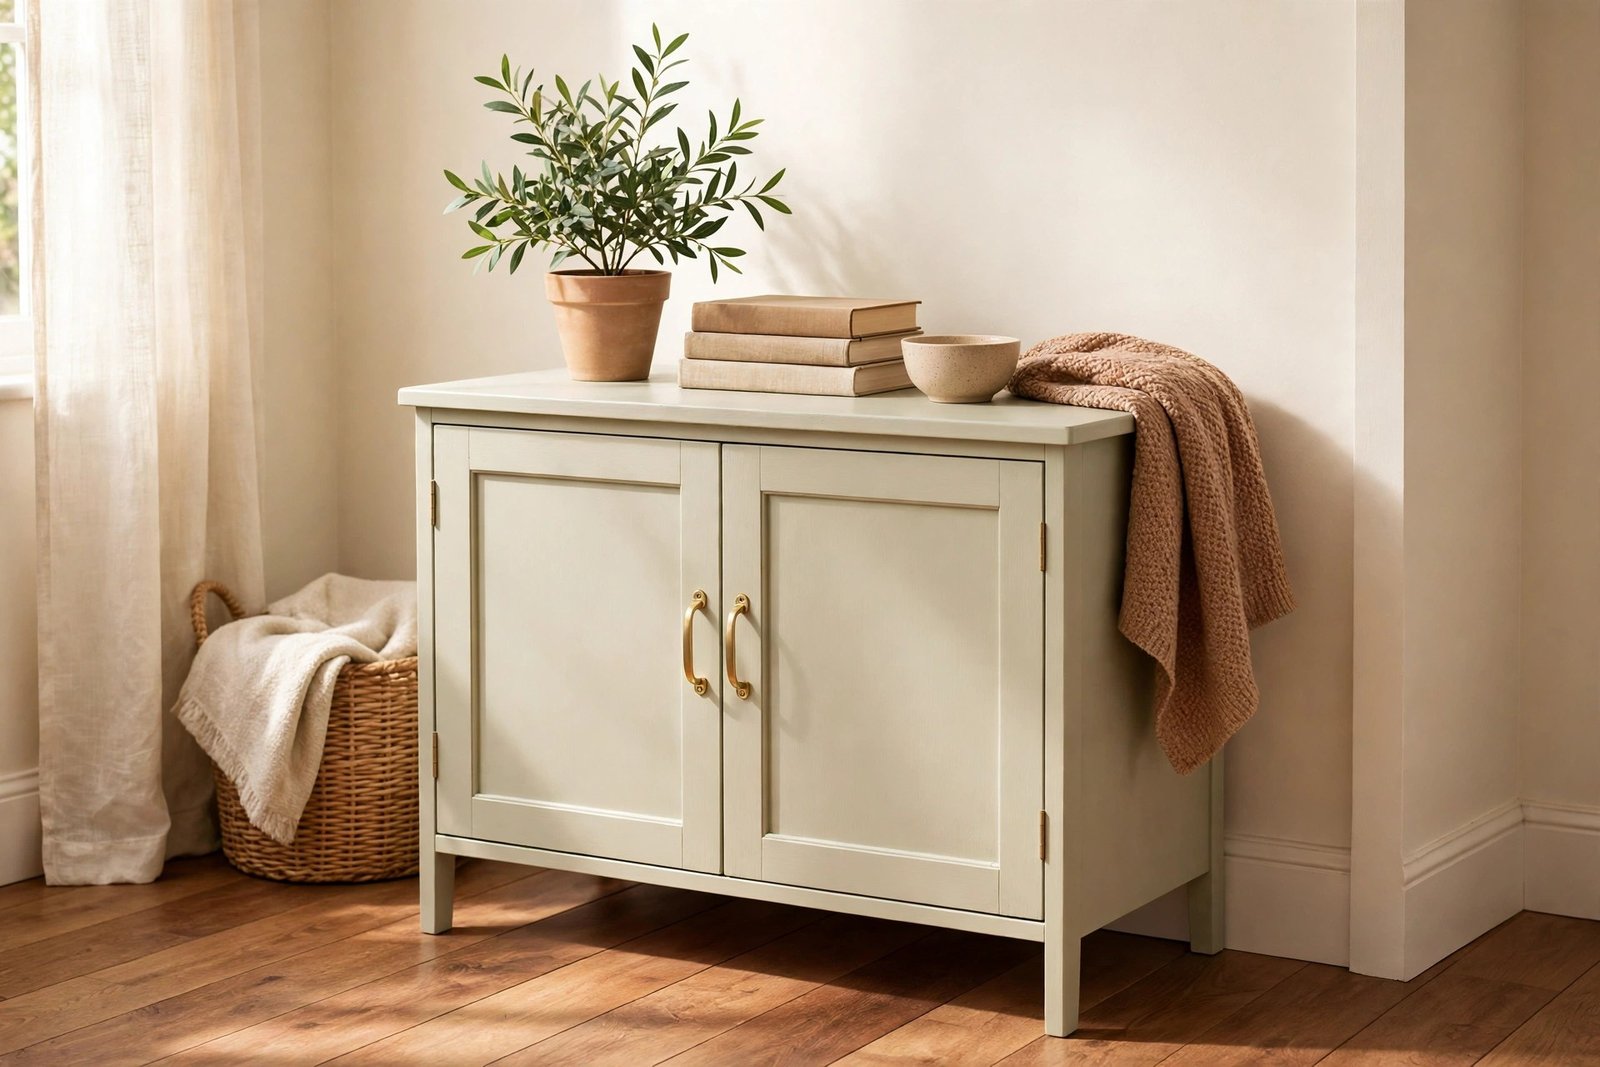
Every thrift store holds the same two kinds of furniture: pieces that will look expensive after one careful weekend, and pieces that will look homemade no matter how much paint you pour on them. The difference is rarely skill. It is judgement — knowing which pieces deserve your time, which single change will carry the whole project, and, hardest of all, which parts to leave completely alone.
This guide is about that judgement. It is not another painting tutorial — the full prep-and-thin-coats method is covered in the guide to painting old furniture without it looking cheap or streaky. Here you will learn the upcycle quality system: how to spot good bones in the shop, how to plan one finish and do it properly, why new hardware does the work of ten decorative touches, and why restraint is the real difference between “upcycled” and “homemade”.
Quick Answer
To upcycle a thrift store find without it looking homemade, start with a piece that has good bones: solid, stable, well-proportioned and made of real wood or metal. Fix structure before decoration. Then choose ONE finish — paint, stain or the original surface cleaned and waxed — and do that one thing to a high standard. Swap the hardware, because new handles or knobs are the cheapest “expensive” signal there is. Stop there: one finish, one hardware change, nothing else. Most homemade-looking projects are not badly made; they are over-decorated pieces that were never strong underneath.
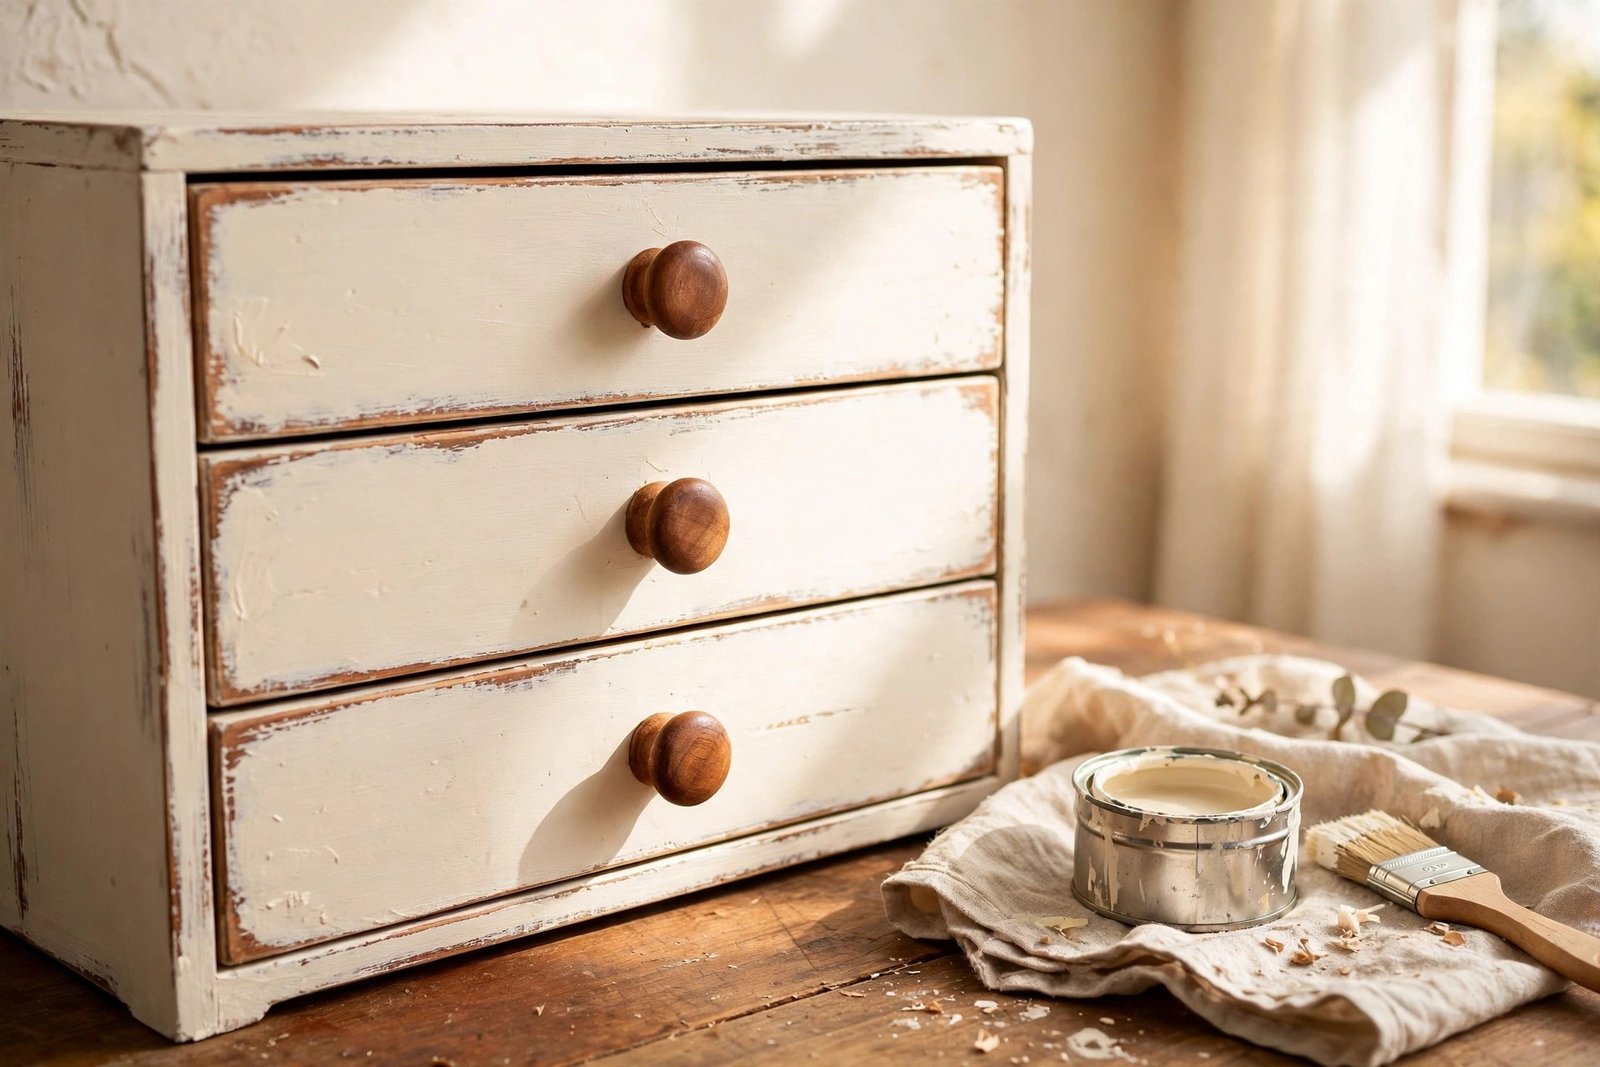
Step One: Buy the Bones, Not the Finish
In the shop, ignore colour completely. Colour is the one thing you can always change. What you cannot cheaply change is shape, structure and material — so those are what you are actually buying.
The good-bones checklist
- It stands solid. Push it sideways. A small wobble from a loose screw is fixable; a racked, twisted frame is not worth your afternoon.
- Drawers and doors work. Drawers should slide without dropping, and doors should hang level. Misaligned doors usually mean a twisted carcass.
- The material is real. Solid wood, veneer in good condition, metal, cane and rattan all upcycle well. Swollen particleboard, peeling laminate and water-damaged chipboard do not — paint hides none of it for long.
- The proportions suit your room. A well-shaped small piece beats a grand piece that overwhelms the space. Measure before you fall in love.
- The details are quiet. Simple lines survive a new finish. Heavy fake carving and novelty shapes fight every finish you try.
Smell matters too. Musty odours trapped in drawers can be aired and cleaned, but smoke and damp sunk deep into soft parts rarely leave. And check for woodworm holes with fresh dust around them — active infestation is a walk-away.
Step Two: Fix Structure Before Anything Pretty
Homemade-looking projects often fail before the decorating even starts, because the piece underneath was never sound. Spend the first hour on repairs: tighten or re-glue loose joints, replace a missing drawer runner, level a rocking leg, fill dents where they catch the light. None of this shows in a photo, and all of it shows in the room — a painted piece that wobbles still reads as junk.
Then clean like you mean it. Years of polish, grease and dust are the invisible reason finishes fail, so wash the piece down, let it dry fully, and only then decide what it actually needs. Many “ugly” finds turn out to need nothing but cleaning and wax; you cannot judge a finish you cannot yet see.
Step Three: Choose One Finish — and Only One
Here is the heart of the system. Amateur upcycles layer technique on technique: paint plus distressing plus stencils plus decoupage plus gold wax. Professional-looking pieces do one thing, calmly. Decide which single story the piece will tell:
- Paint it — best for plain pieces, mismatched wood tones, or pieces whose shape is good but whose surface is tired. One colour, one sheen, applied with the thin-coat method.
- Restore the wood — best when the grain is genuinely beautiful. Clean, lightly sand only where needed, and feed the surface with oil or wax rather than burying it.
- Leave the surface and change the context — sometimes a piece needs no finish at all: a good clean, new hardware, and a better room to stand in.
Whichever you choose, do it completely. A painted piece should be painted everywhere it can be seen — including the back edges and the drawer sides people glimpse when they open it. Half-finished edges are the loudest “homemade” signal there is.
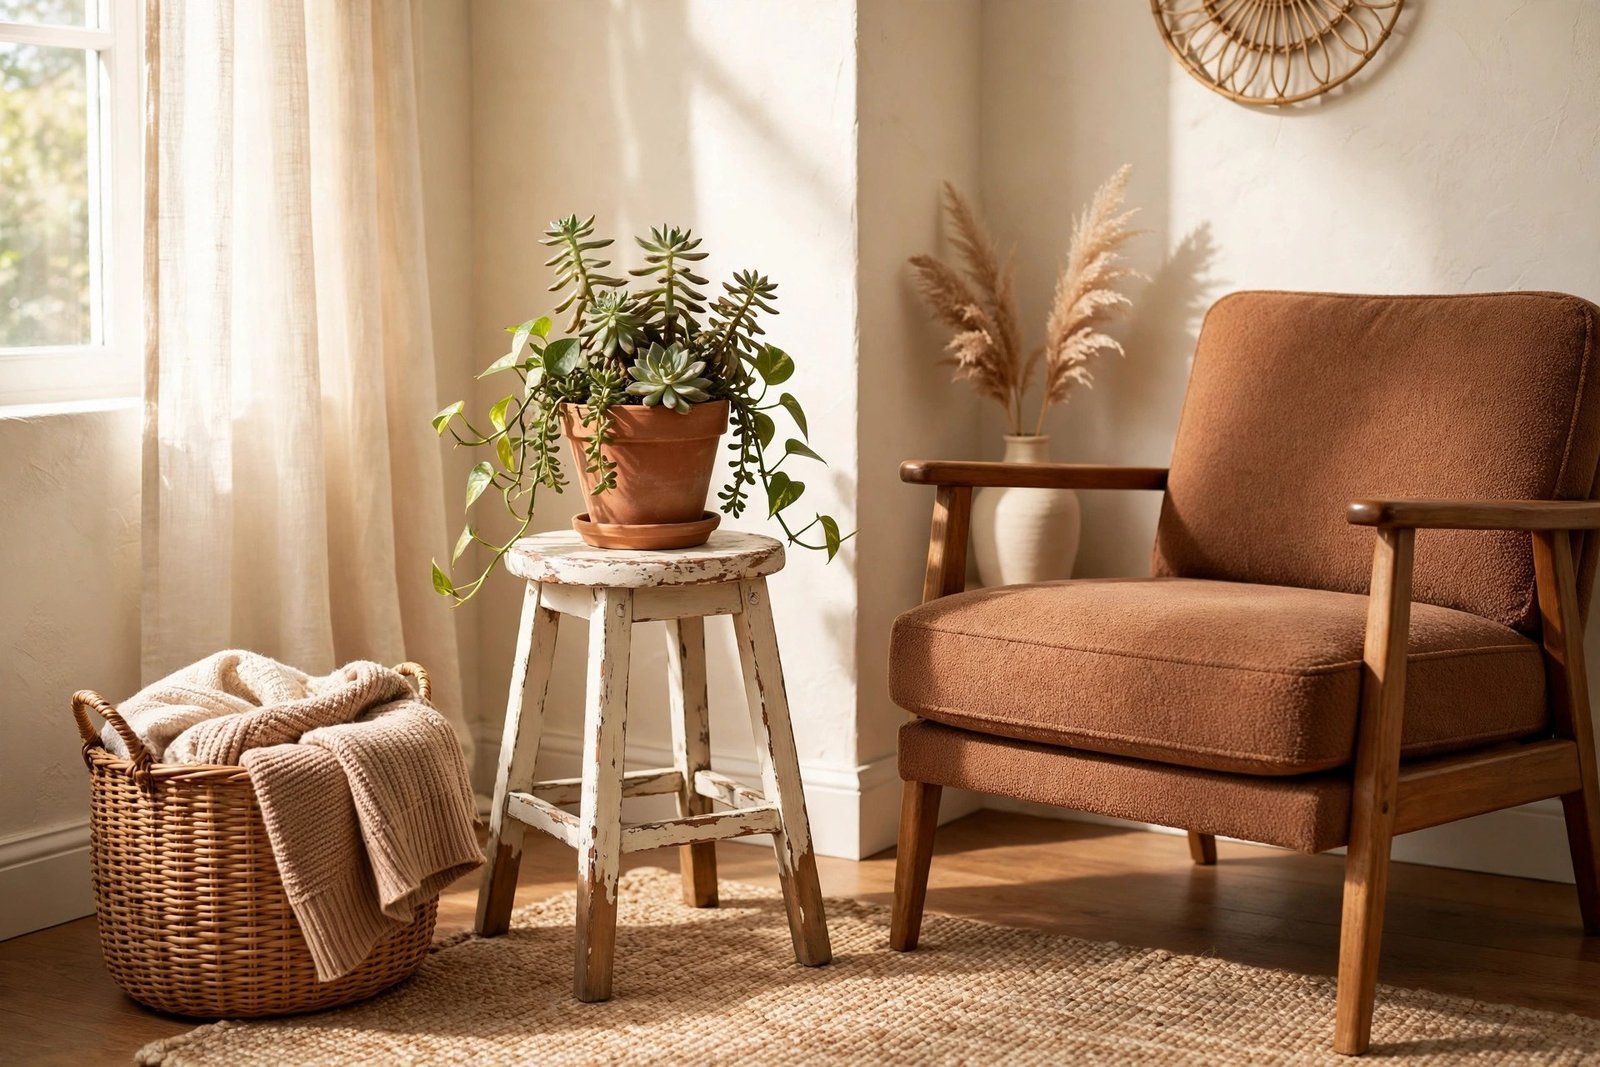
Step Four: Swap the Hardware
If one small spend transforms a thrift find, it is this one. Handles, knobs and hinges are the jewellery of furniture: dated, wobbly or plastic hardware dates the whole piece, while simple new hardware in one consistent finish — brushed brass, matte black, plain wood — makes even a basic piece look considered.
Measure the distance between screw holes before you shop, and take an old handle with you. If new hardware needs different holes, fill the old ones and re-drill rather than forcing a crooked fit. Replace all of it, not just the visible pieces; a drawer set with three new knobs and one old one looks like an accident, not a decision. Keep the removed originals in a labelled bag — they suit another project, and small parts have a way of becoming decor themselves, the same reuse instinct behind turning old jars, boxes and baskets into decor.
Step Five: The Restraint Test
Before you add anything else — a stencil, a transfer, a contrasting trim, a second colour — run the restraint test. Ask: does the piece already look finished? If yes, stop. The urge to add “just one more thing” is where good upcycles turn homemade, because every added technique is another chance for the eye to spot the hand of the maker instead of the piece itself.
A useful rule: a finished piece should be describable in one short phrase — “the sage green sideboard”, “the waxed pine stool”. If describing it takes a list of techniques, it is overworked. Restraint is not a lack of ambition; it is what shops charge money for.
What to Leave Alone: A Short Honour List
- Beautiful original wood. If the grain glows after cleaning, do not paint it. Wax it and let it be the finish.
- Good original hardware on mid-century pieces. Clean and polish it first; replacement is only an upgrade when the original is damaged or cheap.
- Honest wear in the right places. Slight softening on a handle or a step stool’s edge reads as character. Damage that spreads, stains or weakens structure is different — that is repair work, not patina.
- Maker’s marks and labels inside drawers. They cost nothing to keep and quietly prove the piece is real.
Materials and Costs
- Wood glue and clamps for joint repairs — $6–$10
- Wood filler for dents and old screw holes — $4–$6
- Furniture paint or wood wax/oil for the one finish — $8–$15
- Replacement knobs or handles, per piece — $2–$6 each
- Sandpaper assortment and a tack cloth — $4–$6
- Sugar soap or gentle degreaser for the deep clean — $3–$5
A typical single piece lands between $20 and $50 all-in, hardware included — usually less than the delivery fee on the new equivalent. More weekend projects like this are gathered in the DIY decor and simple crafts collection.
Mistakes to Avoid
- Buying damage because the price is low. A cheap price never fixes bad bones. Structural problems cost more in time than a better piece costs in money.
- Stacking techniques. Paint plus distressing plus stencil plus transfer is four chances to look homemade. One finish, done well, beats all of them.
- Skipping the structural repair. Paint does not tighten a loose joint. A wobbly finished piece still looks like a wobbly piece.
- Keeping tired hardware. It is the detail everyone touches and sees up close. If it looks cheap, the piece looks cheap.
- Distressing a piece that was never distressed-style furniture. Fake wear on a formal piece reads as damage, not charm. Match the finish to the piece’s character.
- Not finishing the hidden edges. The glimpse of raw, unpainted drawer side is what gives the game away. Finish everything the eye can reach.
Frequently Asked Questions
How can I tell if a thrift piece is solid wood or veneer?
Look at the edges and the back. Solid wood shows the same grain wrapping around an edge; veneer shows a thin line where the surface layer meets a different core, and the back or underside is often plainer. Both can upcycle well — veneer just needs gentler sanding so you do not cut through the layer. What matters most is condition: intact veneer is fine, bubbling or lifting veneer is a repair that rarely ends invisibly.
Is it ever right to paint over good wood?
Yes — when the wood is good material but the room genuinely needs the colour, or the piece’s tone clashes with everything around it. “Good bones” is about structure and shape, not a rule that wood must always show. The honest test is whether the grain is a feature worth keeping. If it is plain, straight and unremarkable, paint is not a loss; it is often the upgrade.
How much should I spend on a thrift find?
A useful ceiling: the piece plus materials should stay well under half the price of the new item it replaces, and the plainer the piece, the less you should pay. Spend your budget in this order — a sound piece first, hardware second, finish last. Never economise on the piece itself to save money for decoration; decoration cannot rescue a bad buy.
What is the fastest single upgrade for a dated piece?
New hardware and a deep clean, in that order — together they take under an hour and need no drying time. Handles set the piece’s apparent age more than its colour does, and cleaning alone can reveal that the “tired” finish was mostly grime. If a piece still looks wrong after both, then it is time to plan the one-finish treatment.