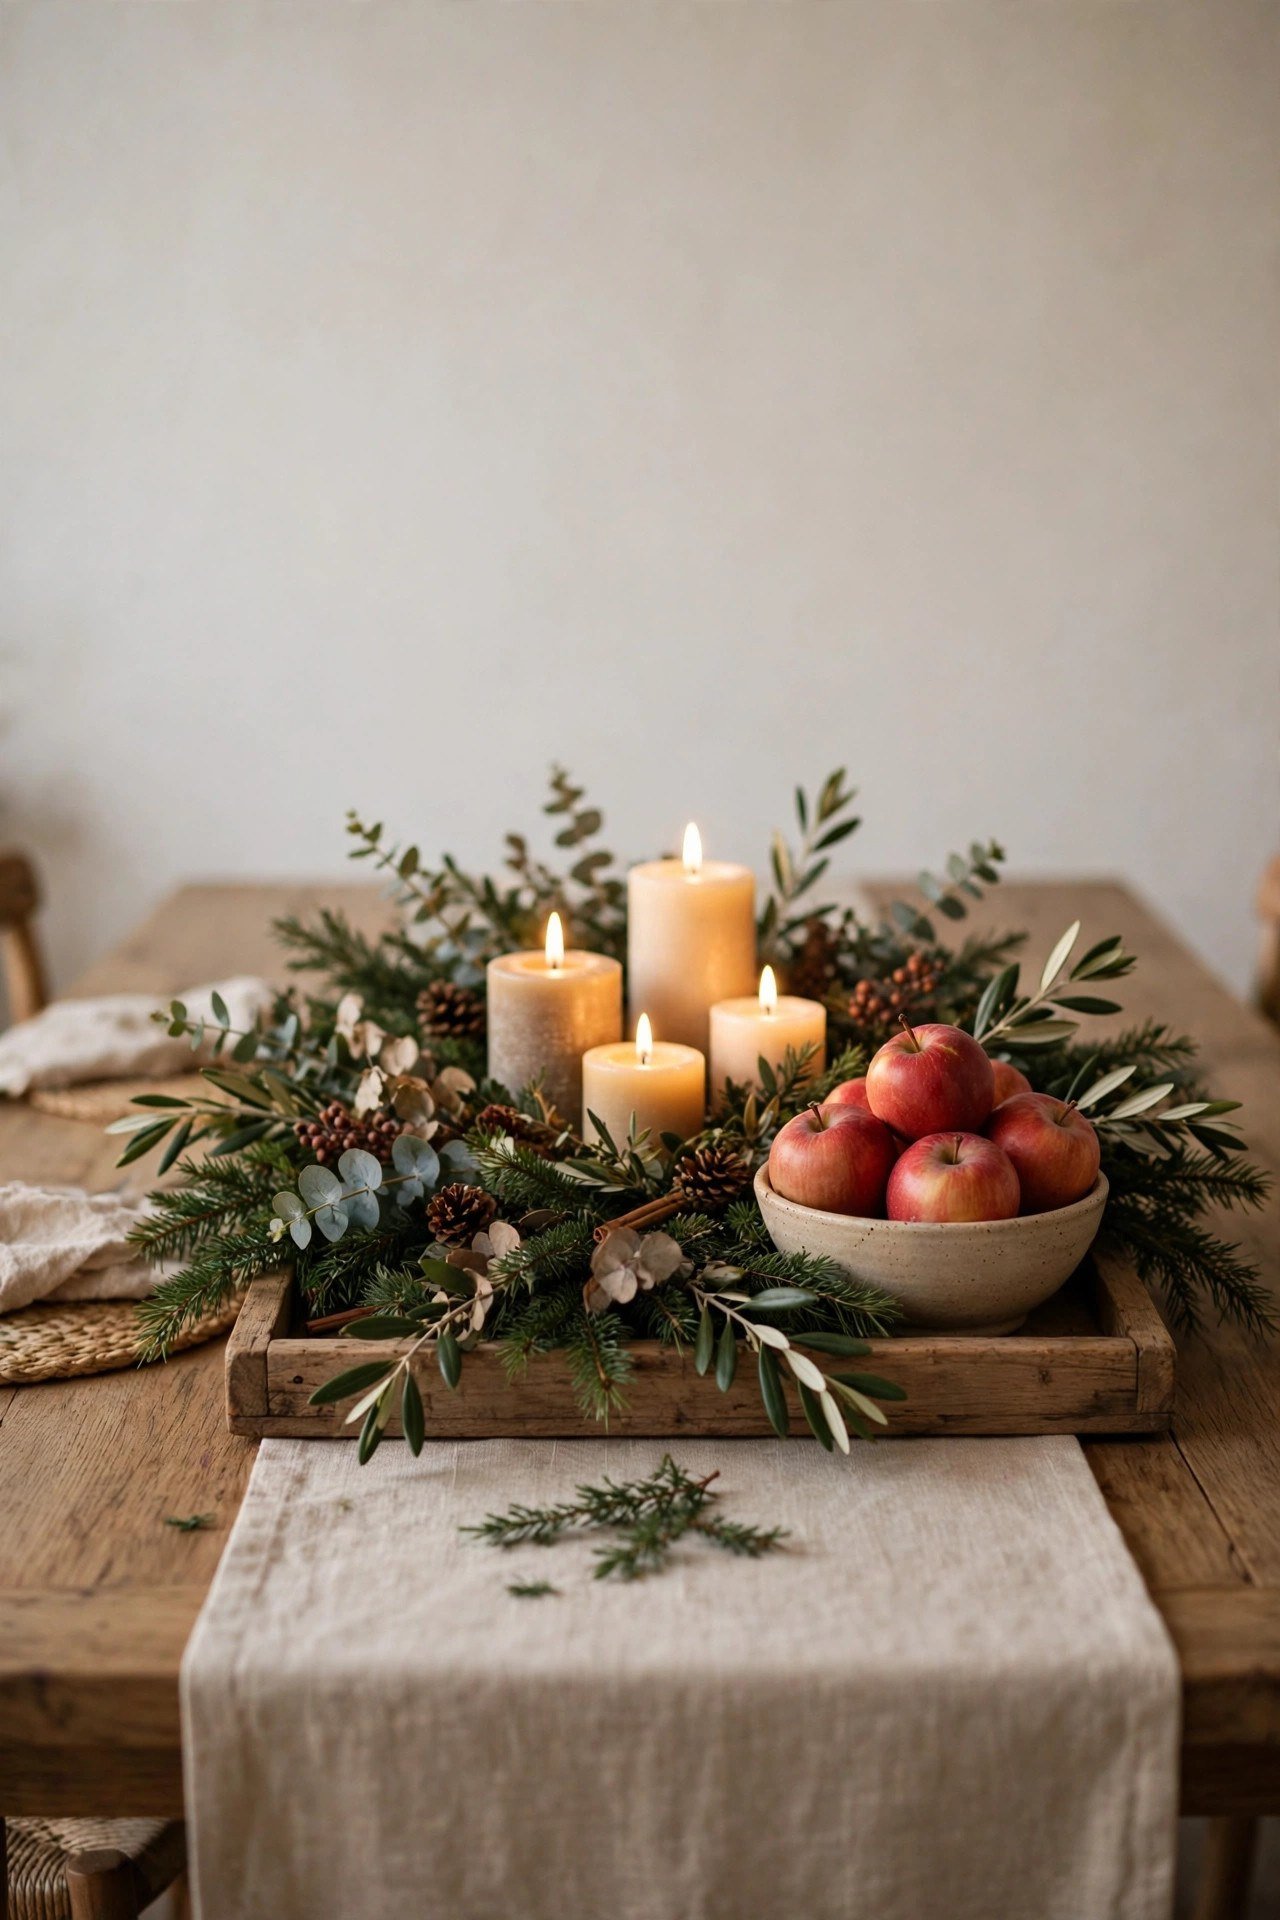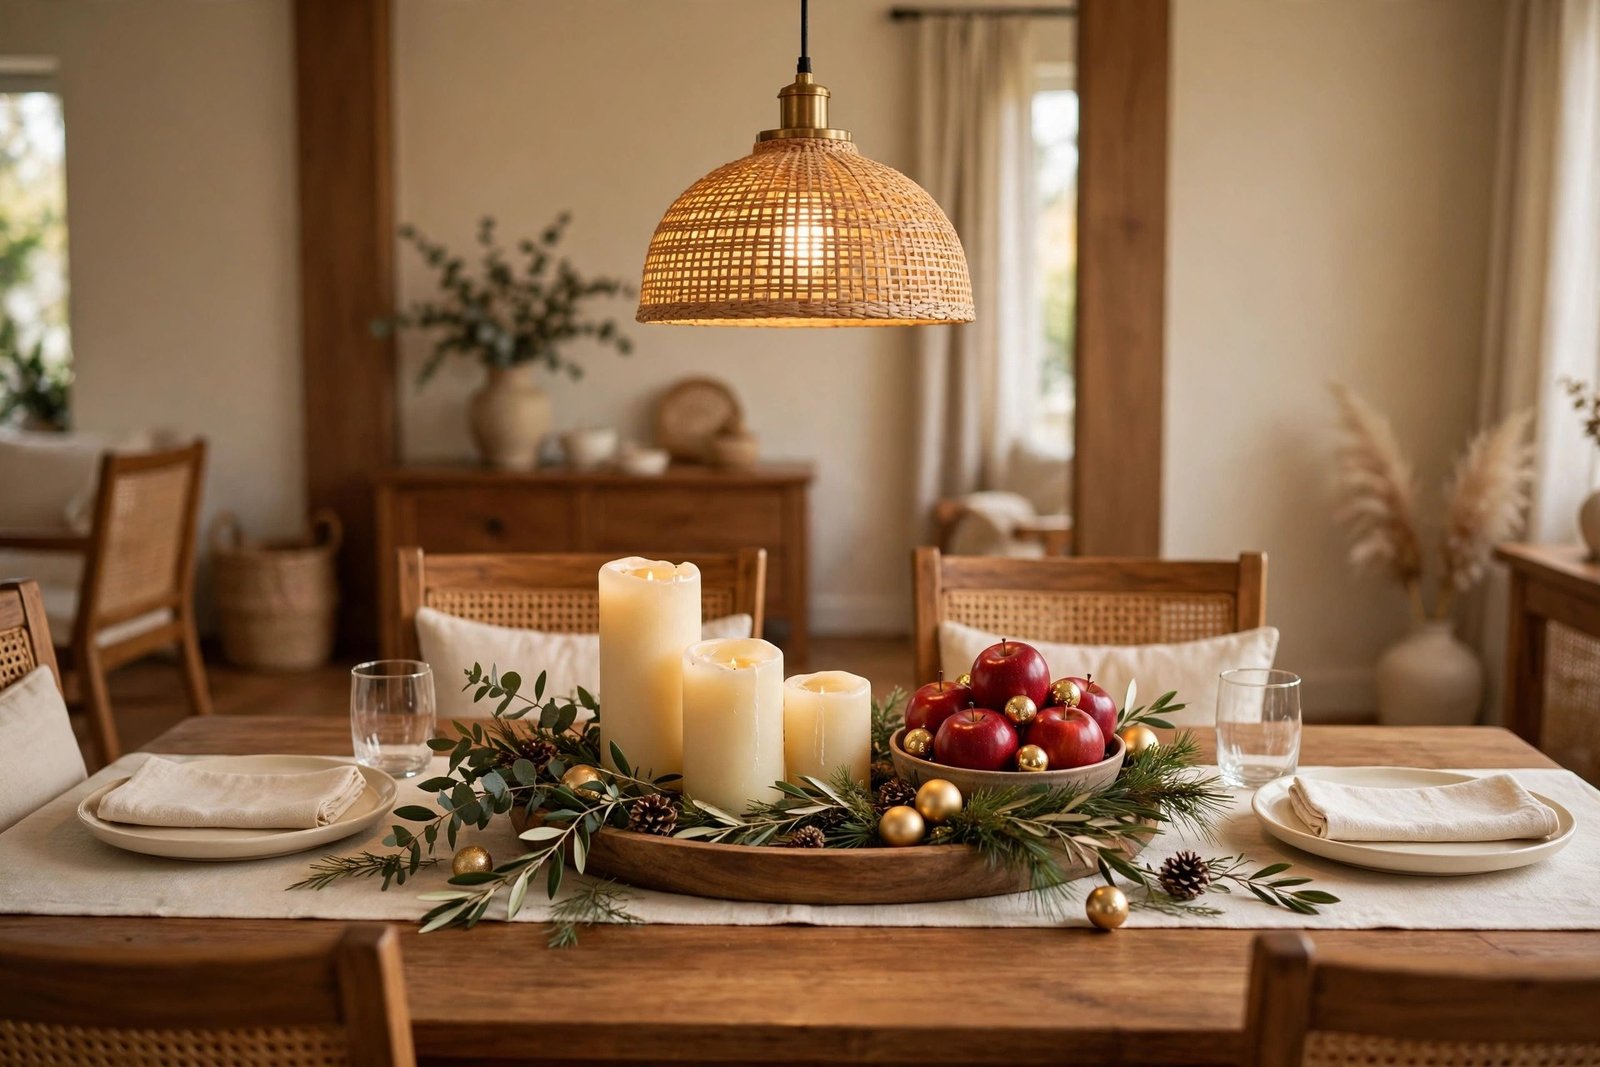
The food is planned, the guests are coming, and then you look at the table. It is clean, it is set — and it is plain. A bare stretch of wood or cloth with plates on it, looking like an ordinary weekday dinner instead of the gathering you meant it to be. Shops sell the answer as a ready-made centrepiece, usually expensive and usually wrong for your table’s size.
The good news: a centrepiece is not a product, it is a structure. Once you know the five parts it is built from — a base, height, greenery, light and one repeated colour — you can build a good one for any celebration, from a festival dinner to a birthday to a simple family gathering, entirely out of things already in your kitchen and cupboards. This guide gives you the system, three worked examples for different tables, and a ten-minute build order.
Quick Answer
Build a centrepiece in five layers: a base that defines the zone (a tray, board, runner or folded cloth), one tall element for height (a jug of branches, candlesticks, a vase), a greenery or natural layer (leaves, herbs, fruit), light (candles or tealights in jars), and one colour repeated three times (in napkins, fruit or ribbon). Keep the arrangement below seated eye level except for thin tall pieces, leave clear room for serving dishes, and group things tightly rather than spreading them down the whole table.
The 5-Part Centrepiece System
Part 1: The Base — Define the Zone
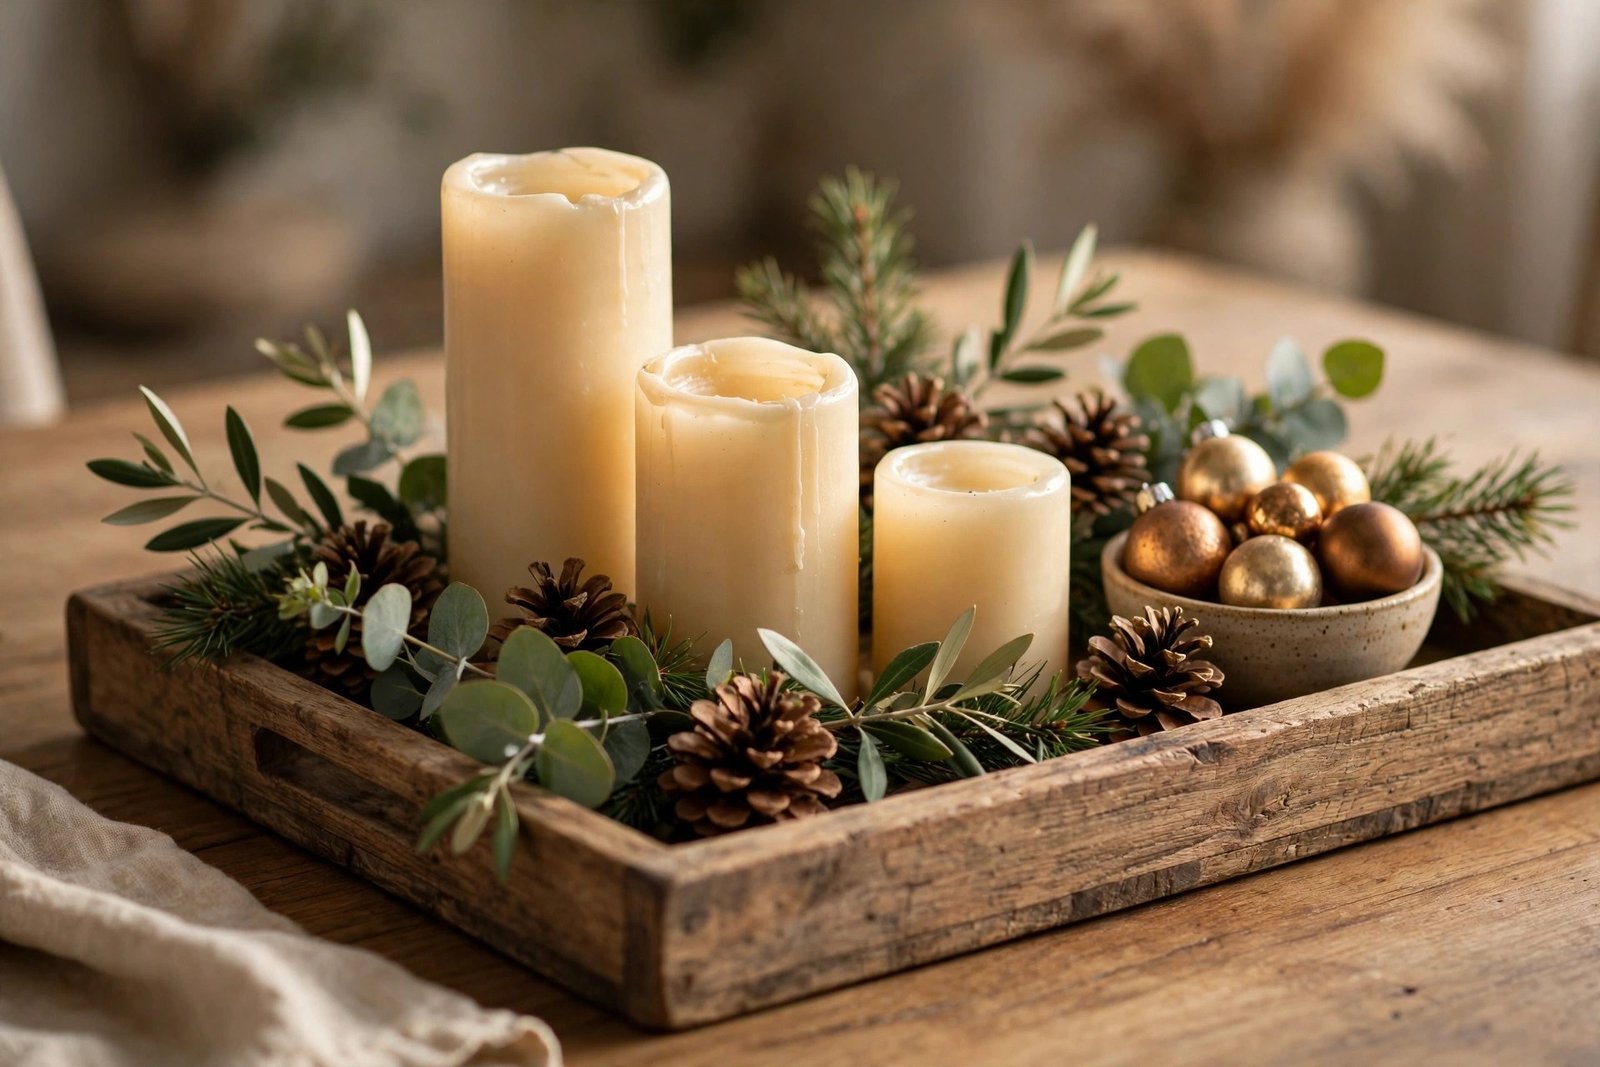
Every good centrepiece sits on something. A tray, a wooden board, a cake stand, a folded cloth or a simple runner tells the eye “this cluster is one arrangement”, and it makes the whole thing movable — you can lift it off in one piece when the big dishes arrive. Without a base, the same objects look like they were left on the table by accident. Choose the base to fit the table: a tray or board for small tables, a runner for long ones.
Part 2: Height — One Tall Element
A flat arrangement reads as plain no matter how pretty the pieces are. Add one tall element near the centre: a jug or vase of branches, two candlesticks of different heights, a bottle with a single stem, or even a small stack of books under a bowl to lift it. The rule is thin, not wide: tall pieces should be narrow enough to see past and talk around. If guests cannot see each other, the centrepiece is working against the meal.
Part 3: Greenery — The Layer That Makes It Feel Alive
Lay something natural along the base: branches or leaves from the garden, sprigs of herbs, a loose line of foliage, or a scatter of fruit — lemons, oranges, apples, pomegranates, whatever suits the season and the food. Greenery softens the hard edges of plates and glasses, and it costs nothing if it comes from the garden or the fruit bowl. Keep it flat and low; this layer is the carpet, not the furniture.
Part 4: Light — Candles Do the Celebrating
If one element turns a set table into a celebration, it is candlelight. Tealights in small jars, candles in holders, or a row of tiny glasses with flames — grouped in odd numbers along the base. Candlelight flatters food and faces, and it makes plain white plates look dressed. Use unscented candles near food so the flavours stay clean, keep flames clear of greenery and paper, and choose battery tealights anywhere children or sleeves will reach across.
Part 5: One Repeated Colour — The Finishing Thread
Choose one colour and repeat it at least three times: napkins, fruit, a ribbon around the jug, the candle holders, a flower. Repetition is what separates “styled” from “assembled”. The colour can come from anything — the season, the food, a set of napkins you already own. Two colours plus the green of the foliage is the maximum; more than that and the table starts to argue with itself.
Three Worked Examples
Example 1: The Small Round Table (4 People)
Space is tight, so the centrepiece must be compact and liftable. Use one round tray or a cake stand as the base. On it: a small jug of green branches for height, three tealights in jars grouped beside it, and fruit in the repeated colour — say lemons — tucked around the base of the jug. Napkins in the same yellow family complete the thread. The whole arrangement is about the size of a dinner plate; serving dishes fit around it, and the tray lifts off in one move if space runs out. This pairs well with the layout thinking in the guide to small dining areas that feel squeezed — on a small table, the centrepiece earns its place only if it stays in its zone.
Example 2: The Long Family Table (8–10 People)
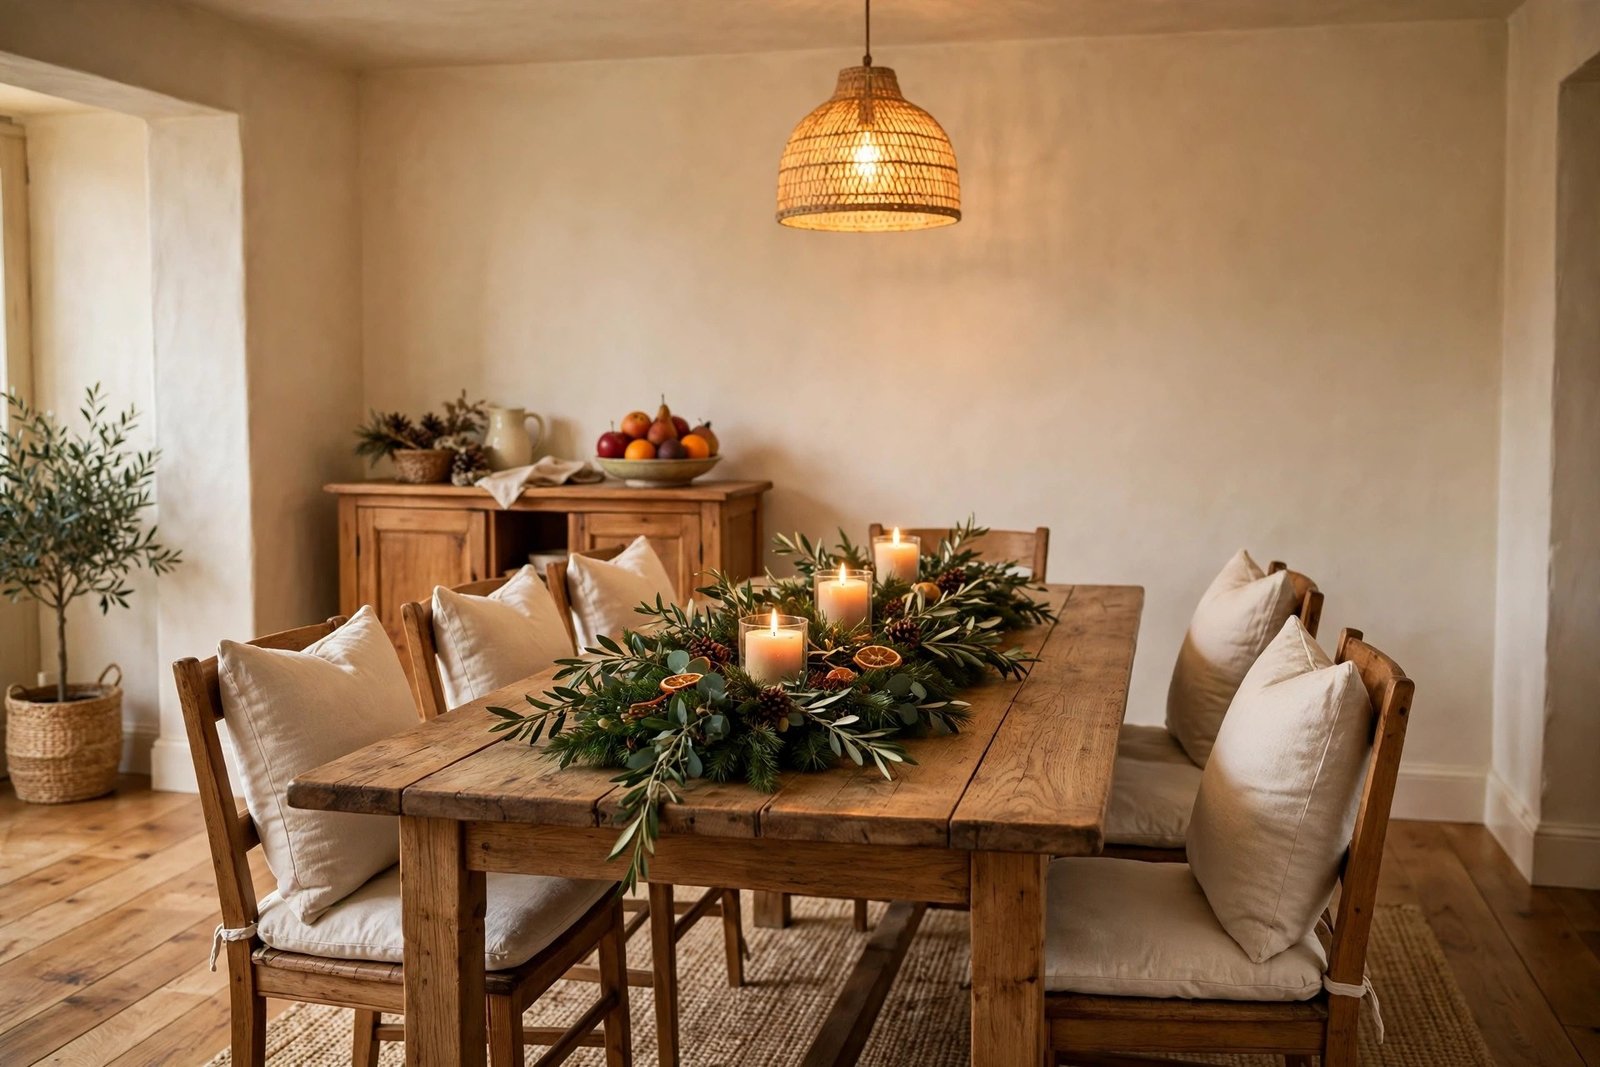
A long table needs rhythm, not one big centre. Lay a runner or a folded cloth down the middle as the base. Instead of a single arrangement, repeat a small cluster three times along the runner: each cluster gets one short candle or jar, a few leaves laid flat, and one piece of fruit or a small bowl. One cluster also carries the height — a jug of branches at the centre. The repetition makes the table feel designed from every seat, the low clusters leave room for shared dishes between them, and each cluster can be built in two minutes.
Example 3: The Festive Evening Table (Any Celebration)
For the big occasions — a festival dinner, a holiday feast, a milestone birthday — keep the same system and raise the light and shine. Base: the best cloth you own, or a runner over it. Height: two candlesticks at different heights plus the jug of branches. Greenery: the fullest layer of the three examples, laid generously. Light: candles at three heights, the more the merrier, all unscented near the food. Colour: something with a little glow to it — deep red, gold-toned, or rich green — repeated in napkins, fruit and ribbon. The structure is identical to the everyday version; only the richness changes. If the same celebration continues in the living room, the budget festive approach in the Christmas decor on a budget guide uses the same focal-point-and-warm-light logic at room scale.
Step by Step: Build It in 10 Minutes
- Clear and base (2 minutes). Table wiped; tray, board or runner placed in the centre zone.
- Height first (2 minutes). Jug of branches or candlesticks placed — tallest element slightly off-centre looks more natural than dead centre.
- Greenery down (2 minutes). Leaves, herbs or fruit laid along the base, flat and loose, heaviest around the tall element.
- Light grouped (2 minutes). Candles and tealights in odd-numbered groups, checked from seated height for glare and reach.
- Colour thread (1 minute). Napkins and one or two coloured pieces adjusted until the colour appears at least three times.
- The seated test (1 minute). Sit down. Can you see across? Is there room for the biggest serving dish? Adjust before the guests do it for you.
Materials and Costs
- Tray, board, cake stand or runner — $0, from your own cupboards
- Jug, vase or candlesticks — $0, already at home
- Garden branches, leaves, herbs and fruit-bowl fruit — $0
- Tealights or candles, if the home has none — $3–$6
- Small glass jars for tealights — $0–$3
- Ribbon or coloured napkins for the repeated colour — $0–$5
The honest total for most homes is $0. Everything in this system is borrowed from the kitchen, the garden or the cupboard, and returns there afterwards.
Mistakes to Avoid
- Too tall, too wide. If guests are leaning around the arrangement to talk, it has failed its only social job. Thin height, low width.
- Spreading items down the whole table. Single ornaments dotted along a runner look like a queue. Clusters look like styling.
- Scented candles beside food. A vanilla or spiced candle will fight every flavour on the table. Unscented near plates; scented belongs in the hallway.
- No room left for the food. The centrepiece serves the meal, not the other way round. If the biggest dish has nowhere to land, the arrangement shrinks or lifts off.
- Flames next to dry greenery and paper. Keep candles in jars or holders, clear of leaves, napkins and sleeves — and battery tealights for any spot people reach across.
- Building it at standing height only. Tables are experienced sitting down. The seated test catches glare, blocked views and wobbling candlesticks before the guests find them.
More seasonal and celebration ideas are gathered in the seasonal and holiday decor collection.
Frequently Asked Questions
How tall can a centrepiece be before it blocks conversation?
The working rule: solid parts of the arrangement should stay below about 30 cm — roughly seated chin height is too tall, well below eye level is right — while thin elements like bare branches, single stems and candlesticks can rise higher because you can see through and past them. When in doubt, sit in the far chair and check the view yourself.
What if I have no tray, runner or cake stand?
Improvise the base — it is a zone-marker, not a product. A folded tablecloth or large napkin, a chopping board, a baking tray covered with a cloth, or even a row of placemats overlapped down the centre all define the zone. The arrangement will still read as one deliberate piece instead of scattered objects.
Can I build the centrepiece the day before?
Yes, and it is a good idea. Build it on its tray or board, minus the freshest greenery, and carry the whole base in when you set the table. Add leaves and fruit last, and light candles just before sitting down. Candles and holders grouped on a tray are also far easier to store between celebrations.
How do I adapt this for children at the table?
Keep the system, swap the risks. Battery tealights replace real flames, the tall element becomes unbreakable (a wooden candlestick or a fruit stack instead of glass), and the greenery layer can be things children can touch and even eat — whole fruit, bread sticks in a jar, herbs. A low, sturdy, edible-friendly arrangement still looks like a celebration from the adult seats.