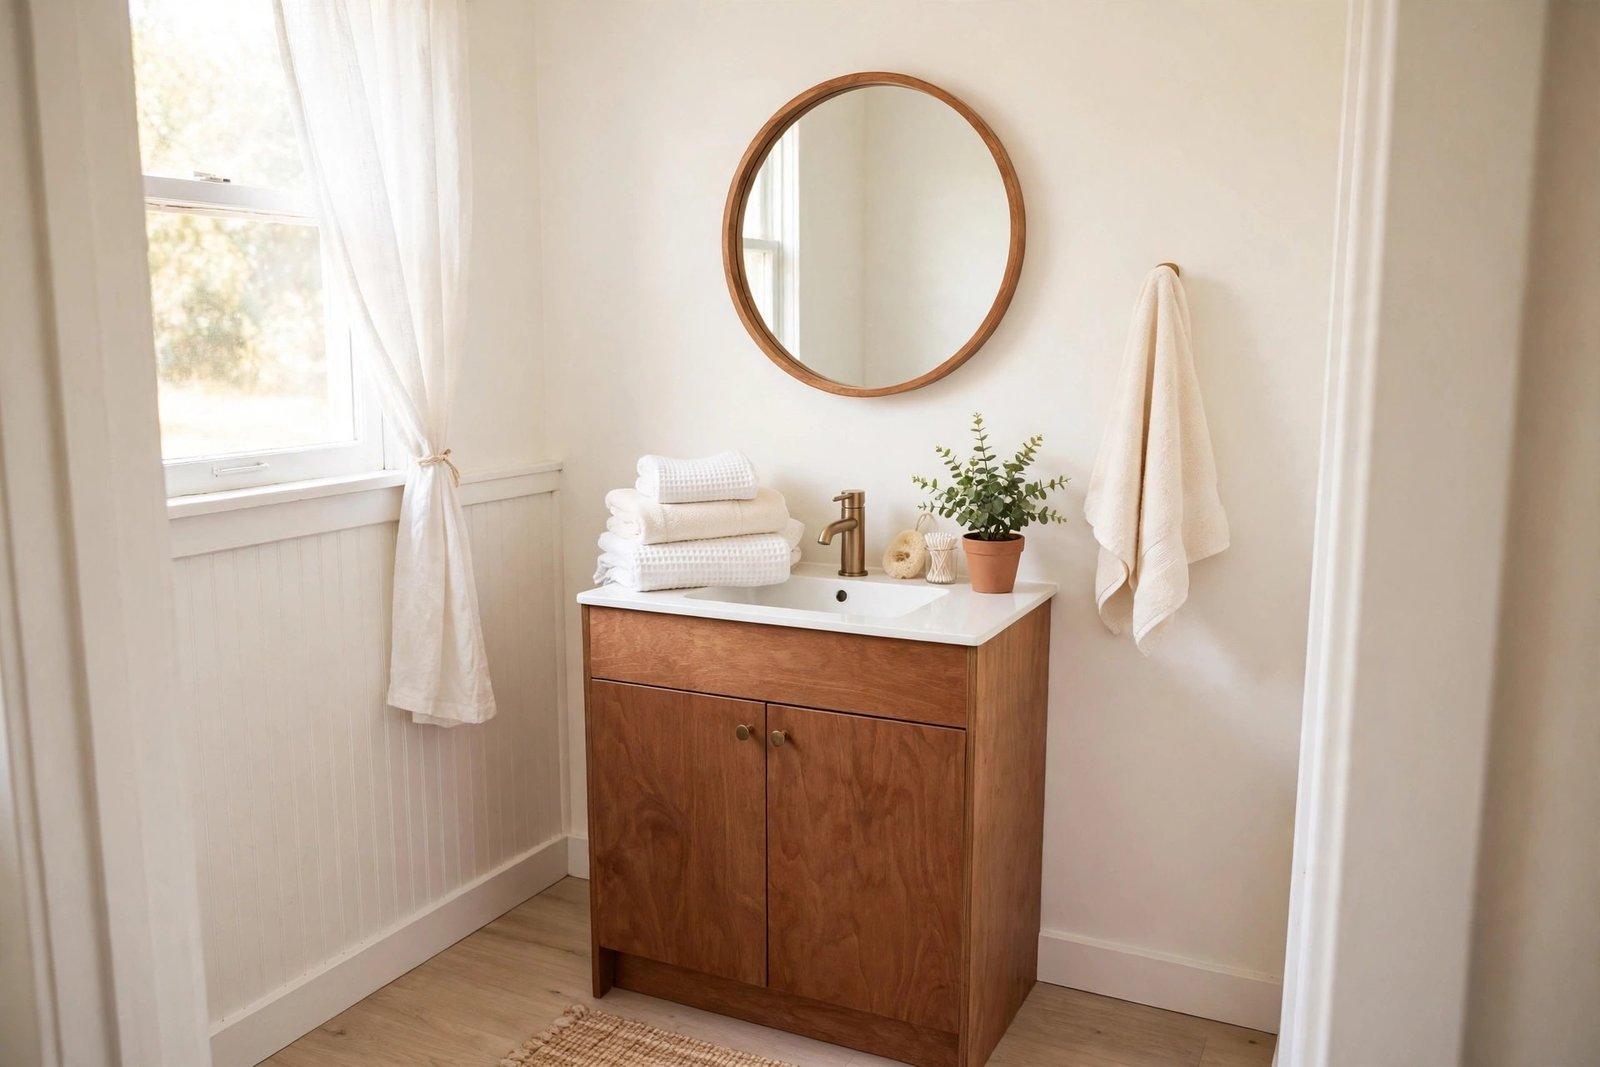
A small bathroom ages faster than any other room. Grout darkens, chrome spots, the mirror steams and stains, and towels that once looked fresh slowly turn grey. Because everything is fixed in place — bath, basin, tiles — it feels as if nothing can change without a plumber and a large bill. In reality, a bathroom starts looking old and dull for surface reasons, and surface reasons are cheap to fix.
With $75 you will not retile the room, and this guide does not pretend otherwise. Instead it spends the money where dullness actually lives: stained grout and sealant, harsh light, spotted fixtures, tired textiles, and a worktop area crowded with bottles. Work through the steps in order and stop when the money runs out — the early steps give the biggest change, just as they do in a bedroom makeover under $50, where the largest soft surface comes first.
Quick Answer
For a bathroom makeover under $75, spend in this order. First, deep-clean and descale everything, and scrub the grout — free to about $5. Second, fix the worst surface: whiten grout with a grout pen or renew tired sealant around the bath for about $8–$15. Third, change the light to a warm, bright bulb and clean or replace a yellowed shade, about $5–$10. Fourth, replace the textiles — two plain towels in one light colour and a fresh bath mat, about $20–$30 — because old towels make a clean room look uncared for. Last, spend what remains, about $10, on calm storage: one tray, matching pump bottles, or a small basket, so the basin area stops looking like a shelf in a shop. Skip new taps, mirrors, and paint until these are done.
Step 0: Clean Like You Mean It
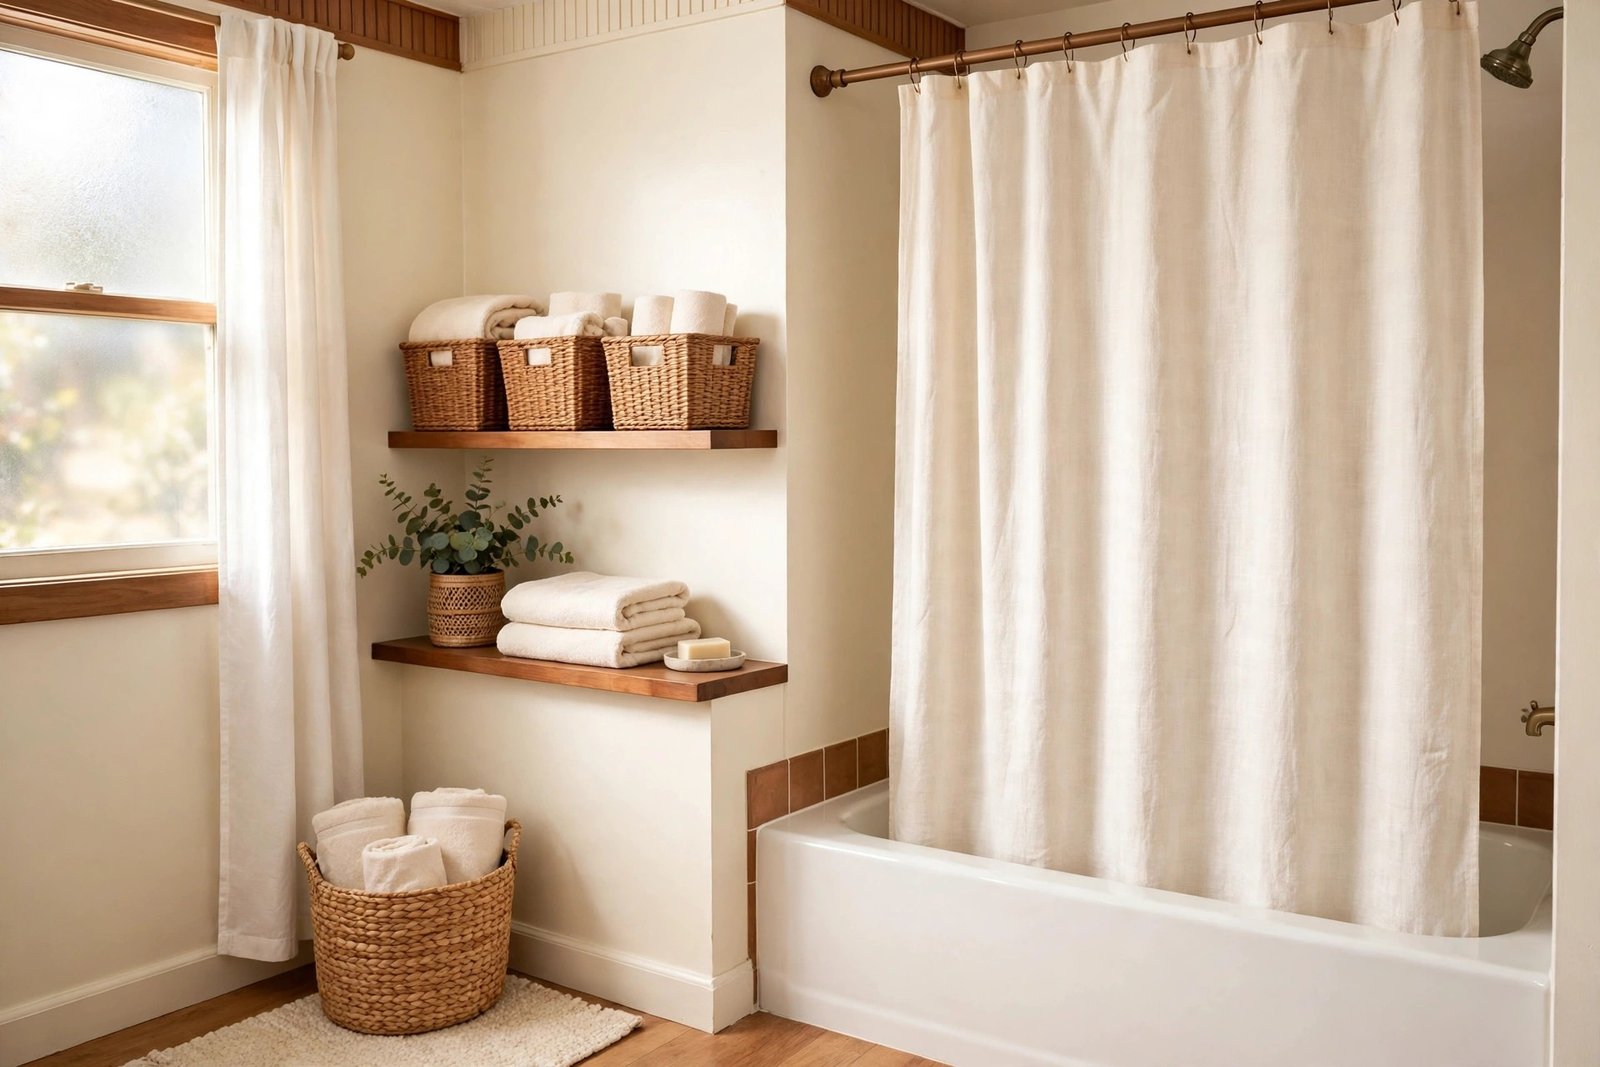
Bathrooms collect a special kind of dirt: limescale on taps and glass, soap film on tiles, mildew in the sealant, and dust that sticks to damp surfaces. Ordinary wiping moves it around. For this makeover, work slowly with hot water, an old cloth, a stiff brush, and a bathroom cleaner suited to your surfaces. Descale the shower head by soaking it, polish taps dry after cleaning so water spots do not return immediately, and wash or replace a stained shower curtain and liner — a mildewed curtain alone can make a whole bathroom feel neglected.
Scrub the grout with the brush and cleaner, rinse, and let it dry fully before judging it. Wet grout always looks darker than it is. Once dry, you will know whether it needs whitening or whether cleaning was enough. Do the same honest check with the sealant around the bath: black spots that do not shift with cleaning are inside the sealant, not on it, and no amount of scrubbing will fix them.
Step 1: Renew Grout and Sealant — the Dated Lines in the Room
Tiles rarely date a bathroom; the lines between them do. Grey, patchy grout makes even good tiles look tired, so renewing it is the highest-value job in this budget. A grout pen or grout reviver, costing roughly $8–$12, paints a clean, even line over sound grout and can cover a small bathroom’s main splash areas in an afternoon. It is a cosmetic fix, not a repair: if grout is cracked, crumbling, or missing, that section needs proper re-grouting, which is still inexpensive in materials but takes more time.
If the sealant around the bath or basin is blackened, cut it out with a utility knife and a sealant remover, clean and dry the joint completely, and run a fresh bead of bathroom sealant. A tube costs about $5–$8. Smooth it once, with a wet finger or a simple tool, and then leave it alone — repeated touching is what makes new sealant look messy. Let it cure for the time stated on the tube before showering.
Step 2: Fix the Light and the Mirror
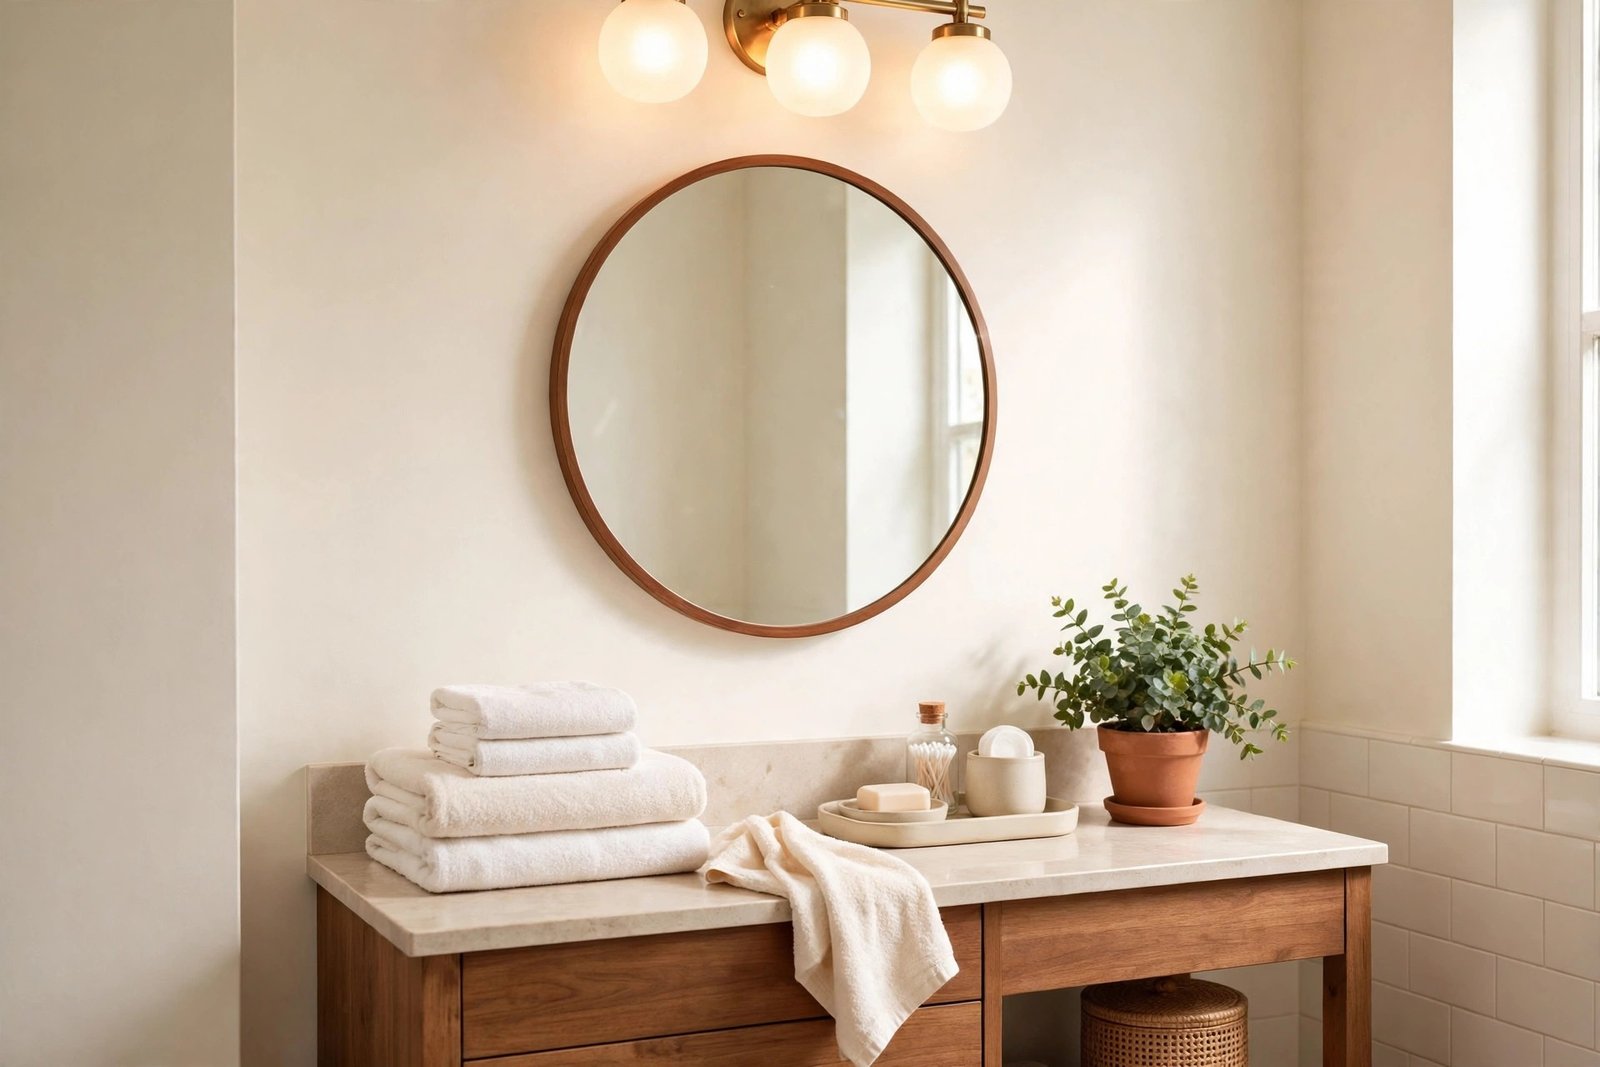
Bathroom light is often a single cold bulb chosen for brightness, and it shows every shadow, stain, and tired surface at full strength. A warm, bright bulb softens the room without making it dim, and cleaning the inside of a glass shade — where dead insects and dust gather — can return light you thought the bulb had lost. If the shade itself has yellowed with age, a simple replacement is usually $5–$10.
Then clean the mirror properly, with a glass cleaner or a weak vinegar solution and a dry cloth for the final polish. A spotted, streaked mirror throws dullness back at the whole room, because it is the largest reflective surface in it. If the mirror’s edges are blackening — a sign the backing is failing — a plain replacement mirror is sometimes available cheaply, but measure first and treat it as an optional buy only after grout and textiles are covered.
Step 3: New Textiles — the Soft Reset
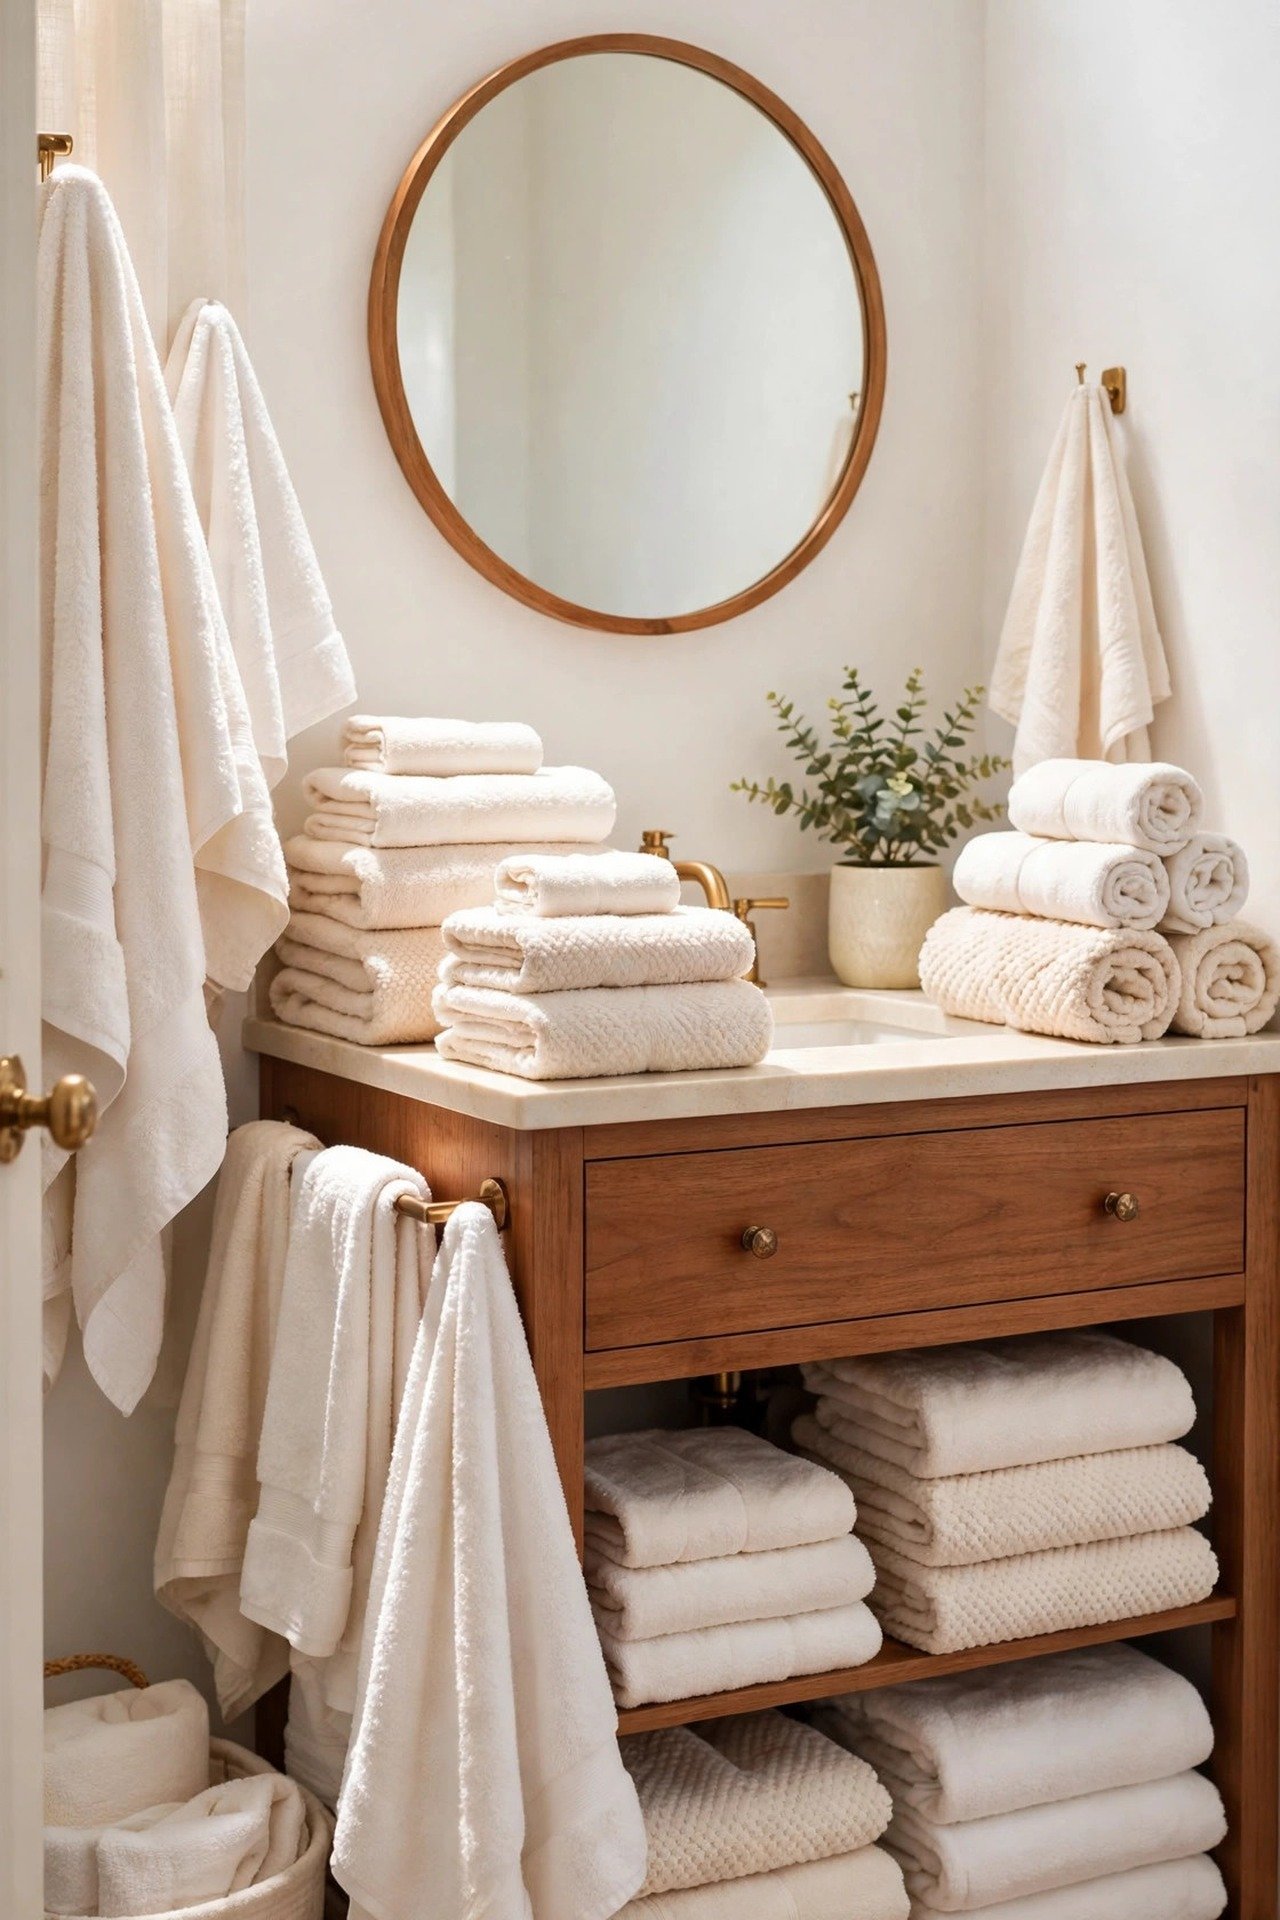
Towels are the bedding of the bathroom: the biggest area of soft colour, and the first thing to look tired. Grey-white, thin, or mismatched towels make a freshly cleaned room look as if nobody finished the job. Two bath towels and a hand towel in one plain, light colour — white, soft cream, or pale sage — cost about $20–$30 and change the room’s whole tone. White has a practical advantage: it can be washed hot and bleached gently, so it stays bright longer than colours that fade unevenly.
Add a simple bath mat in the same family if the old one is flat or stained. Then stop. A shower curtain, towels, mat, and accessories all bought in a loud pattern will date faster than anything; plain textiles let the clean tiles and fresh grout do the work, and they will still suit the room in three years.
Step 4: Calm the Basin Area
Most bathrooms end with a crowd: toothbrushes in a chipped cup, half-used bottles around the basin, medicines, cosmetics, and cleaning products all on show. It reads as mess even in a clean room. The fix is containment, not more storage furniture. Decant hand soap and lotion into two matching pump bottles, put daily items on one small tray or in one basket, and move everything else into a cabinet, a drawer, or a box on a high shelf.
What remains visible should be few and deliberate: soap, one plant that likes humidity if the room has light, and the towels. The same calming effect is why an entryway makeover on a budget starts with containing everyday clutter — small, hard-working spaces only look good when the everyday items have one defined home.
A Sample $75 Budget, Spent in Order
- Cleaning and descaling: $0–$5 — cleaner, brush, cloths you already own where possible.
- Grout and sealant: $8–$15 — grout pen or reviver, plus a tube of sealant if the bath edge needs it.
- Light: $5–$10 — one warm, bright bulb and, if needed, a simple shade.
- Textiles: $20–$30 — two bath towels, one hand towel, one plain bath mat.
- Basin order: $5–$10 — one tray, two pump bottles, or one small basket. Choose one system.
- Kept back: the remainder — for the first thing that turns out to need replacing once the room is clean.
More rooms, budgets, and step-by-step orders are collected in the budget room makeovers category, so you can plan the next room the same way.
Mistakes to Avoid
- Painting over mildew or dirty grout. Paint and grout pens fail on dirty, damp surfaces, and mildew returns through them. Clean, dry, then decorate.
- Buying a new mirror or taps first. They are the most expensive items on the list and the least responsible for dullness. Grout, light, and towels change more for less.
- Choosing dark towels to hide stains. They fade unevenly and make small bathrooms feel smaller. Plain light towels, washed hot, stay fresher for longer.
- Matching everything in one pattern. Curtain, mat, towels, and accessories in the same print date quickly and crowd a small room. Plain and quiet lasts.
- Sealing over old sealant. New sealant on top of old never bonds properly and peels within months. Cut the old bead out completely first.
- Leaving every product on display. Twelve bottles around a basin will defeat any makeover. One tray, a cabinet, and discipline about what stays out.
Frequently Asked Questions
Will a grout pen really make a difference?
Yes, in the right situation. On grout that is sound but stained or uneven in colour, a pen or reviver gives a clean, even line and can make tiles look newly fitted. It will not fix cracked or crumbling grout — that needs raking out and re-grouting — and it lasts longest in areas that are not scrubbed hard every day.
What should I do about black mould on the sealant?
If the black marks wipe away, clean and dry the area well and treat it with a mould cleaner suited to bathroom sealant. If the marks stay after cleaning, they are usually inside the sealant itself, and the lasting fix is to remove the bead, clean the joint, let it dry fully, and apply fresh bathroom sealant. Keeping the room ventilated afterwards slows its return.
Can renters do this bathroom makeover?
Most of it, yes. Cleaning, descaling, textiles, trays, and bulbs are fully reversible. Grout pens and new sealant change the landlord’s fixtures, so ask first — many landlords agree readily, since fresh sealant protects the property. Keep receipts and photos of the improved condition in case you need them later.
There is no window in my bathroom. Which steps matter most?
Light and ventilation do the heavy lifting. Choose the brightest warm bulb the fitting allows, clean the shade, keep the extractor fan running during and after showers if you have one, and leave the door open when the room is empty so damp air escapes. Textiles should be plain and light, because in a windowless room they supply most of the colour the eye sees.