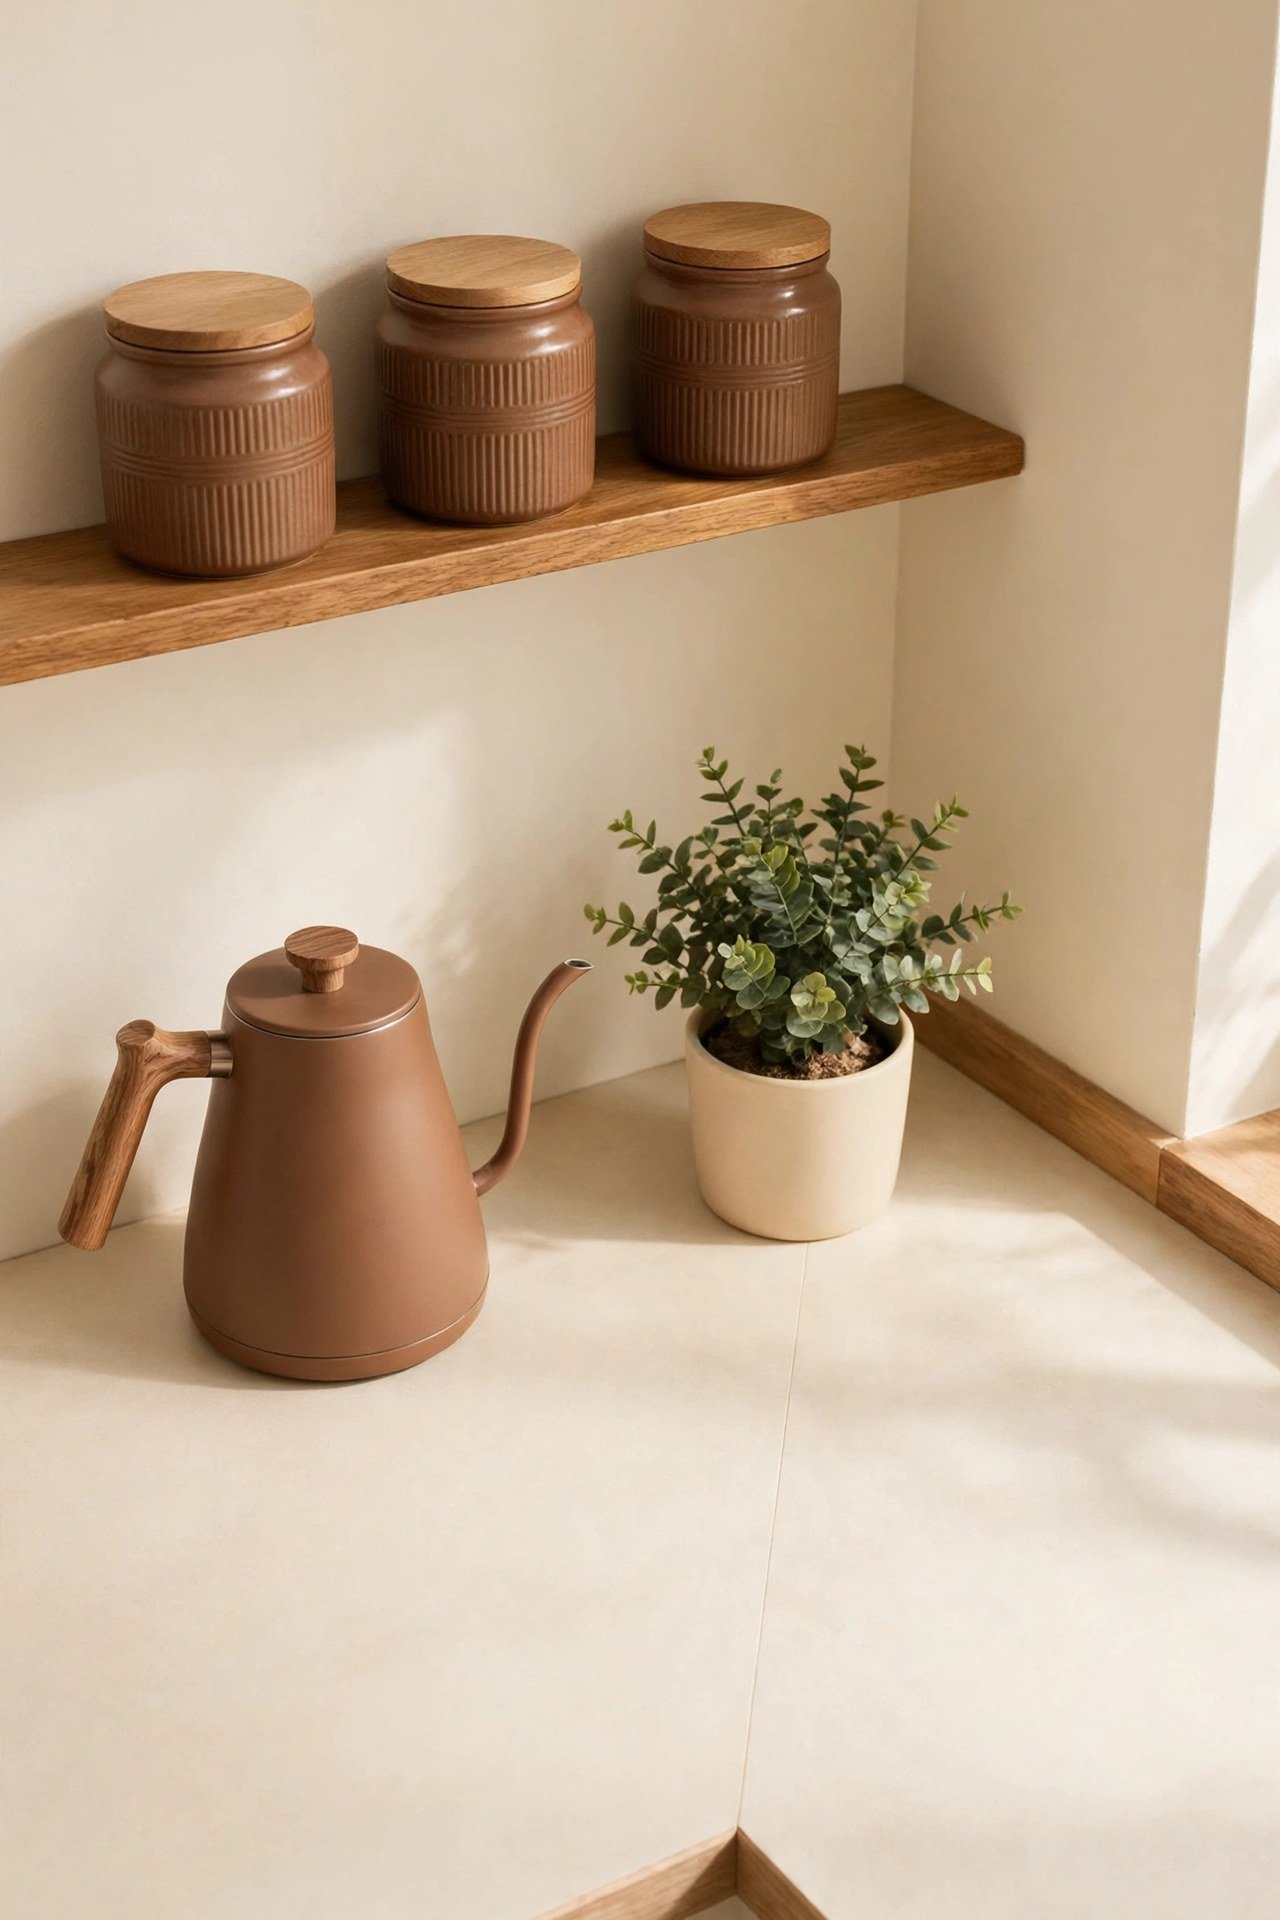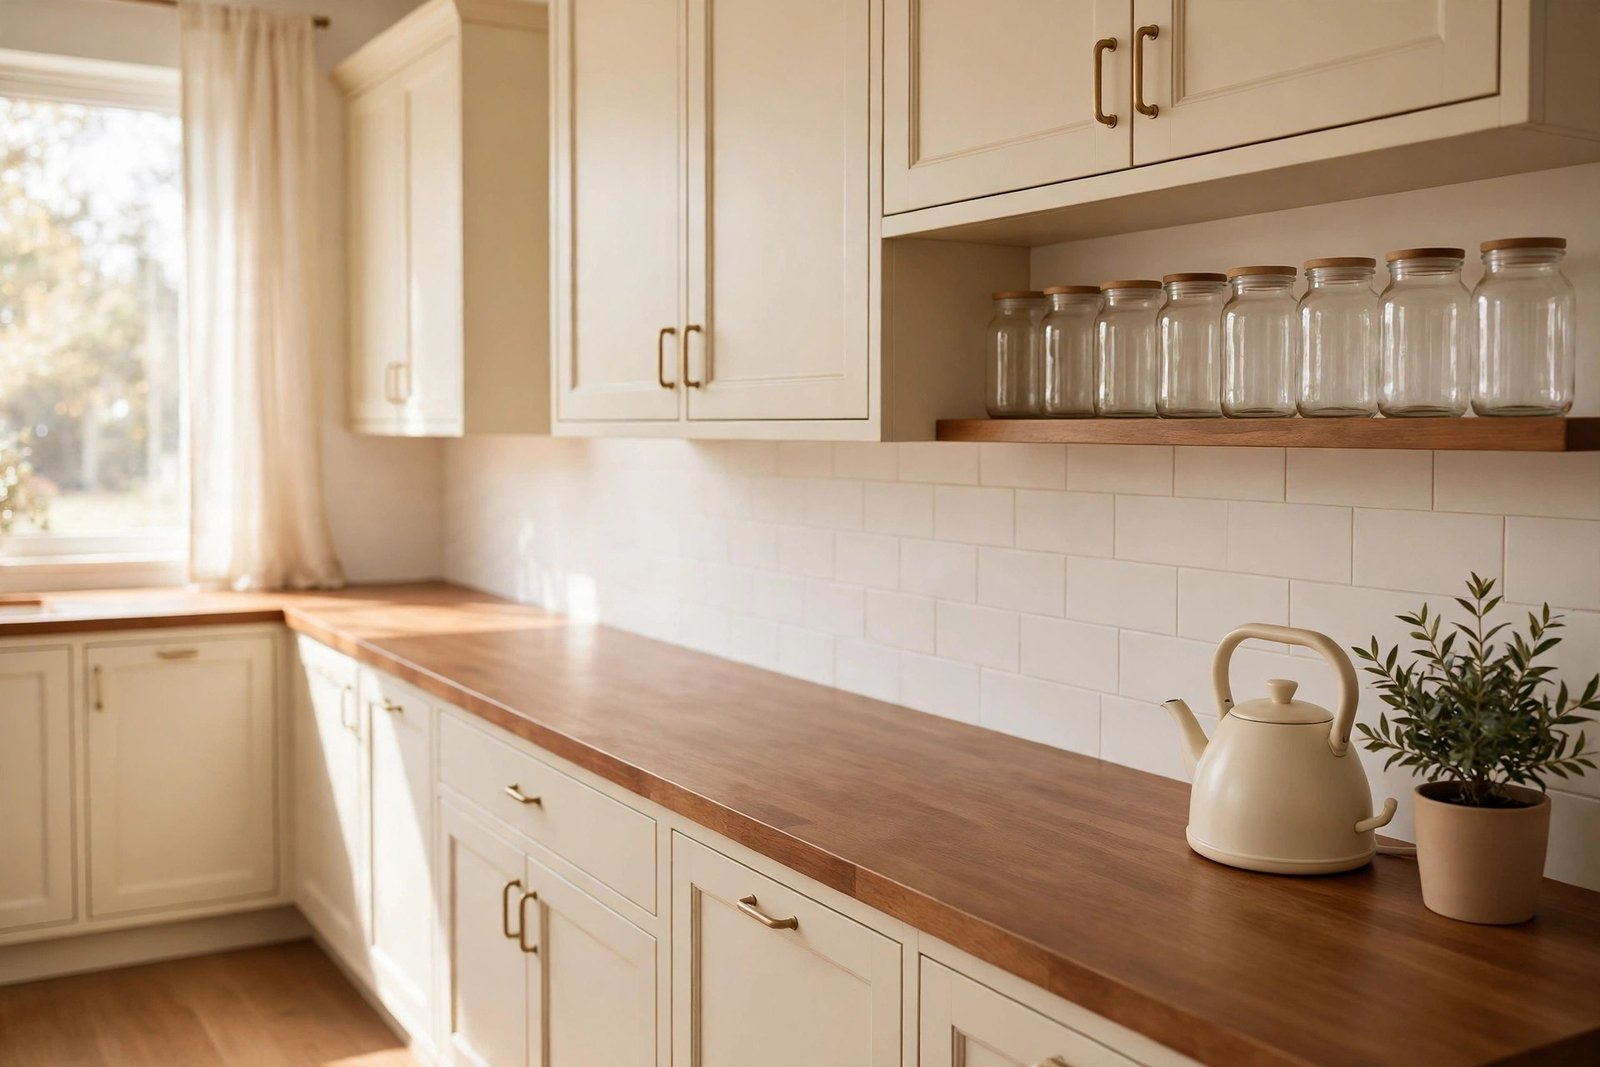
Open most kitchen cupboards and there is space. Look at the counters and there is none. The kettle, the toaster, the chopping boards, the fruit bowl, the post, the spice jars that escaped, the appliance bought for one recipe — everything lives on the worktop, and the kitchen feels small, busy and permanently mid-task, even right after it has been cleaned.
Full counters are rarely a storage problem. They are an earning problem: too many things have been given the most valuable surface in the house without having to justify it. The fix is not to hide what you genuinely use every day — a kitchen you cannot cook in is worse than a cluttered one. The fix is an audit, a set of zones, and storage that looks like decor instead of overflow.
Quick Answer
Kitchen counters fill up because everything is allowed to live on them. Clear them by auditing every item into three groups — used daily, used weekly, used rarely — and letting only the daily group earn counter space. Arrange what stays into task zones (drinks, cooking, prep), group appliances into one tidy corner, use vertical storage that looks like decor for the small things, and finish with a five-minute evening reset so counters start every morning clear.
Why Counters Fill Up: Three Quiet Causes
Everything migrates to the nearest flat surface
Counters are where hands empty. Post, keys, chargers, shopping not yet put away — the worktop is often the first big flat surface inside the door, so it becomes the home’s landing strip. Those items are not kitchen clutter; they are visitors with no home of their own, crowding around the real kitchen things.
Appliances arrive one by one and never leave
Each appliance earned its place the day it was bought. Since then, some have been used daily and some twice. But they all still sit in a row, taking up prep space and making the counter read as a showroom shelf. An appliance’s right to counter space expires when its use does.
There are no zones, so nothing has a boundary
Without zones, everything spreads. The coffee things drift toward the cooking things, the cooking things drift toward the sink, and soon the whole counter is one continuous surface of stuff. Zones give each group an edge — and an edge is what stops the spread.
Step 1: The Counter Audit
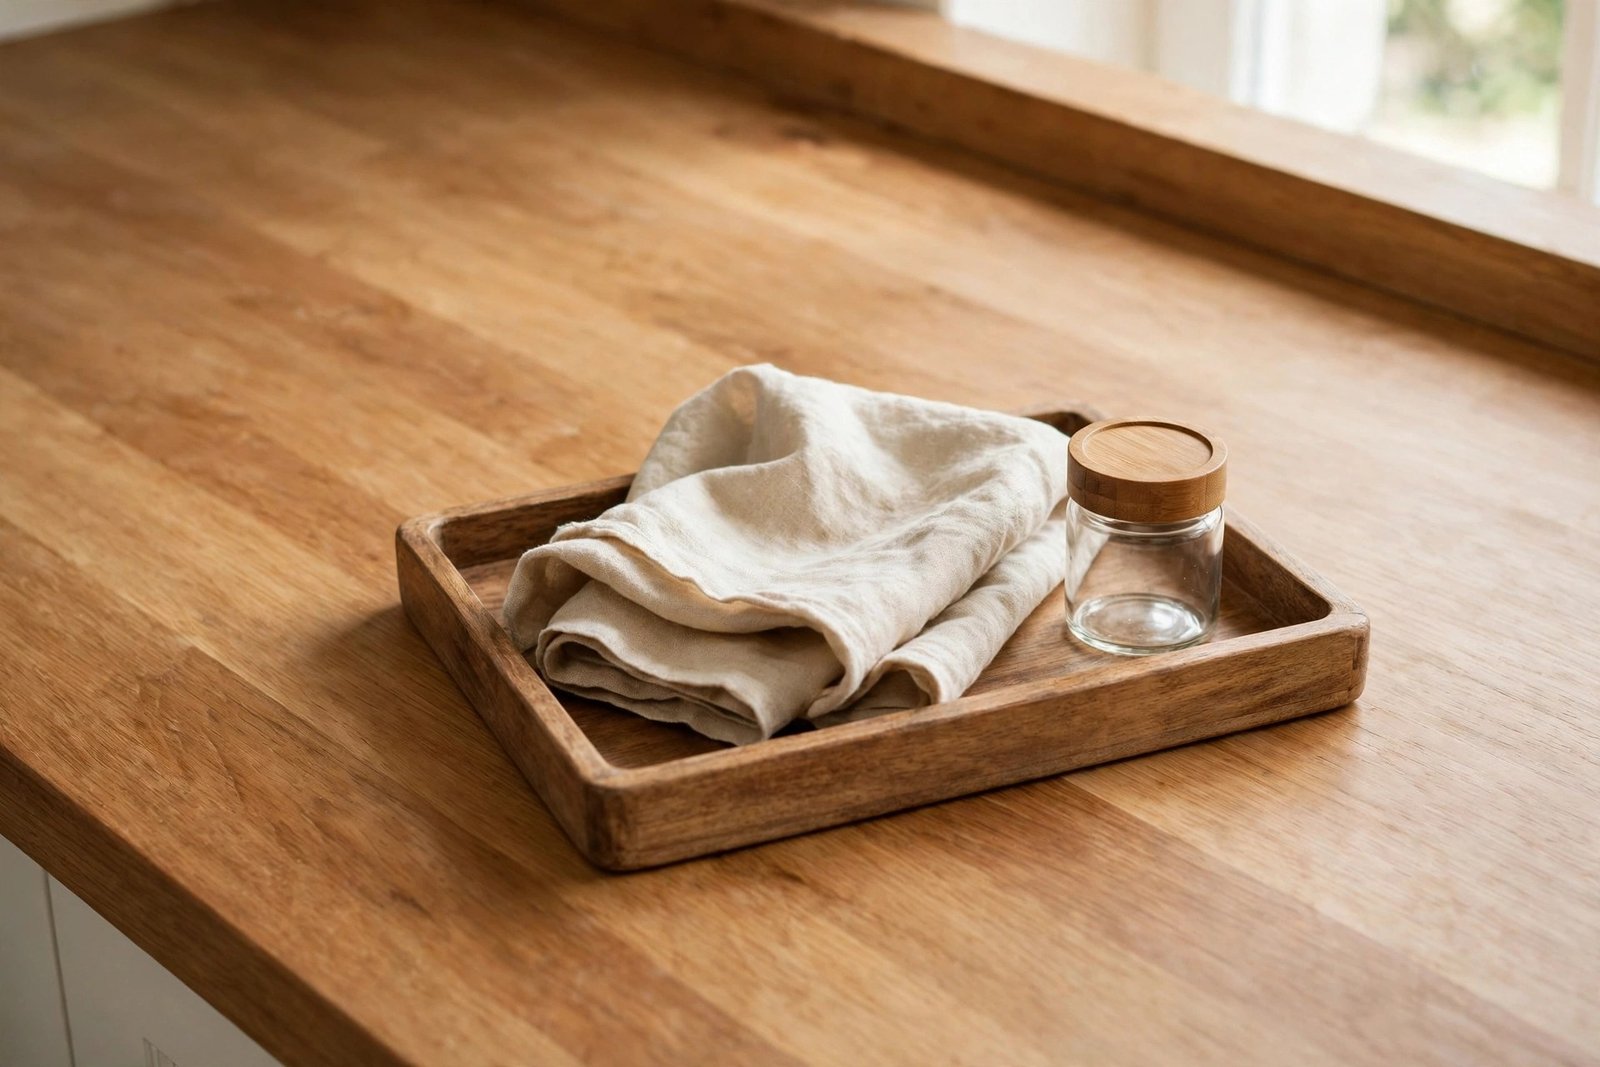
Take everything off the counters — everything, including the appliances. Wipe the empty surface and enjoy how big the kitchen suddenly looks; that feeling is the target. Now sort what came off into three honest groups:
- Daily: used at least once a day, most days — the kettle, the coffee maker, the toaster in a toast-every-morning house, the main chopping board, cooking oil and salt by the hob.
- Weekly: used a few times a week — the blender, the food processor, the slow cooker, the stand mixer in a weekend-baking house.
- Rarely: used a few times a month or less — the waffle maker, the juicer, the spare everything, the decorative cake stand that mostly holds dust.
The rule is simple: only the daily group earns counter space. Weekly items go in the easiest cupboard to reach — the one at waist height nearest their zone — so using them stays a ten-second job. Rarely items leave the counter zone altogether: a high cupboard, a pantry shelf, or honest rehoming if they are never used at all. If your kitchen itself is due a bigger refresh after this, the order of work in the kitchen makeover on a tight budget guide picks up where the audit leaves off.
Step 2: Arrange What Stays Into Task Zones
Counters work — and look calm — when each stretch of surface belongs to one job:
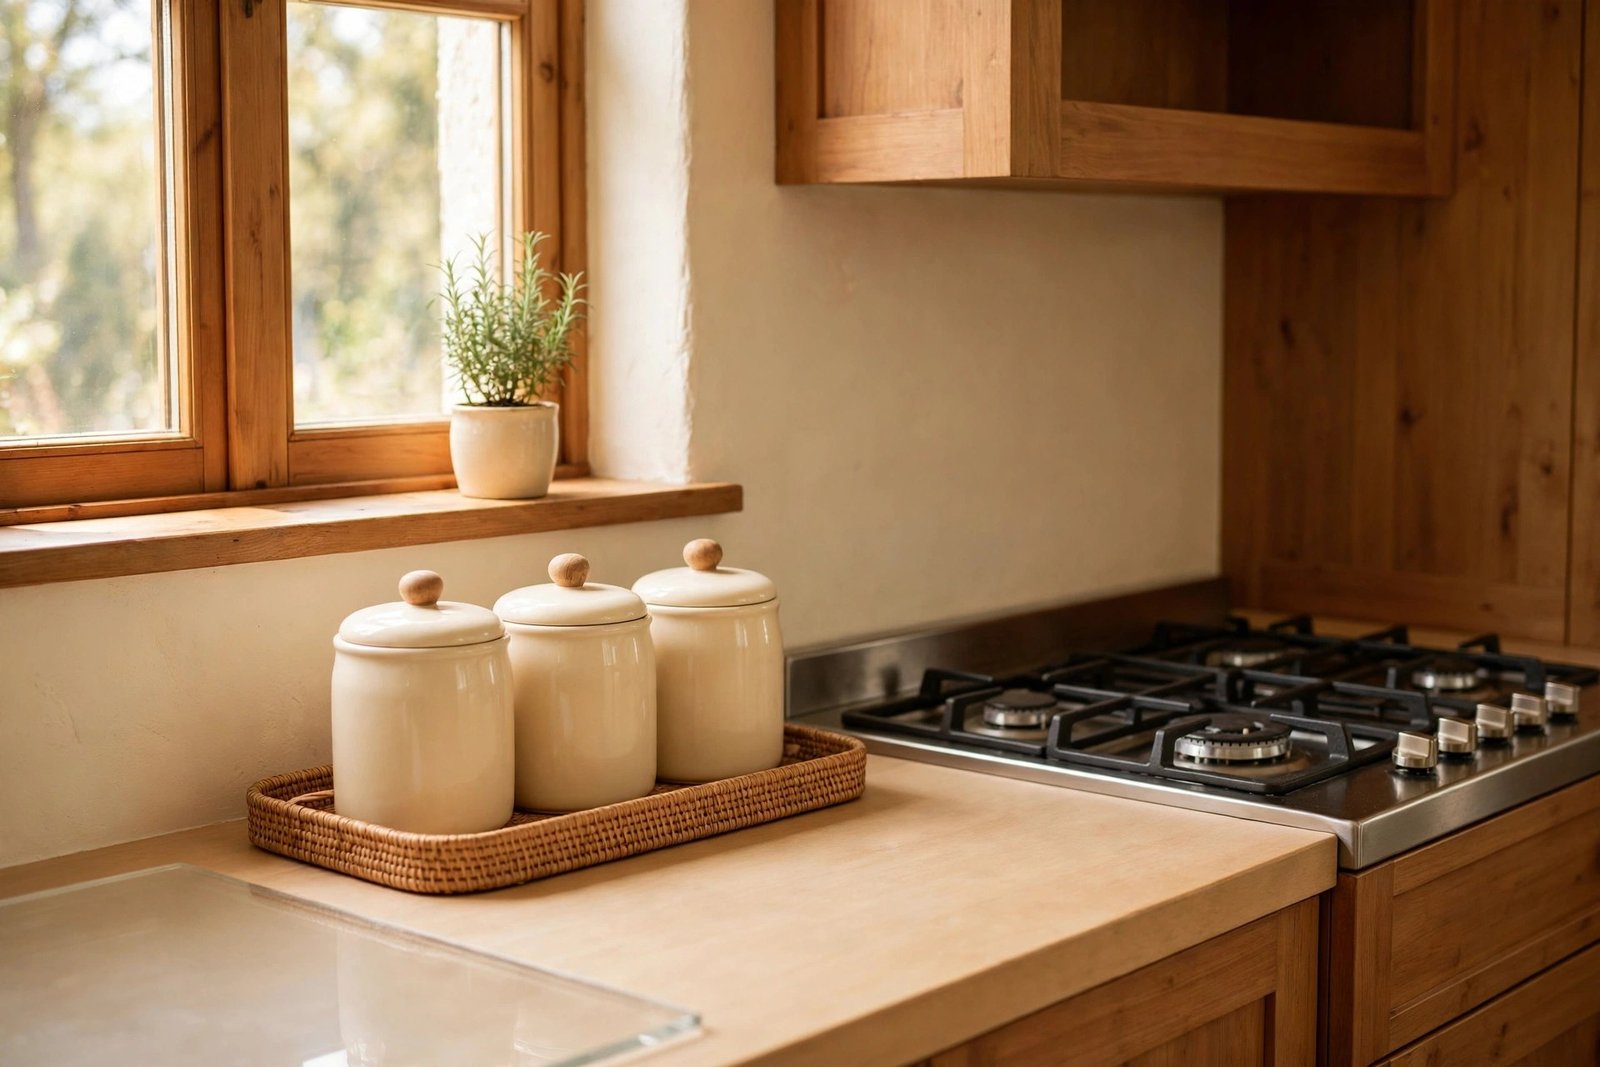
- The drinks zone: kettle, coffee maker, mugs and tea/coffee jars together near the water source. One tray or board under the jars turns three loose containers into one styled group.
- The cooking zone: beside the hob — oil, salt, utensils in one holder, the everyday pan. Nothing else. This zone must survive a busy cooking session, so it stays the emptiest.
- The prep zone: the longest clear run you can protect, with the chopping board stored upright at its edge, never lying flat in the middle claiming the whole space.
- The landing zone: one small tray, deliberately placed, for the post, keys and bits that migrate in. Visitors are allowed — in one tray, at one end, reading as a group instead of a spill. The same point-of-use thinking runs through the guide to pretty storage that looks like decor: things look tidy when they have one chosen home.
Step 3: Appliances That Read as One Tidy Corner
Even daily appliances look messy in a spaced-out row, cords trailing. Group and contain them instead:
- Cluster, don’t spread. Push the daily appliances into one defined stretch of counter, close together, cords tucked behind. One machine zone reads as deliberate; machines dotted along the whole counter read as clutter.
- An appliance corner or “garage.” A simple lidded box or a roll-front, bread-bin-style cover in a corner can hide the toaster and kettle between uses. It sounds old-fashioned; in a finish that matches the kitchen, it looks like the calmest part of the room.
- Cords are half the visual mess. Shorten the visible runs: push appliances back so cords drop straight behind them, coil the excess in a small lidded box at the back of the counter, and never let cords trail across the prep zone.
Step 4: Vertical Storage That Reads as Decor
Once the counters hold only the daily group, the small things — utensils, spices, jars — still need homes. Take them upward, in ways that look intentional:
- A rail with matching jars and hooks. One rail under the cupboards holding utensils on hooks and a row of identical jars for the spices and dry goods you reach for daily. Matching containers are the difference between “storage on show” and “a styled kitchen wall.”
- One open shelf, styled like a shelf. If you have open shelving, treat one stretch as decor: matching jars in a row, a small plant, a stack of the good bowls. Everyday overflow does not belong on it — once it holds random packets, it reads as a spill at eye level, not a shelf.
- The inside of cupboard doors. Slim racks inside a door hold spice jars, lids and wraps at eye level without touching the counter. Invisible when closed, instant when open.
- A knife strip instead of a block. A magnetic strip on the wall frees the bulky block’s footprint and looks clean and deliberate — fitted securely and out of children’s reach.
Step 5: The Five-Minute Evening Reset
Cleared counters do not stay cleared by themselves; they stay cleared because the reset is tiny. Each evening, in roughly the time the kettle takes to boil:
- Weekly appliances used today go back in their cupboard — one trip, while you are standing there.
- The landing tray gets emptied to its homes: post to its place, keys to their hook, bits to their rooms.
- Counters get wiped — seconds, now they are mostly empty — the board goes back upright, utensils back in their holder.
- Tomorrow’s breakfast things stay in the drinks zone, on their tray. Nothing else sleeps on the counter.
Judge the system after a normal week, not a tidy-up day. The win is a Tuesday morning where you can make breakfast on a clear counter without moving anything first. And once the kitchen works, the same tray-and-zone approach calms the bathroom counter too — covered in the companion guide to calming a chaotic bathroom counter with trays and jars.
Materials and Costs
- One large tray or board to define the drinks/appliance zone — $8–$18
- Matching storage jars for the rail or shelf (set of 4–6) — $12–$25
- Wall rail with hooks for utensils/jars — $10–$22
- Lidded box for cord excess or an appliance cover — $8–$20
- Inside-door slim racks — $6–$14 each
- One small tray for the landing zone — $5–$10, or a dish you own
- Magnetic knife strip, if the block goes — $12–$25
Most kitchens need only trays and jars; the audit and zones — the parts that do the real work — are free.
Mistakes to Avoid
- Clearing everything, including what you use daily. A bare counter that forces you to lift the kettle out of a cupboard four times a day will re-clutter itself within a week. Daily items are not the enemy; unaudited items are.
- Buying storage before doing the audit. New racks and jars for items that should have left the counter entirely just gives clutter a uniform. Audit first; shop for what survives.
- Open shelves used as overflow. A styled shelf holds matching jars and a few good pieces. The moment packets, spares and random boxes land on it, the whole wall reads as mess.
- No landing zone. Post and keys will arrive in the kitchen whatever you decide. Without a tray to receive them, they spread across the prep zone — the mess is not banned, it is just unhoused.
Frequently Asked Questions
How much of my counter should actually stay clear?
Aim for one full prep run — roughly 60–90 cm of empty surface — plus the cooking zone kept bare around the hob. The rest can hold the daily group, as long as it is zoned and contained. If you can wipe the whole counter in under a minute without moving more than two things, the balance is about right.
My kitchen is tiny. Where do the weekly appliances go?
In tiny kitchens the weekly group shrinks: use the cupboard directly above or below the counter where the appliance is used, so putting it away is one bend, not a journey. If a weekly appliance truly has no cupboard, let it join the machine zone in the corner, contained at the back, rather than sitting in the prep run.
Won’t matching jars and a rail just be more things to clean?
Slightly more wiping, far less chaos. Sealed jars wipe in seconds and keep dry goods fresher than torn packets; the rail lifts utensils off the counter so the surface itself wipes clean in one pass. The time is repaid every morning.
What about fruit bowls and decorative pieces — do they have to go?
No — one deliberate decorative piece is what makes a cleared kitchen look styled rather than empty. A fruit bowl in the landing zone, a small plant by the window, a good board leaning at the back of the prep zone: chosen, singular, and with space around it. Decor is not the problem; unchosen accumulation is.